I’ll level with you. I’m not a professional mechanic.
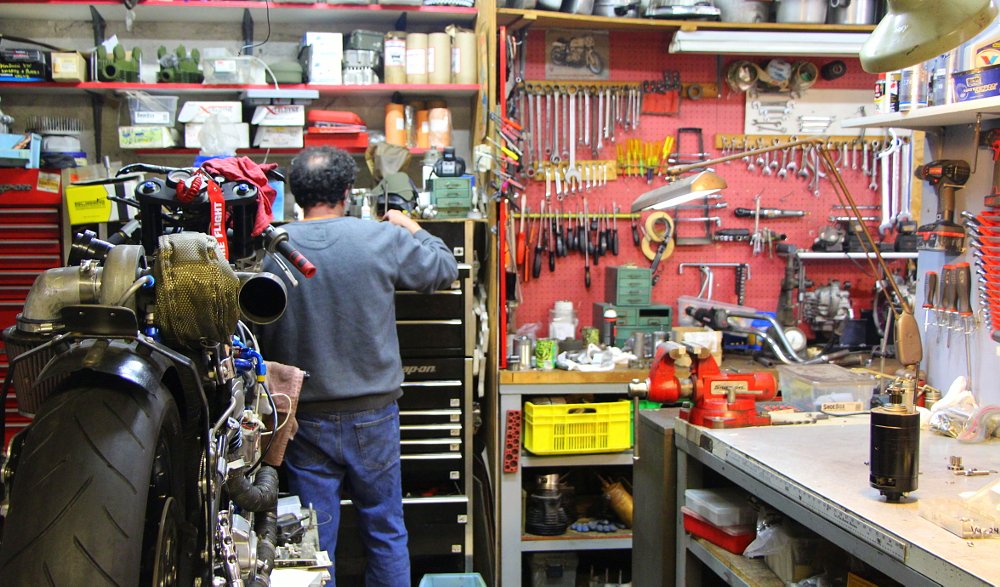
But, like many of you, I do spend a lot of my free time in the garage restoring project bikes and maintaining my daily machine. And if you’re anything like me, a fair amount of your garage time is probably spent on tasks that should have been finished about two hours ago. Or two days ago. Or weeks… (Please, God, just let this end...)
Anyway, if that parenthetical sounds familiar, you’re probably also familiar with the moment of euphoria that comes when you finally crack that stuck bolt, screw, or case. Well, this post is dedicated to bringing you a few more of those sweet, sweet highs. Here are some garage hacks — some well known, some obscure — that can help you get unstuck on your project.
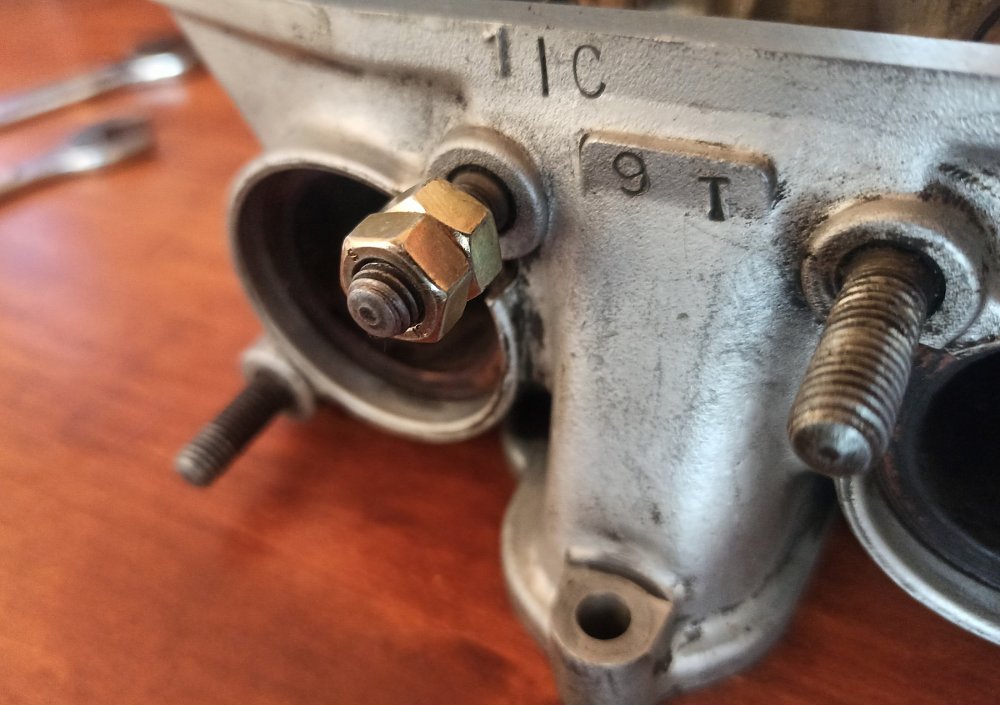
The two-nut method for studs and snapped bolts
Studs and their toxic cousins, snapped bolts, can be a nightmare to remove if you don’t have a stud extractor socket. Or, if you’ve never heard of the two-nut method.
All you’ll need for this trick are two nuts that fit your stud and two wrenches that fit your nuts.
First, twist one nut about halfway down the stud or broken bolt. Now, take your second nut and hand tighten it to about the same position so that the nuts touch. Grab your two appropriately sized wrenches and twist the inside nut left, and the outside nut right until they can’t tighten against each other anymore.
Once the nuts are nice and snug, you’ve essentially created a make-shift bolt. Put a wrench around the inside nut and loosen it. The inside nut won’t be able to move down the threads with the outside nut blocking it, so the stud or broken bolt will twist out, instead.
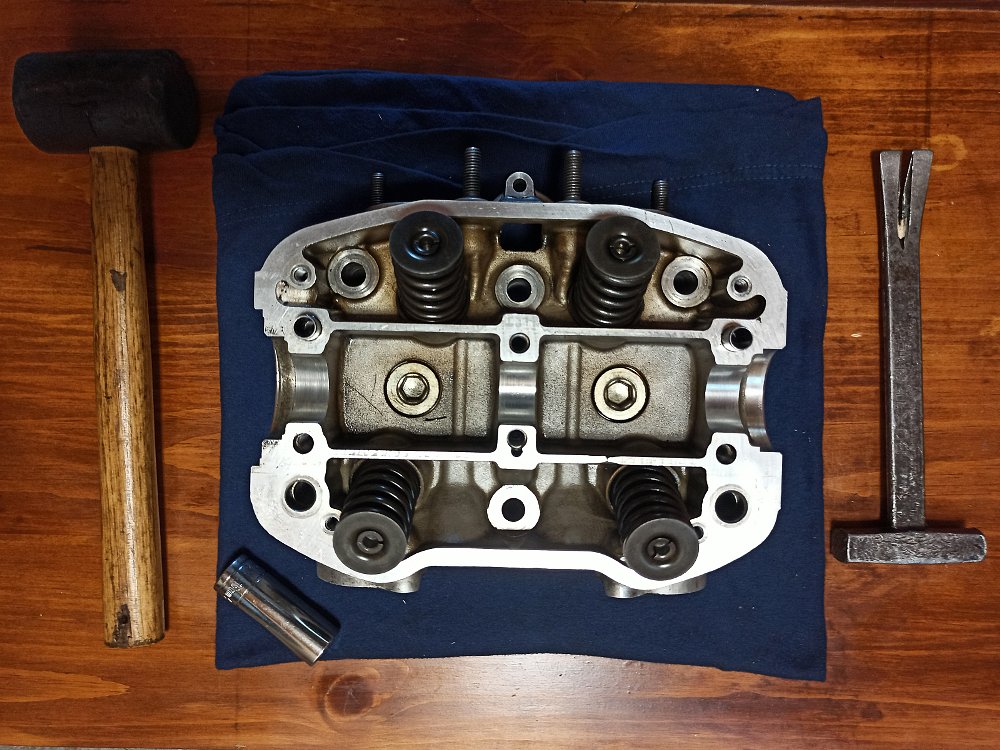
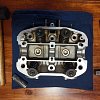
Mallet and deep socket method for valve removal
If you don’t have a valve spring compression tool, removing your engine valves isn’t off the table. To make it happen, all you’ll need are a couple of shop rags, a mallet or hammer, and a deep socket.
First, fold and stack your rags in a rectangle about the size of your cylinder head. Now lay your head on top of the rags. OK, have a quick cry about how the last year and a half or so has gone down. Pick your head back up, feeling better after a little bit of emotional release. Now, lay your cylinder head on the rags, springs facing up.
Stuff a piece of cloth or paper towel down the deep socket, and place the socket on the valve spring washer, socket side down. You may also want to put a rag over the socket to protect your tools.
Finally, hit the deep socket with your mallet or hammer. It will take a decent whack or two. This impact will compress the washer and spring, allowing your valve spring retainers to pop out, freeing the washer and thus the entire valve. It might sound barbaric, but it works, and I’ve never bent a valve using this method. If you’re worried about losing your retainers, put a small magnet somewhere on the socket.
To reinstall a valve, place your valve, spring, and washer in the cylinder head. Put the two halves of the retainer in place in the washer. Now, use some combination of your deep socket, body weight, and a small piece of wood to compress the washer. The retainer will fall into place if you can compress the spring enough. Release the spring slowly, then check to make sure the retainers are properly installed. It may take a couple of tries.
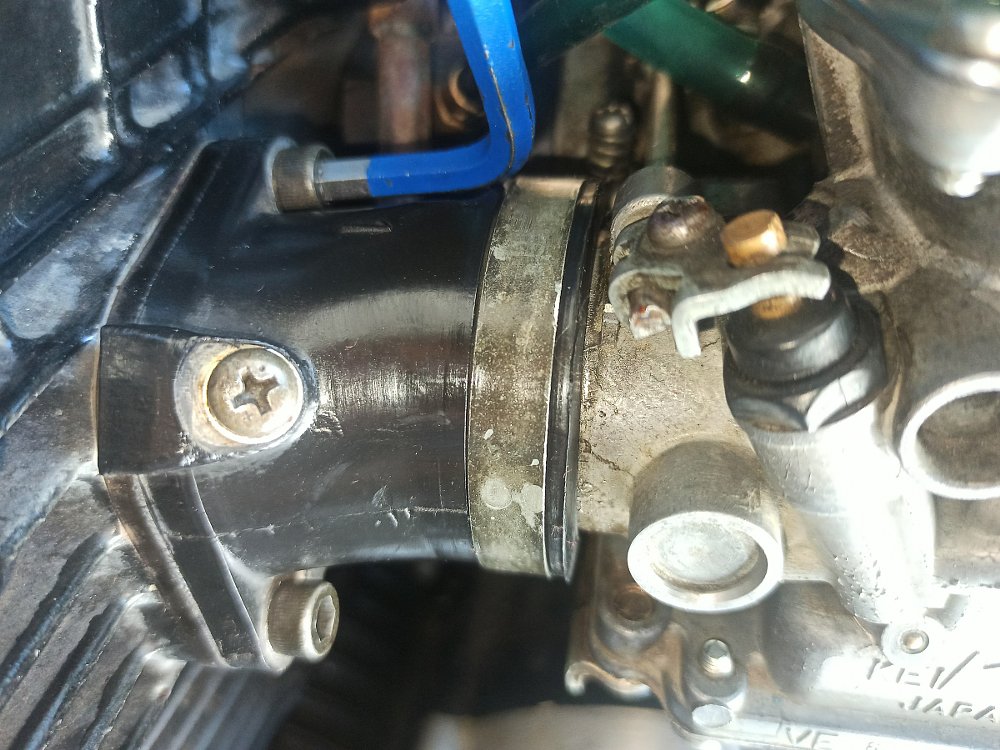
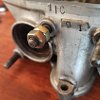
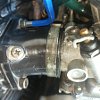
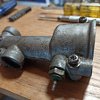
Stuck carburetors fix
Carburetor boots swell over time. On older, multi-carb bikes, this can make it extremely difficult to remove the carburetor assembly. If you check the service manual, it will helpfully suggest something along the lines of "remove the carburetors." But, in my experience, it’s just not that simple if the bike has been sitting a while.
What the service manual doesn’t tell you is that three carburetor boots are a whole lot easier to detach than four. That one extra boot increases the friction past some threshold, and there's just no way to wrestle them off. So, what to do?
Instead of removing all four carburetors at the carb side, detach either outside carb at the engine side by removing the boot’s screws, hexes, or bolts. Freeing one boot from the engine reduces the friction you have to overcome and gives you a bit of extra leverage.
Now, if you pull backward on the detached carb, the other three should pop right out. Be sure to put rags or a towel on the frame to prevent impacts on the carburetor assembly. The single remaining boot should come off easily once the assembly is out of the bike.
Jacks and two-by-fours method for splitting an engine case
Old engines, especially large-displacement engines, tend to settle into an extremely tight fit over time. This is especially true if the case hasn’t come apart since the widespread use of nonstick gaskets caught on in, as best as I can tell, the early 1990s.
This hack, shown in the video below (skip ahead to 5:45 for the basics), works incredibly well on the flat engines often found on BMWs and Gold Wings. I have not needed to test it on other types of engines yet, but I’m sure you can work out a similar trick if you’re having trouble.
To split your stuck engine quickly, you’ll need two jacks or large vises, two two-by-fours, a drill, and a large bit. The two-by-fours need to be about a foot longer than your engine, front to back.
First, mark the location of two engine case bolt-holes onto the "two" side of the two-by-fours. Two of the cylinder head bolts on each side tend to work best, but as long as the two-by-fours are parallel, you’ll be fine. Drill holes through the boards at your markings, making sure the hole is wide enough for the bolt threads but not so wide that the bolt head can pass through.
Next, attach the two two-by-fours to your engine case on both sides by putting putting the bolts through the hole in the wood into the case and tighening them.
With the boards attaches, put your jacks or large vises between the boards on both sides so that they push outward against the boards as they open. You are now ready to split your stuck engine case.
Slowly turn the jack or vise controls, opening them in unison or in very small increments. Doing one jack too much at a time could bend your mounting dowels, so be careful with this step. As you expand the jacks, the engine should split apart with ease.
Hammer and flat-head screwdriver to restore a stripped Phillips head
If you work on old bikes, you’ve probably stripped a screw or two in your day. Before we jump into how to fix stripped screws, I should mention one of the leading causes of stripping: JIS screws. To the naked eye, JIS (Japanese Industry Standard) screws appear identical to Phillips head screws and may feel like a snug fit, but using the wrong tool makes it likely you'll strip the head. If you work on Japanese bikes, you’ll need to buy a set of JIS bits or drivers to prevent stripping.
If that reminder comes too late and you’ve already stripped a screw, there are of course a few options for dealing with it, such as an extractor set or a pair of locking pliers (big recommend). But, if you don’t have either of those, you still have a more brutal option at your disposal.
First, grab a few old flathead screwdrivers and bits. I’ve also had good luck with a chipped woodworking chisel that I no longer need to keep sharp.
You’ve probably already guessed your next steps. Using a larger Phillips head than the screw originally required, eyeball how much more space you’ll need to make the larger bit fit nicely. From there, use your old bits or chisels to reshape the smaller, stripped Phillips head into a larger size. Hit the blunt end of the bit with a hammer hard enough to chip or compress the soft screw, then turn the flathead 90 degrees and repeat. You may need to do this process incrementally, using a slightly larger flat head each time. If you’re careful, the hammer will also work much like an impact driver, freeing up some of the more stuck, rusted, or corroded parts of the threading.
Continually check your larger Phillips head for a tight fit as you work — better too small than too large. Once it almost fits, tap a Philips head bit or driver into the screw using your hammer for an extremely snug fit. You can now try to remove the screw normally or pair this trick with the next hack for bonus points.
Once the screw is out, you can take it into pretty much any hardware store to find a replacement. Ask for help matching the thread size if you aren’t 100 percent sure.
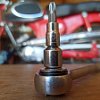
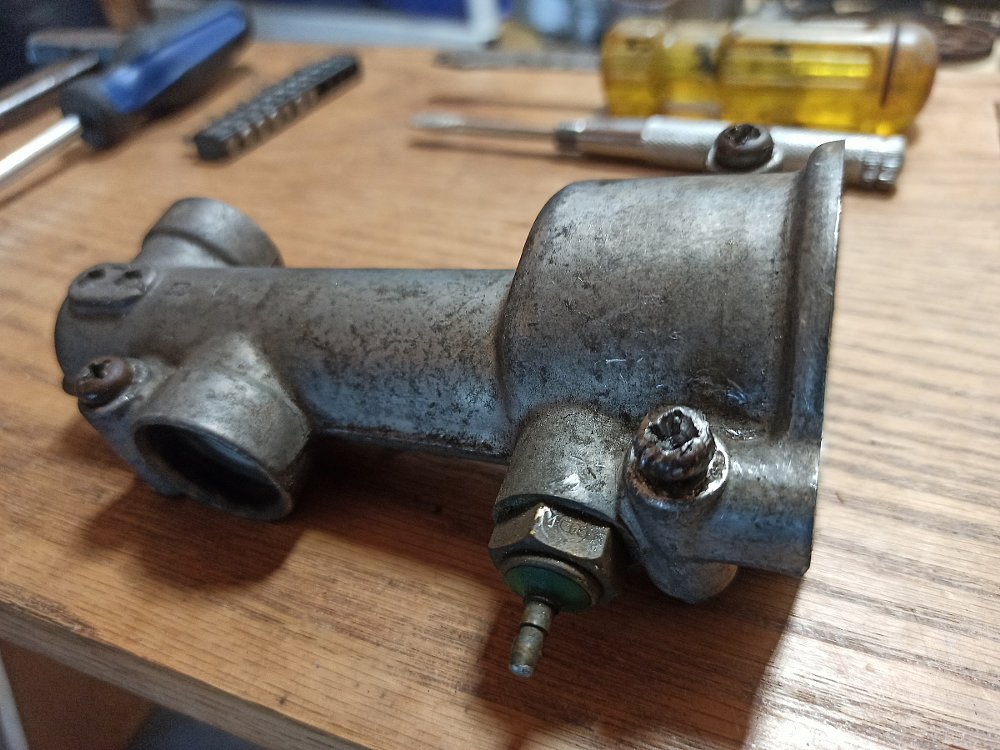
Get extra leverage on screws using a ratchet
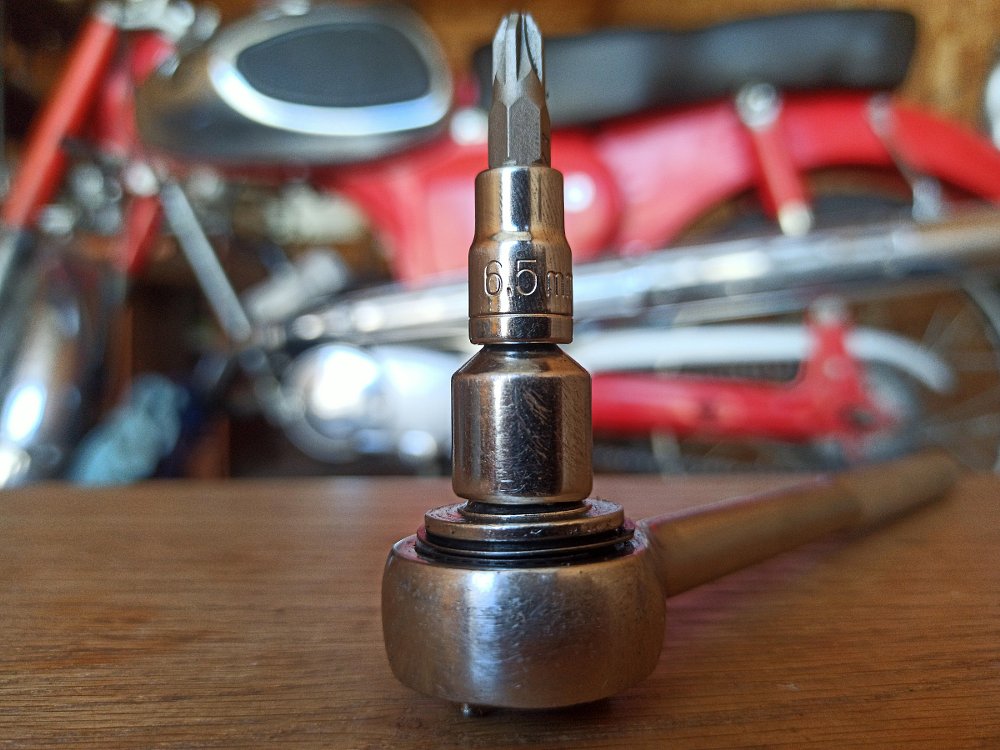
If your screw isn’t stripped, but you just can’t get enough torque power to crack it, a ratchet and 6.5 mm socket can give you the leverage you need to get the job done. All you’ll need is a ratcheting wrench, socket, and adaptor. Connect these pieces as pictured above.
Now, bring the wrench and bit to the screw and apply pressure to the back of the ratcheting wrench with your non-dominant hand. With your dominant hand, use the ratchet as normal. The wrench will act as a lever to give you the extra torque power you need to easily crack the stuck screw.
I hope these hacks help someone out there finish their project bike. If you have any garage tips of your own, let’s hear them in the comments!
Image Gallery