I’m grateful to be a motorcyclist for many reasons, and right now, the ability to stay busy by working on my bikes is pretty high on the list.
This staying-at-home stuff is a bit of a bummer, but we’re all finding ways to put the time to use, right? My suggestion for soaking up some spare hours is to spend it with your bike. No, not riding it, but giving it a thorough once-over and tuning it up so that it’s in tip-top riding condition once this whole health crisis blows over.
The following 19-point inspection (I had to pull a number from somewhere, right?) covers all the major systems and assemblies and is likely to uncover something that needs attention. That not only gives you a productive task to do (hooray!), it’ll also help nip any potential issues in the bud, ensuring that your bike works properly once you can ride. So carry your laptop out to the garage, driveway, or parking lot, and let’s dive in.
- I’d recommend kicking things off where the rubber meets the road with a tire inspection. Check the entire circumference of both the front and rear tires for nails, tears, or other damage that might lead to a flat. While you’re down there, how’s the tread look? Are the profiles nice and round, with decent tread depth? If your tread-wear indicators are sitting flush with the grooves (or getting close), you’ll want to spoon on fresh rubber before you hit the road.
-
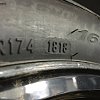
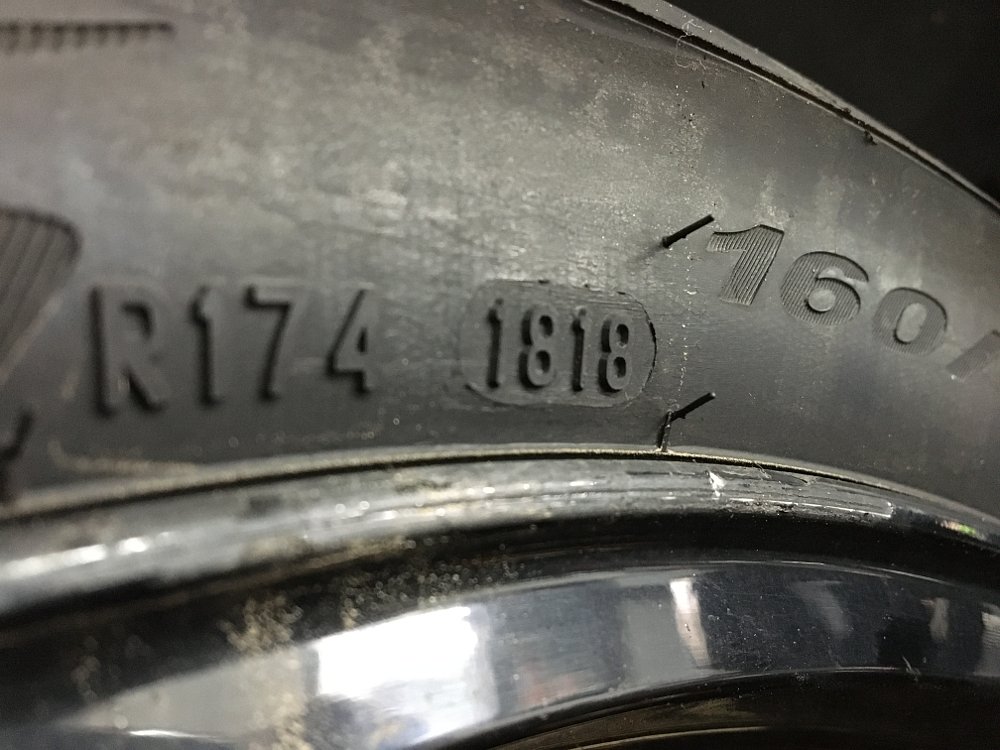
Another reason you might want to replace your tires is due to age. Most manufacturers give buns a five-year expiration date, regardless of miles. You can determine your tires’ birthday by looking for the date code on the sidewall. It’ll be a four-digit number in an oval symbol. The first two digits represent the week and the second two the year, so a code that reads 4516 would indicate production on the 45th week of 2016. Of course, you’ll also want to verify your tires’ inflation pressure before you hit the road.
![checking tire age]()
Your tire’s birthday is printed right on the sidewall. Manufacturers give tires a five-year service life, regardless of mileage. Photo by Ari Henning. - Next up we’ll take a look at the brake system. Starting at the calipers, shine a light in at the pads to see how much friction material you’re working with. Most pads have grooves in them that serve as wear indicators; once you get to the bottom of the groove, usually when there’s about one millimeter of pad left, it’s time to replace them.
- Still working on the brakes, move up the brake lines looking for chafing, cracks, bulging or other damage. Perhaps you’ve been thinking about upgrading to stainless steel hoses for a dash of premium style and better lever feel. Now is a great time to swap ‘em out.
- Finally, check the front and rear reservoirs to ensure the fluid is at the right level and the appropriate color. Brake fluid darkens with age and is supposed to be replaced every two years anyway. Hey, sounds like a great task to tackle while social distancing. I’m adding that one to my to-do list now.
-
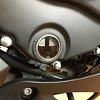
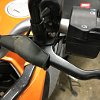
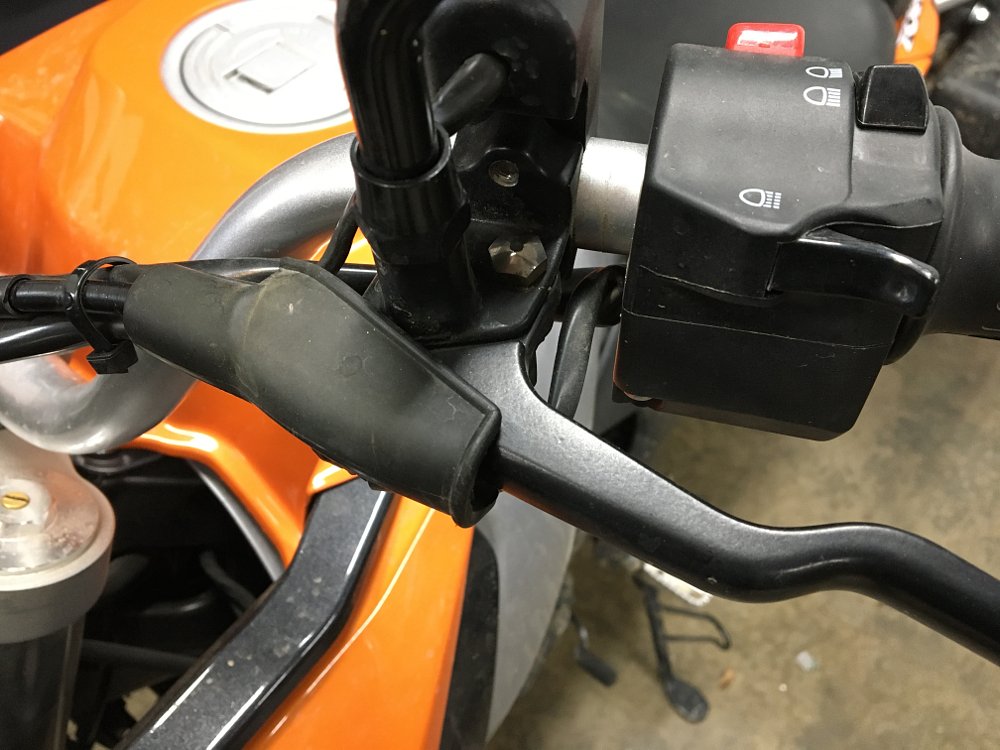
Next up, take a close look at your controls. The clutch, front brake, rear brake, and shifter should all operate smoothly without any binding or excessive play, which might suggest worn pivots. Speaking of pivots, now is a fantastic time to disassemble, clean, and grease ‘em. Unless your bike is quite young, odds are those joints have gotten dirty and dry anyway.
![controls]()
Properly lubricated pivots operate smoother and last longer. It’s a good idea to clean and lube your control pivots every year. Photo by Ari Henning. - Your cables wear and stretch over time, so verify the freeplay on your clutch cable, and check the freeplay at your throttle. The throttle should rotate smoothly and snap closed when released from wide open. If not, the sleeve and/or the cables likely need to be lubed. If you’ve got more than 30,000 or 40,000 miles on your cables, consider replacing them.
-
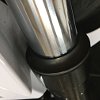
Now let’s take a look at the suspension, which honestly doesn’t get a lot of love. There’s oil in your fork and your shock, and it needs to stay in there, so take a look at the seals and the condition of the sliding surfaces. That’s the stanchions up front and the shaft on your shock. Pitting, scratches, and rust will tear up the seals and lead to a leak. Some 600-grit sandpaper is useful for smoothing out any imperfections on chrome stanchions.
![checking the suspension]()
- If you’re bored out of your mind and have the necessary equipment to support your motorcycle, consider rebuilding the rear suspension linkage, which is located under the swingarm pivot where it’s subjected to rain and road grime. All those needle bearings, bushings, and seals would surely appreciate a deep clean and regrease.
-
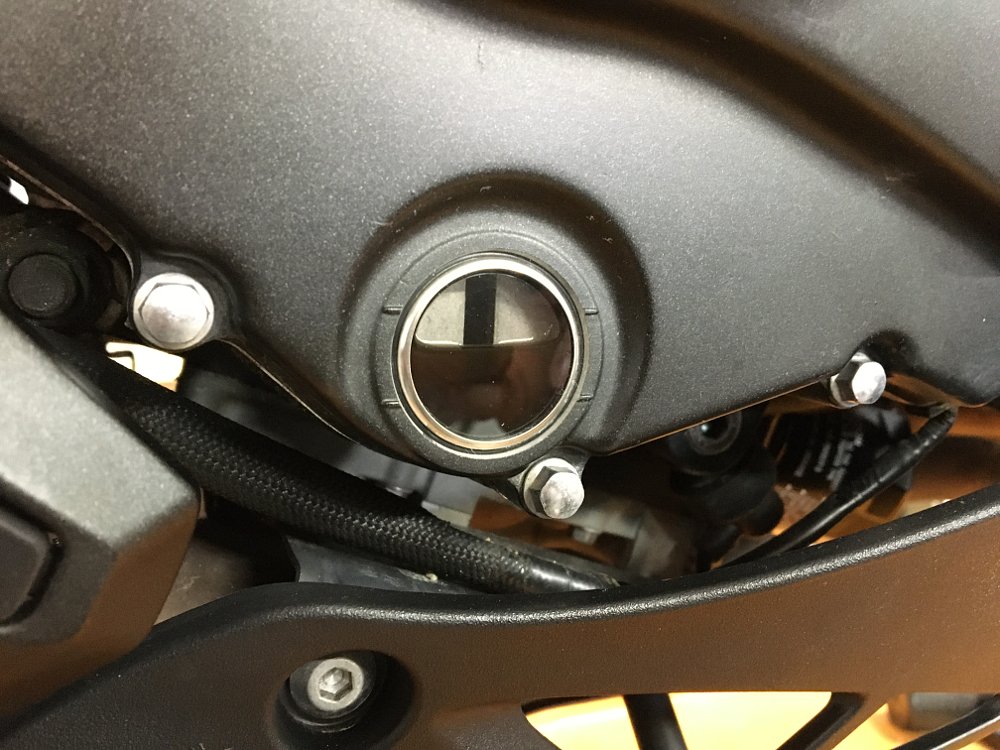
Let’s turn our attention to the engine. Oil is the lifeblood of every internal-combustion engine, so stand the bike upright and check the oil level and color. If it’s looking dirty, now is as good a time as any to swap it and spin on a fresh filter.
![oil change]()
Oil is your engine’s lifeblood. Regular oil changes are the single most important aspect of proper maintenance. Photo by Ari Henning. - It’s also a good idea to look at the mating surfaces of the valve cover, cylinder head, and cylinder to check for oil leaks. A little weepage is nothing to worry about, but if something is actually dripping oil (and it’s not a vintage Harley or Triumph), you should take care of it. Likewise, run your hand under the engine to check for leaks that aren’t visible. And do you remember when you last replaced your air filter and spark plugs? Check your owner’s manual for the service interval.
-
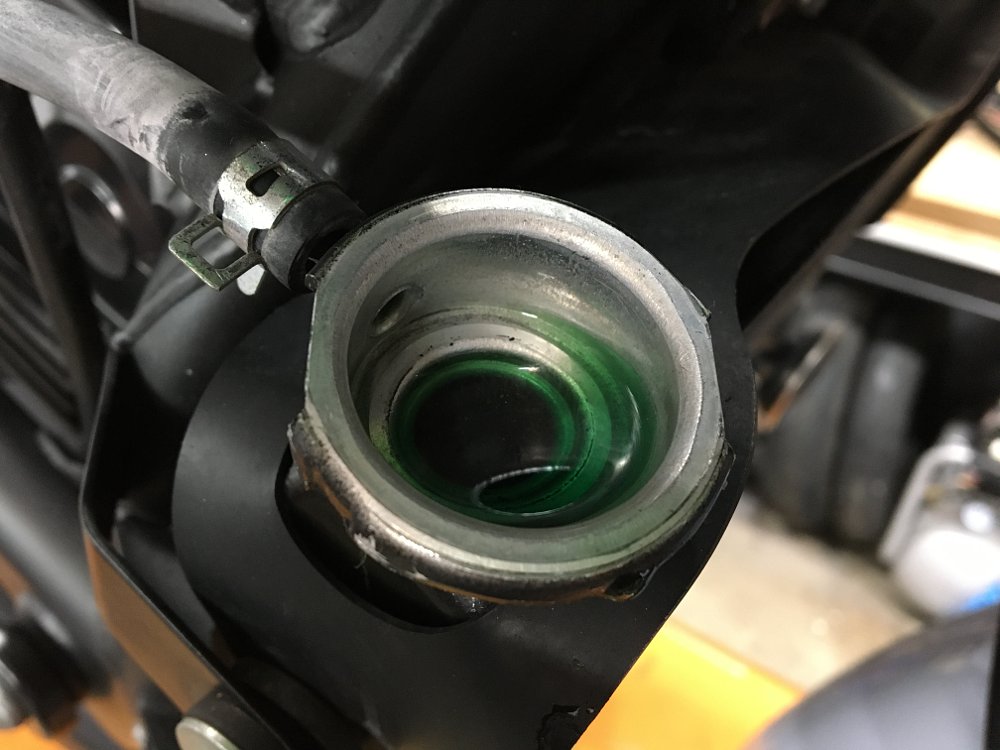
Assuming you have a liquid-cooled bike, you’ll also want to check the coolant level in both the radiator and the overflow tank. It ought to be up to the neck in the radiator and between the lines in the overflow tank.
![coolant]()
Summer is right around the corner. Make sure your engine is prepared for the heat by topping off the coolant. Photo by Ari Henning. - Also take a look at the radiator hoses. As they get old they can harden and begin to crack, so if yours feel brittle, now might be a good time to replace them and flush and refill your cooling system. If you’re the OCD type, you can also straighten all the radiator fins with a small flat blade screwdriver. They tend to get bent over by big bugs and road debris.
- Turning to the chain and sprockets now, eyeball your rear sprocket teeth to check their condition. If they’re getting thin and hook-shaped, that means the sprocket is worn, which means your chain and countershaft sprocket are on their way out, as well. A really quick way to check chain and sprocket wear is to try to pull the chain away from the rear sprocket. If you can see daylight under the links, that’s a good indicator that the parts are near the end of their life and ought to be replaced.
- Looking at the chain, make sure there aren’t any seized or loose links or O-rings missing from between the side plates. Keep in mind that a cold sealed chain will feel a bit stiff, so don’t be alarmed if all the links feel a little tight. Check and adjust the chain slack if needed. That info is often listed on a sticker on the swingarm or under the seat, along with tire-pressure info. Since you’re on lockdown, now is a great time to go to town on your chain with a brush and degreaser and get it really, really clean before applying fresh lube.
- The wheel spacers and hub seals tend to get caked in crud, and nobody ever seems to tend to these critical parts. A rag doused in WD-40 does wonders for wiping away the road grime and conditioning the seals, but consider popping your wheels off and really wiping out those seals. Add a dab of waterproof grease to the inner lip to keep them spinning smoothly. And why not check your wheel bearings while you’re in there? They should turn smoothly without binding.
- Okay, now you’re going to hop on the bike and swing the steering from side to side. Does it feel smooth and free, or tight and maybe notchy? If it’s the latter, your head bearings are likely in bad shape. Now hold the front brake and rock the bike forward and back, compressing the fork. Feel anything unusual, like a clunk or click? If you do, try to figure out where it’s coming from. It could be head bearings, fork bushing play, or wheel bearings. Keep in mind that floating brake rotors will move a little bit, so don’t let that alarm you.
- Flip on the key and check to see that your tail and brake light, headlight, turn signals, and horn work properly. Checking your lights and whatnot also verifies that your battery has juice in it, but it’s still a good idea to check the resting voltage and throw it on a trickle charger if it shows less than 12.5 volts. That’s because even though it’s a 12-volt battery, if it registers 12.0V, that’s only really about a 50 percent charge.
- Finally, If you’ve got a torque wrench or even if you don’t, it’s a good idea to go around and check all the big-time fasteners on the bike. I’m talking about axle nuts and chassis bolts, fork pinch bolts, caliper bolts, footpeg bracket bolts, and the like. While you’re at it, make sure your license plate is secure.

And with that, your bike has had a pretty good check up. Did you find anything that needs attention? Let us know in the comments section. We’d love to hear what you’ve been doing with your bike (besides riding it) while in self-isolation.
Image Gallery