There are a lot of reasons why you might want to know how to lace a spoked motorcycle wheel. Maybe you're restoring an old bike or repairing damage to your off-road bike after a rough ride. Maybe you're building a custom and want to combine a unique rim size and a hub in a combination that's not available.
Whatever the reason, here are the steps you need to know. While there are quite a few different lacing patterns and hub types, these principles apply to all of them.

Tools needed
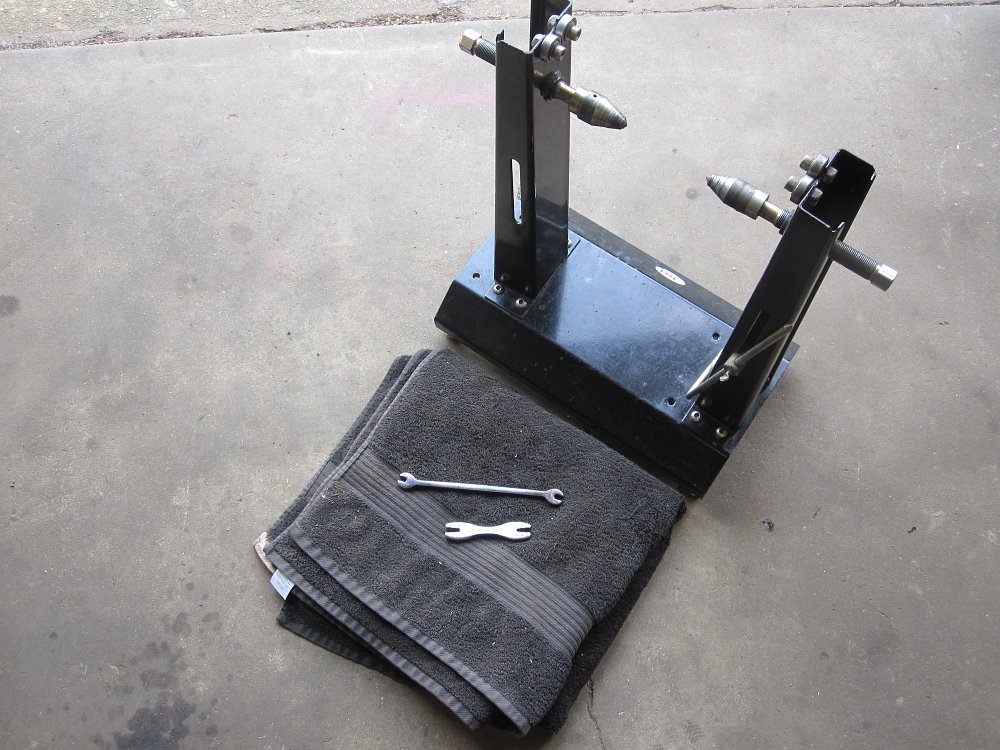
You will need a wheel truing stand, a properly sized spoke wrench, some anti seize, a measuring device and a workbench with an old blanket or towel to work on. A pair of bolt-cutters or an angle grinder with a cutoff wheel helps disassemble the wheel quickly if you are replacing the spokes.
Inspection
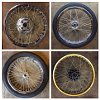
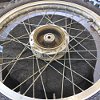
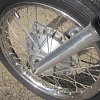
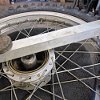
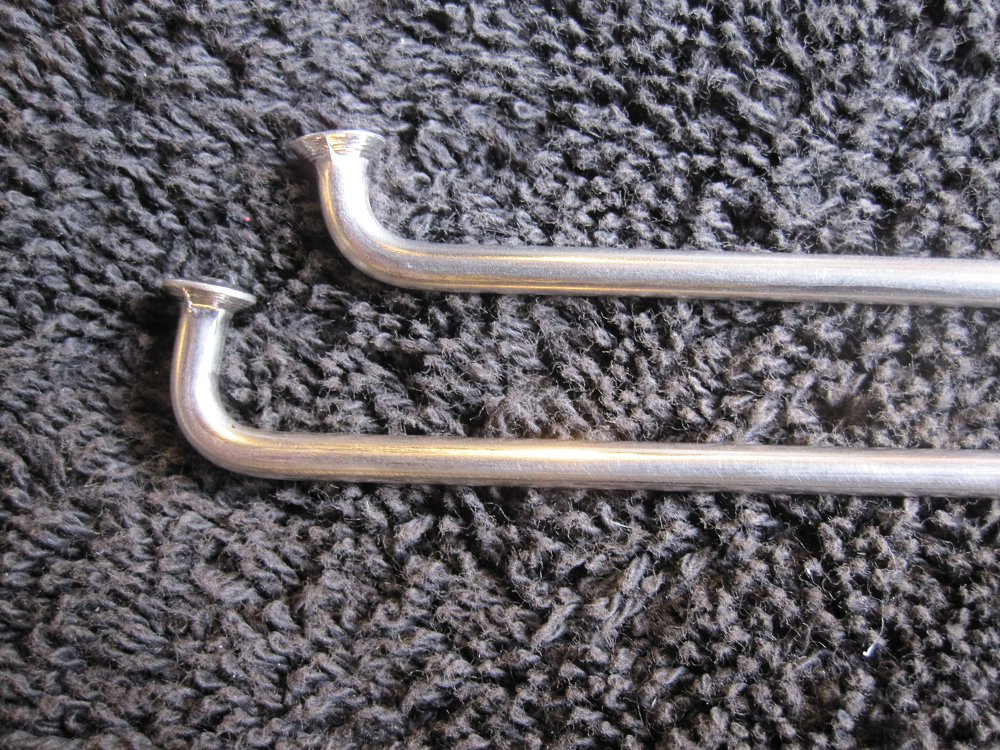
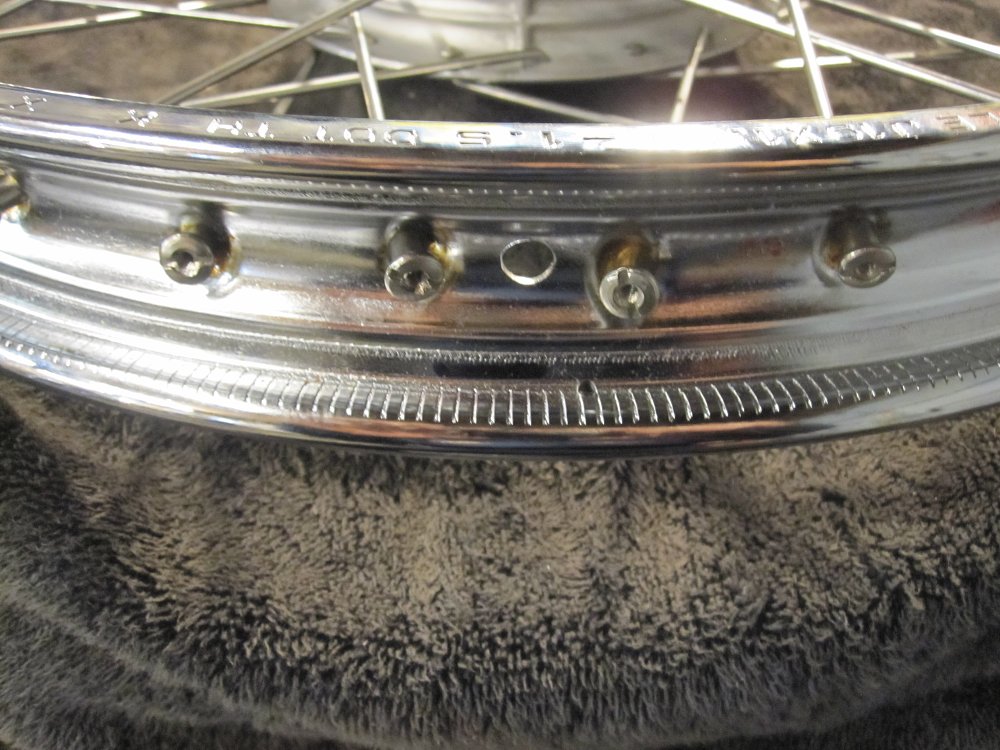
When looking at your wheels, you’ll notice there are two types of spokes. Inside and outside. On wheels that have asymmetrical hubs, there are four — short and long versions of inside and outside.

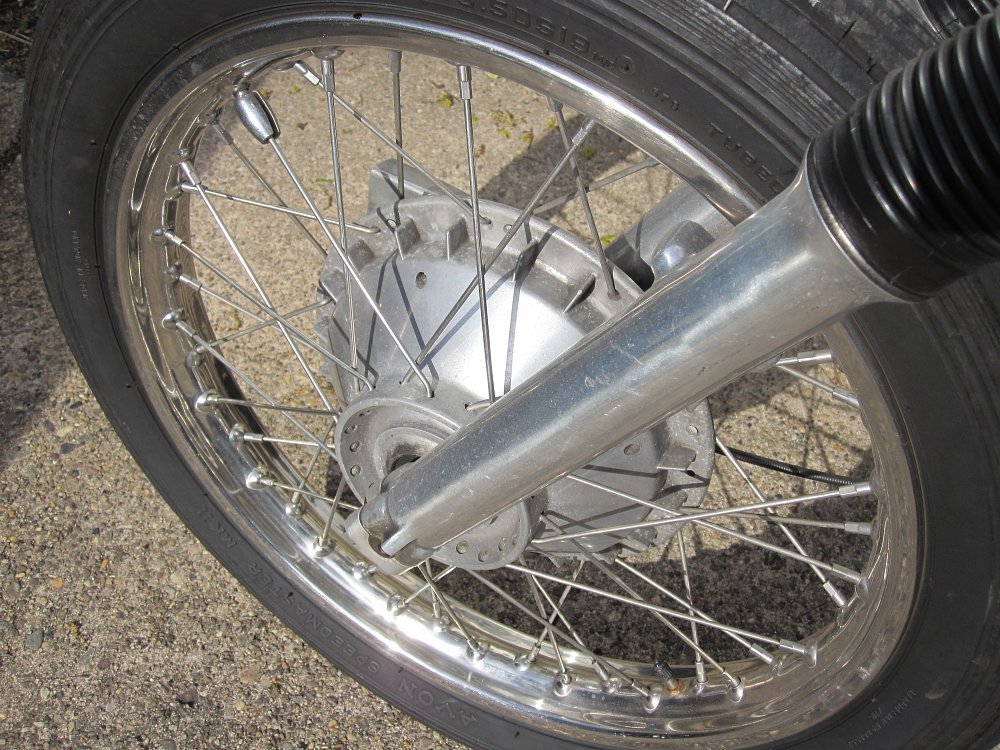
Before getting to work, I recommend taking photos of the wheel or, if you’re starting from scratch, find some photos of the wheel online. This will help you understand which direction each type of spoke goes as you begin lacing.
Offset
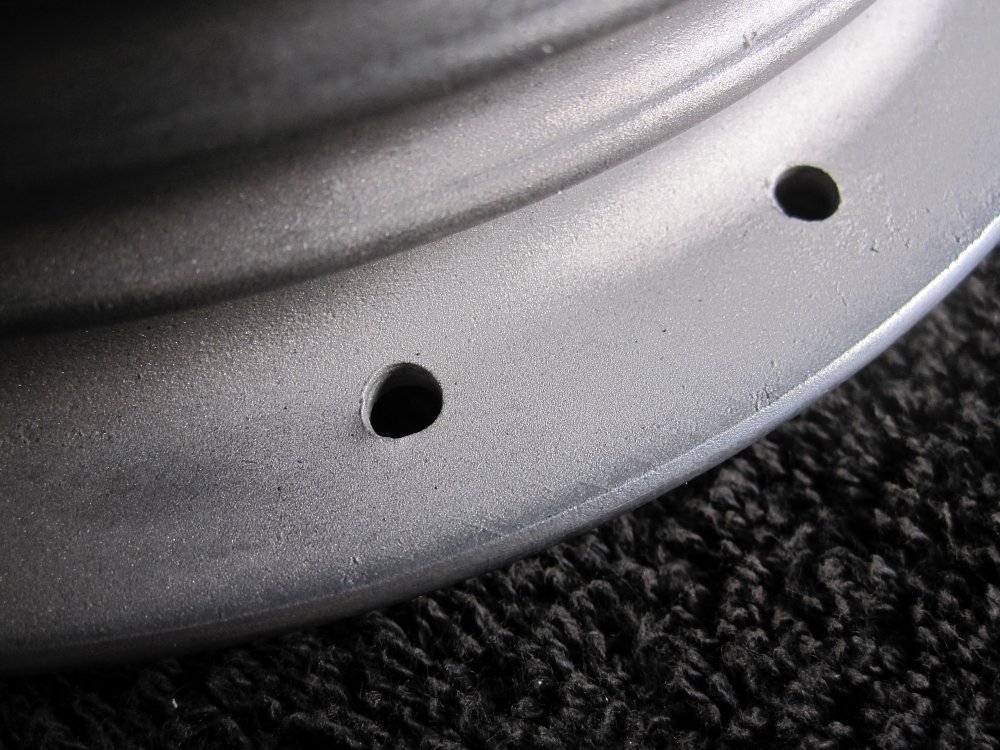
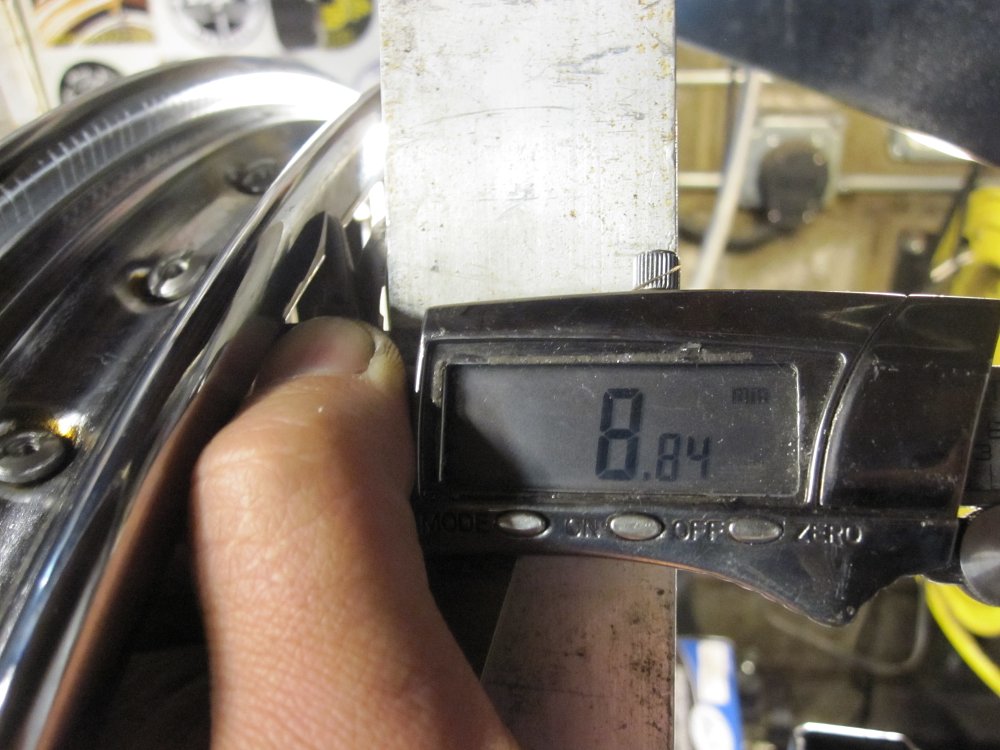
Another important step is to measure the offset. Sometimes rims are not centered on the hub so you will need to take a few measurements.
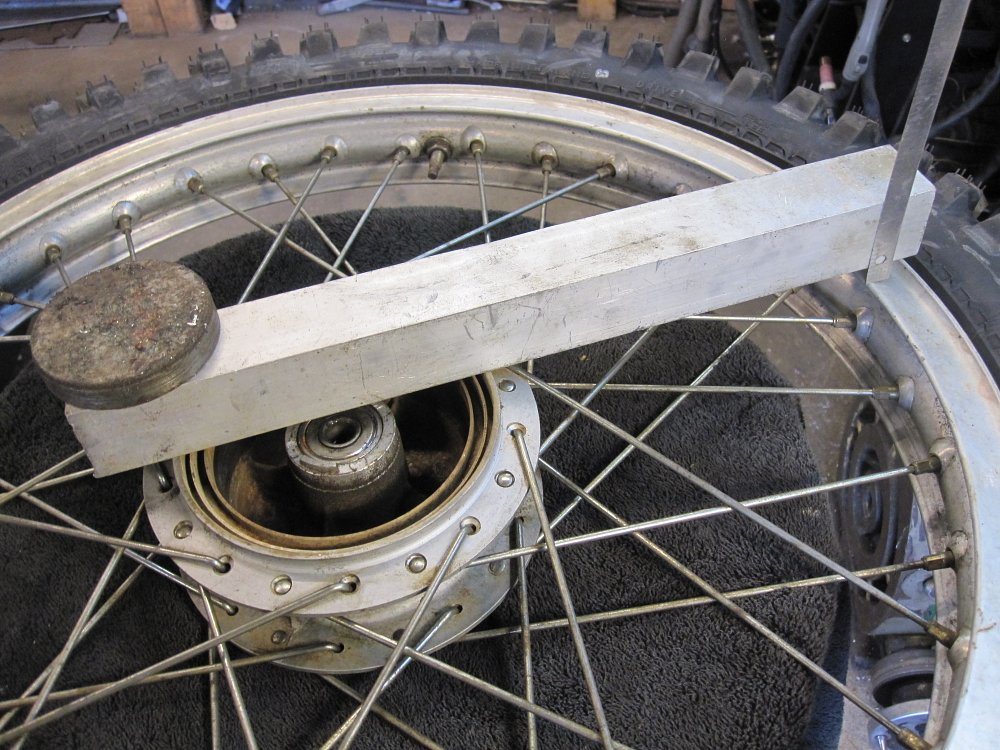
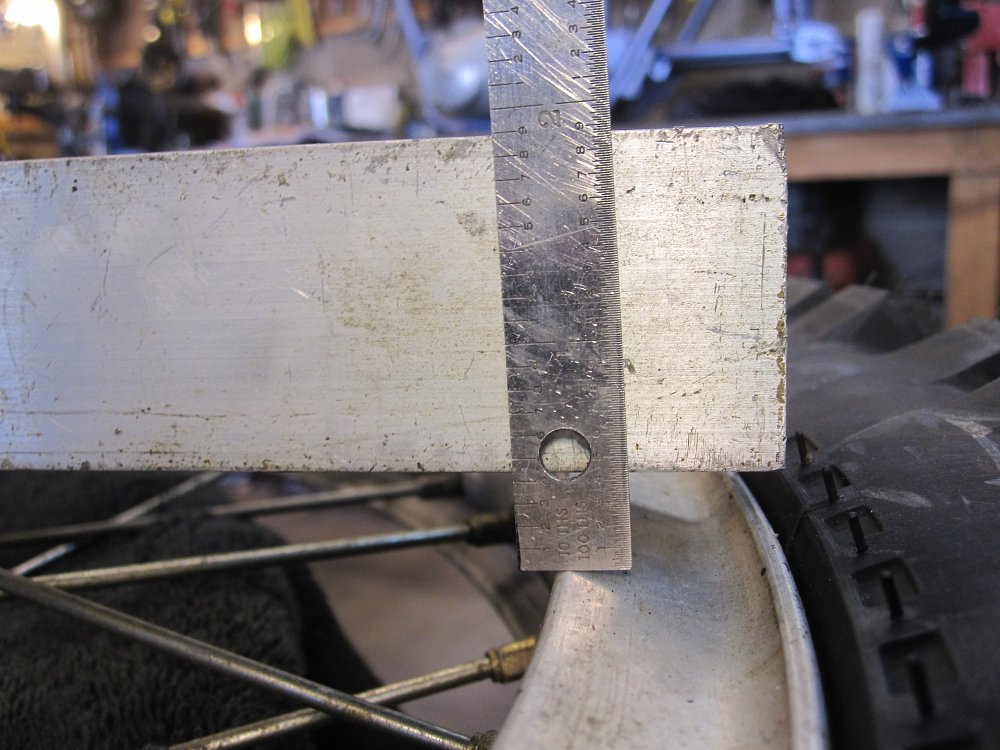
Take a long straightedge and lay it across the brake rotor flange, drum edge or sprocket flange and measure the distance between it and the side of the rim. Check the measurement at three, six, nine and 12 o’clock to account for any bends in the rim. Go with the “most popular” measurement and write that down. Having a factory service manual really helps since the offset is usually listed. If you’re building a custom wheel, you may need to do some math to figure out the rim to hub offset required for your bike.

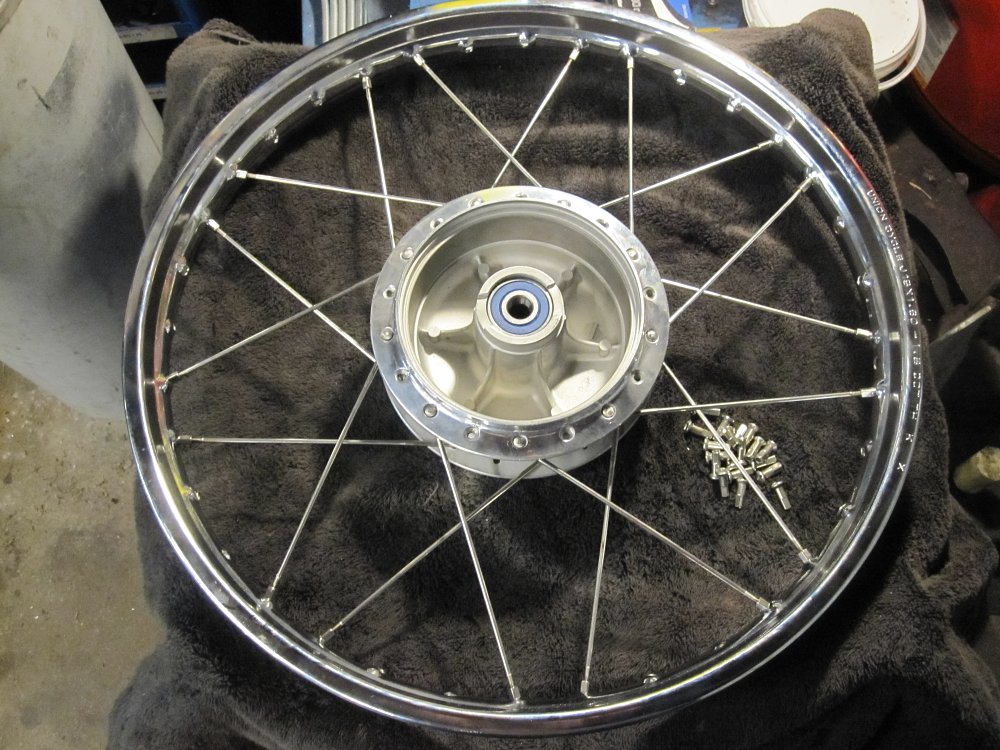
Wheel disassembly
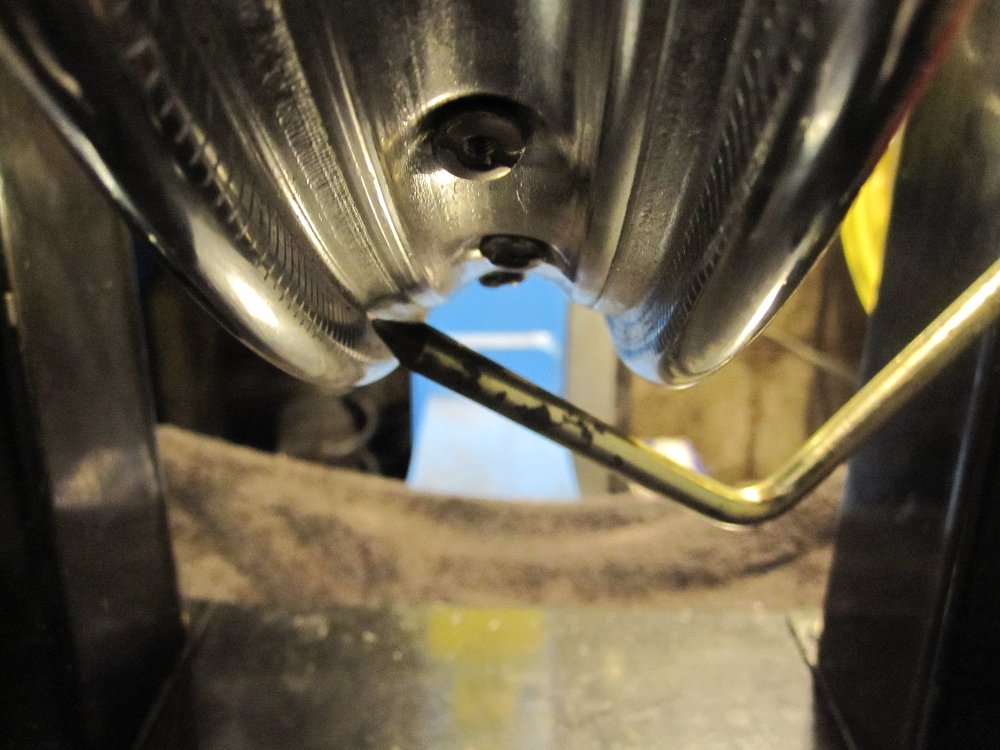
If you are replacing the spokes and nipples, you can save a lot of time by cutting the old spokes out. I like to use a big pair of bolt cutters since they can cut two at a time. Wear safety glasses since the spokes can shoot out, although leaving the rubber rim strip on while doing this keeps this from happening. If you are just replacing the rim and reusing your original spokes and nipples, you can just remove the nipples and leave the spokes in the hub. This will keep you from doing extra work.

Prepping the hub
Prepare the hub before beginning to load the spokes into it. Now is the best time for painting, powdercoating or polishing. It is also a good time to consider replacing the wheel bearings and seals.
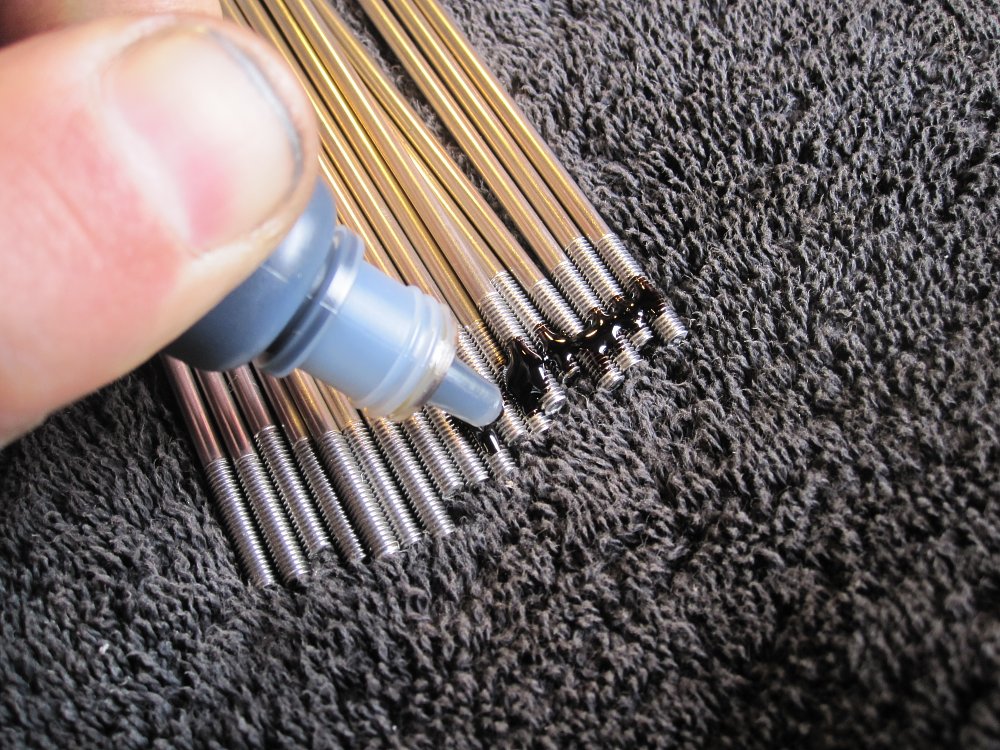
Separate your “outside” and “inside” spokes into two piles. If your hub has a big side and a small side, be sure to separate the spokes into four piles — long insides and outsides, and short insides and outsides. Put some anti-seize on the threads of each spoke and in the dimples of the hub. This ensures that you will get an even torque feeling in your spoke wrench when you tighten the wheel. It will also allow you to easily true or re-tension the wheel in the future if needed.
Lacing inside spokes
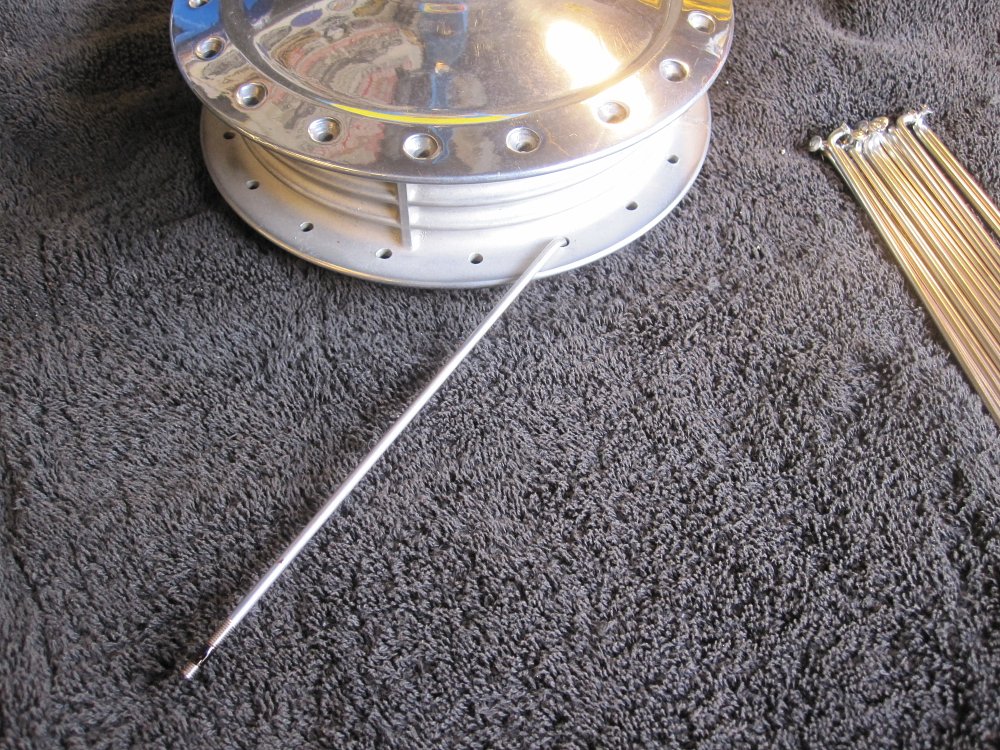

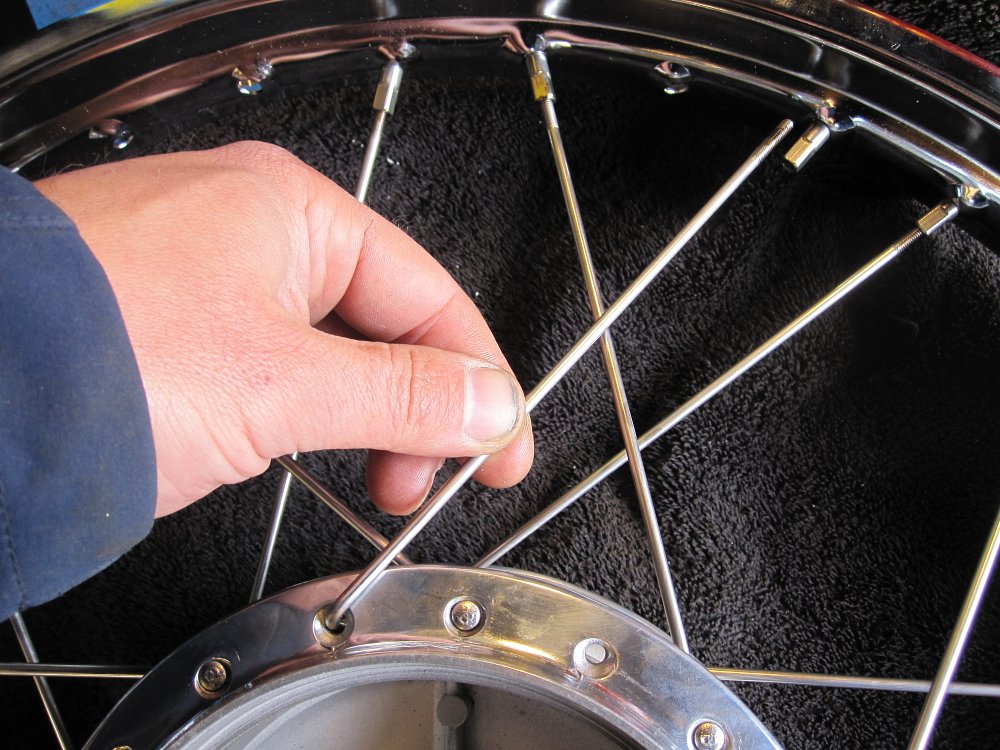
Once you have all your wheel components ready, begin loading the “inside” spokes in every other hole in both of the hub flanges, from the outside. I have found that it is easy to tell where the spokes should go based on witness marks in the hub. It is usually very apparent where the old spokes were, making it easy to put the new ones in the correct holes. If the spoke location and direction is unclear, reference your service manual and the photos you took earlier. Now your hub will be loaded with half of the pile of spokes you started with.

Angle the spokes in the correct direction, clockwise or counterclockwise, using your references. Place the rim around the hub and spokes. I like to use a blanket or towel to work on so nothing gets scratched as you move it all around. Now when you look at the holes in the rim, it will be very obvious which spokes go in which holes. If you’re having trouble, poke a nipple through the rim and take note of which way it’s pointing, this will show you which spoke to begin with. If you're rebuilding a wheel with an assymetrical hub, it is important to pay attention to the rim-to-hub orientation. Typically, the widely splayed holes in the rim should be on the large hub flange side.
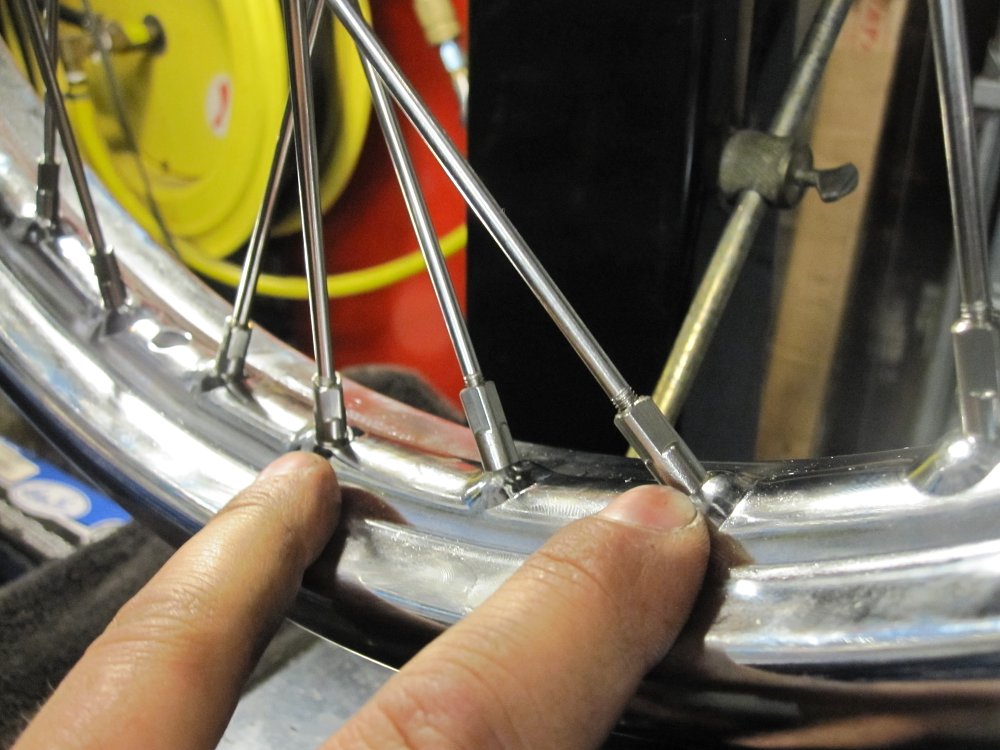
Once you get the first spoke nipple threaded through the rim, repeat through every fourth hole in the rim. Just work on one side at a time — inside right-side spokes into every fourth hole in the right side of the rim, then inside left-side spokes into every fourth hole in the left side of the rim. You will only need to thread the nipple onto the spoke a few turns. Don’t tighten them up too much since that will make it impossible to finish assembling the wheel. You will tighten the nipples all up together at the end of assembly.

Lacing outside spokes
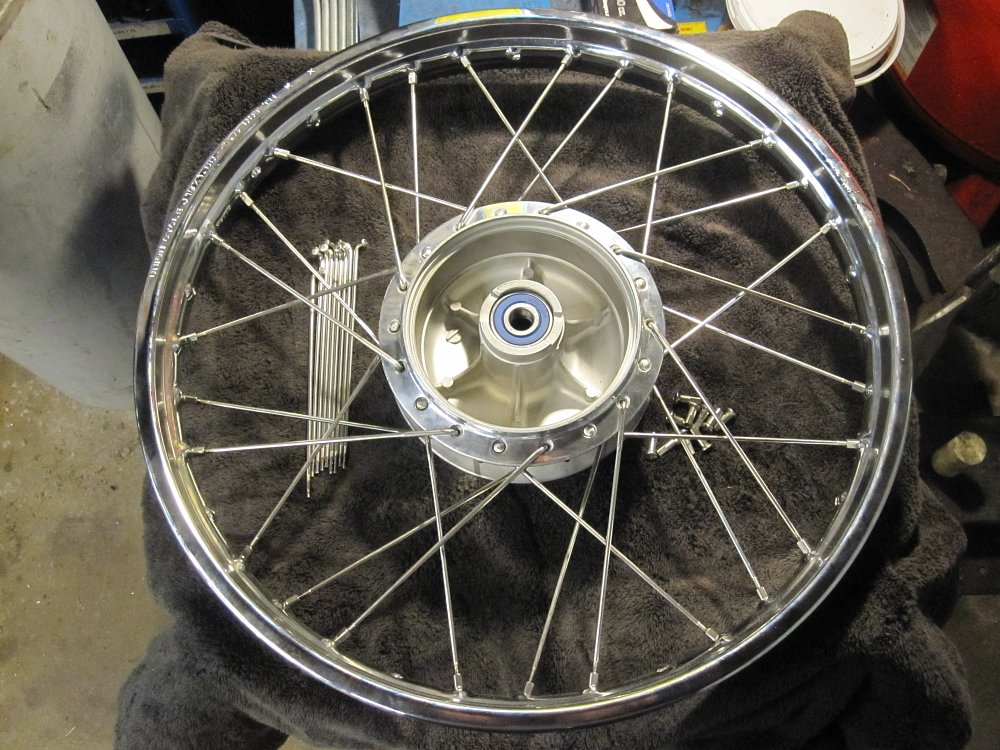
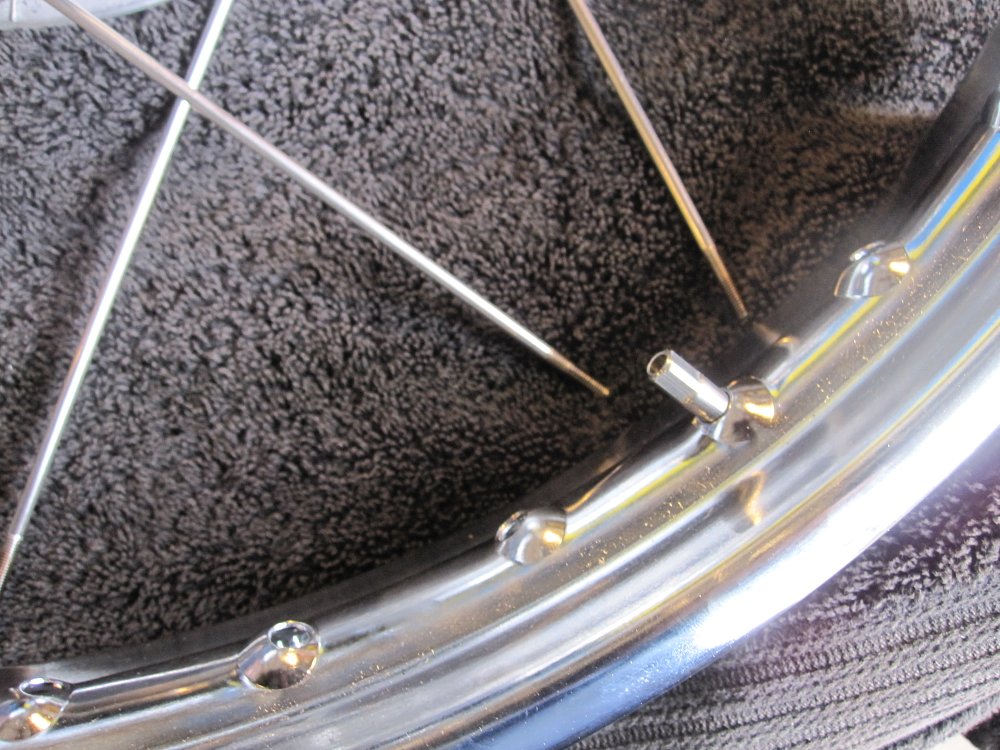
Next, you’ll load the first row of “outside” spokes into one side of the hub. I recommend lacing them one at a time to prevent scratching the rim. You will be able to poke a spoke through the hub flange from the inside, going outward and then, using your references, thread the nipple onto it through the appropriate hole in the hub. Repeat for every fourth hole on the same side of the rim until the spokes are all in place in one side of the wheel. Then finish by lacing the remaining “outside” spokes into the other side of the wheel.
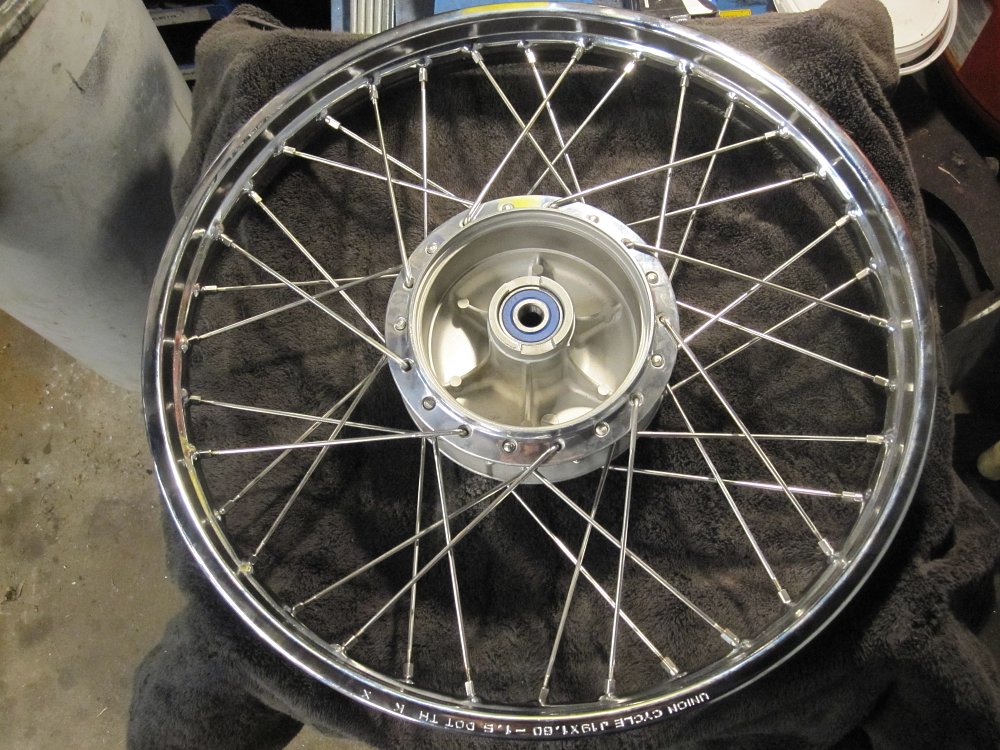
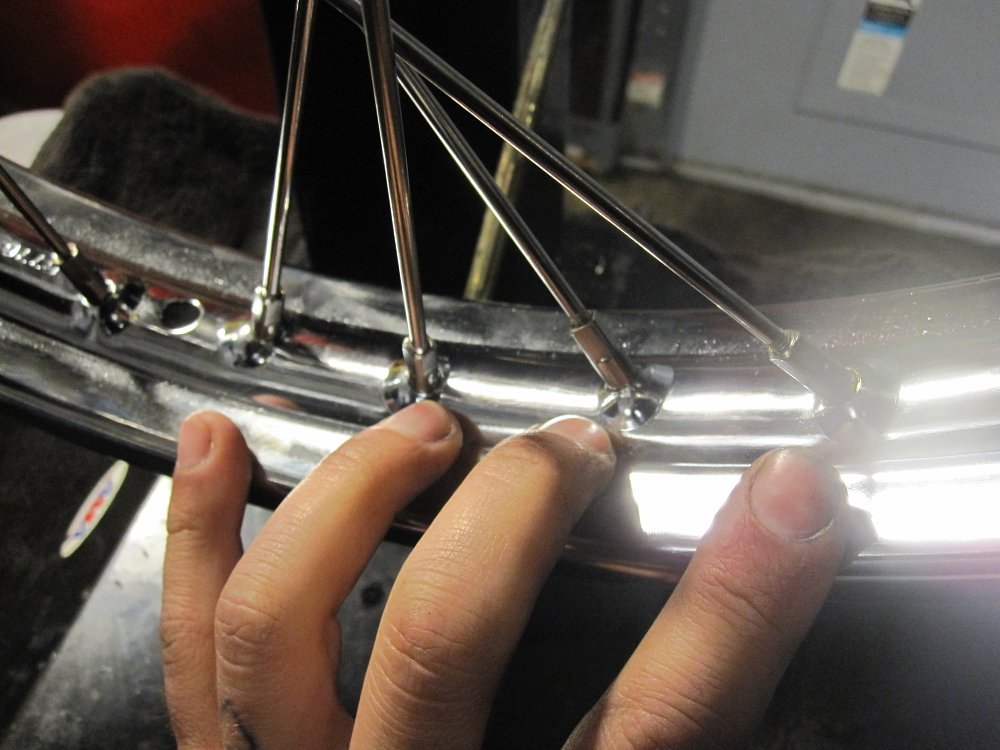
Now your wheel will be completely “loose laced.” You should notice the hub and rim are very slack and all the spoke nipples should be sticking through the rim evenly. If you find that there is a lot of tension on one “type” of spoke and none on others, you may have to back up and start over, paying close attention to your references. Take note of the number of times one spoke crosses another. On wheels with symmetrical hubs, spokes will generally cross two other spokes. On wheels with asymmetrical hubs, it's likely that one side will cross just one, while the other side will cross two or three.
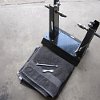
Truing
Now you will put the assembled wheel into your truing stand. Be sure your stand’s cones are up against the inner bearing race and not the rubber dust seals. Using the valve stem hole as a reference, finger tighten the nipples evenly all the way around, leaving about 0.125 inches to 0.25 inches of threads showing on every spoke. This should take most of the slack out of the wheel. Continue finger tightening the nipples just a quarter turn at a time until they are all just barely snug.
Using the reference pointer on your truing stand, check the wheel for side-to-side wobble and up-and-down hop. If the rim is too far to the right, by hand, loosen the spokes on the right and tighten the ones on the left of that particular area. Usually just two spokes on each side of the wheel will do the trick. For areas that hop and up and down, the same principle applies. If the rim is too low, tighten the nipples evenly on both sides of the wheel to draw that area closer to the hub. This will also include adjusting four or more nipples. If it is too high, loosen the nipples in that area. The straighter you can get the wheel by hand up front, the easier tensioning it will be in the next step.
Tensioning and offset
Tensioning is basically getting the wheel back to that tight-as-a-drum factory spec. The trick is to tighten the nipples evenly all the way around, constantly checking for wobble and hop on every lap around the wheel, using the valve stem hole as a reference. This can certainly be tedious but this is where you are building strength into your wheel. I generally tighten the nipples just a quarter turn at a time per lap around the wheel until it’s tight. Your service manual may list the torque setting your nipples should be at, which of course requires a spoke torque wrench. This is also the time you should be checking the offset.
Runout
You may see wheel builders using a dial indicator to true and tension their wheels. Service manuals call this measurement “runout.” I find this practice to be relatively futile due to the seam in most rims. Rims are made of a long straight piece of steel or aluminum that is bent into a circle and welded. You will notice a spot where there was a weld that’s been ground down. The seam in most rims typically comes close to or exceeds the runout specifications found in service manuals. This means that you could have 95 percent of your wheel perfectly spot on and the seam will always show a wobble no matter what. My advice is not to drive yourself too crazy. Using the pointer-style indicator on most truing stands as a guide to get the wheel as straight and hop free as possible has served me well for many years.
Final steps
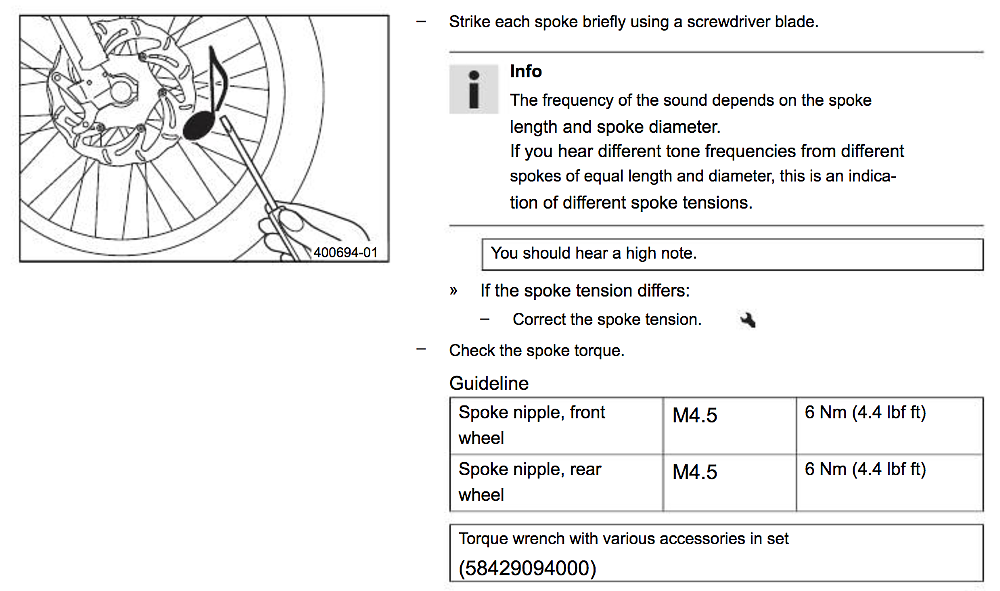
When bringing the wheel to final tension. I find the best practice is to go “by feel” with a traditional spoke wrench, paying close attention to keeping the rim straight and hop-free. You may want to tap on the spokes of the other wheel on your bike, or even a friend’s bike to hear the correct pitch of a properly tensioned wheel. On a loose wheel, the spokes will produce a low and dull tone. A properly tensioned wheel will have a nice “ping” to them. A wheel that is overtightened can potentially crack the hub or begin to pull the nipples through the rim.
Be sure to grind down any spokes that may be poking through the nipple since the inner tube would otherwise be punctured by it. Install a new rim strip, tire and tube and enjoy your new wheel!
Tensioning bonus tips

Consider the size and weight of the bike. Big heavy powerful motorcycles like ADV bikes or cruisers generally have wheels with fatter spokes that are very tight. Smaller, older bikes that are lighter and have less powerful engines generally will have wheels with thinner spokes and smaller nipples that do not require the same tension. Dirt bikes are an exception since they are lightweight but require very strong wheels so they generally have heavier duty spokes and nipples under relatively high tension.

The idea here is that a spoked wheel should be under enough tension to withstand the maximum stress the wheel is expected to handle. Too loose and the cyclical stress of each spoke as the wheel goes around will cause work-hardening and eventual failure of the spokes. Too much tension puts undue strain on the hub and rim. More often than not, an inexperienced wheel builder tends to leave a wheel too loose versus overtightening. If you are planning to lace more than just one wheel occasionally, it may be worth investing in a spoke torque wrench to help accelerate your wheelsmithing skill of identifying the appropriate tension.
The best tool to have when lacing spoked wheels is patience. It may take you a few hours to finish your first wheel. If you’re feeling frustrated, take a walk and you’ll come back with a clear head. Once you figure it out, you will find yourself wanting to lace up a fresh set of wheels for every old bike you see.