If you want professional-quality photos of your motorcycle, you have two choices. You can buy a fancy camera and devote yourself to the study of photography, or you can let a pro do the work for you.
The second option leaves a lot more time for riding and wrenching, and it's also the most popular choice for home builders who want to represent their work well. If you dream of seeing your bike on one of the websites that feature custom builds, professional-quality photos are absolutely essential.
Here's an overview of what it takes to get quality moto photos with the help of a professional photographer.
Common Tread has previously covered the basics of taking pictures of a motorcycle. Reading that article is a good primer before advancing to this one. We also have an article about whether or not you should hide your license plate in photos if you want more info on that debate.
Here are the basic steps:
- Get your motorcycle photo-ready, and choose a location.
- Set your expectations for the final product.
- Find a photographer who can capture your vision.
- Complete your photoshoot.
- If submitting your motorcycle to a site for a feature, send in your best work.
For this article, I worked with RevZilla’s staff photographer Luke Darigan. You’ve seen his name listed in the photo credits for a few articles that I have worked on, and behind the scenes, he works to create the imagery behind countless product photoshoots here at ZLA. This guide was created with a ton of input and work from Luke, and the experience definitely changed the way I'll look at motorcycle photography in the future.
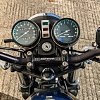
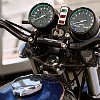
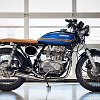
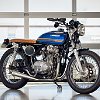
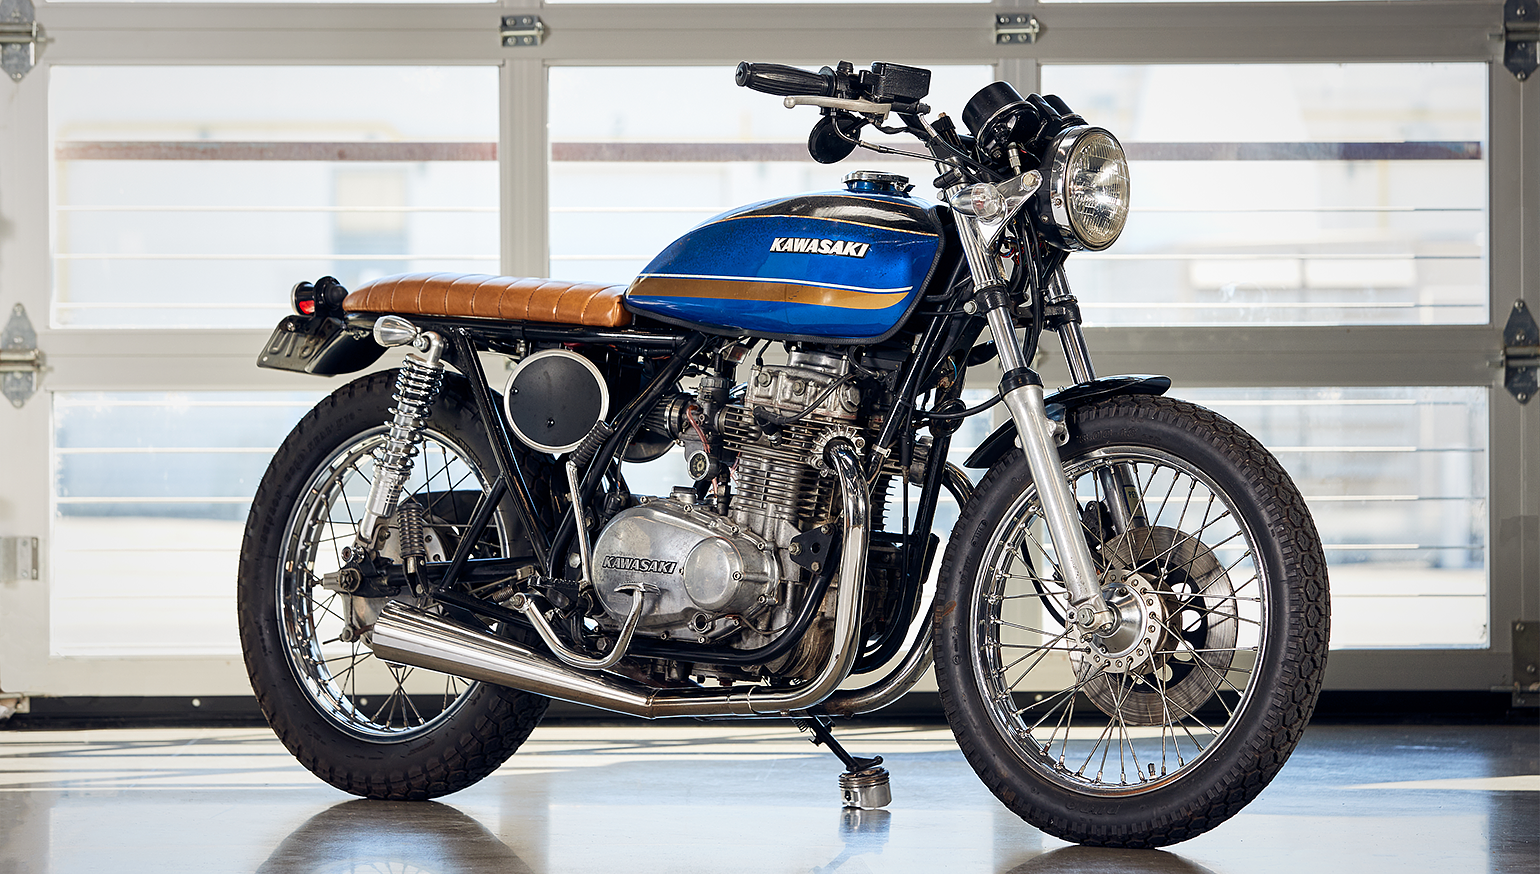
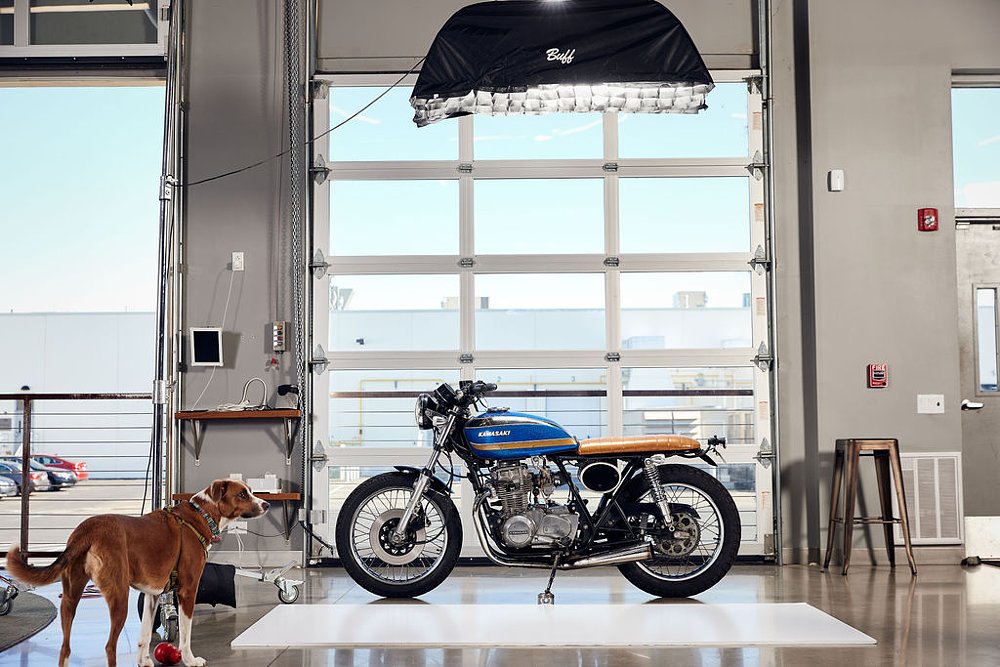
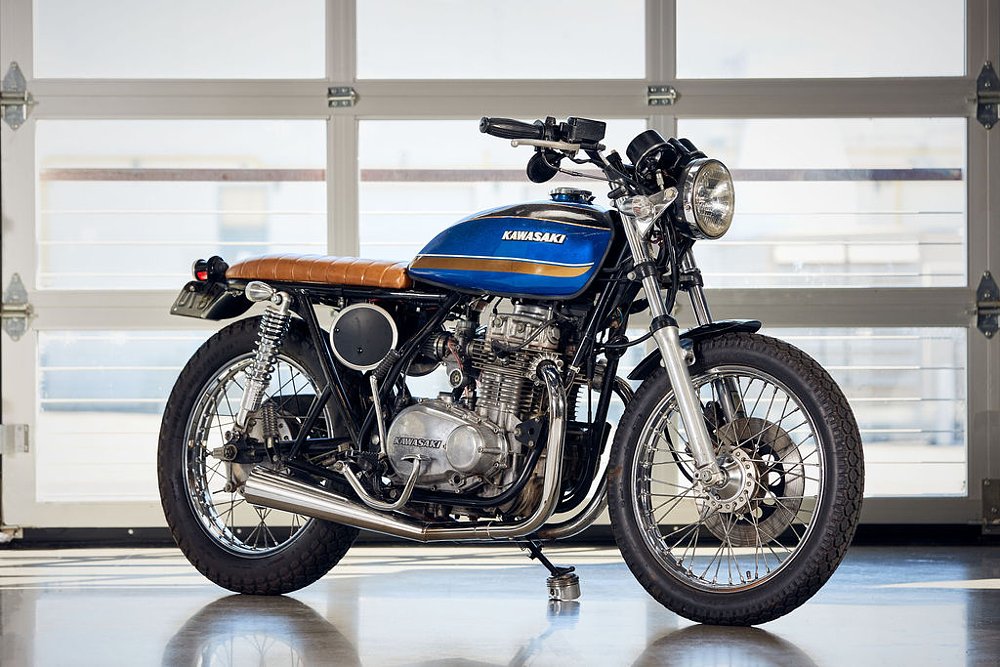
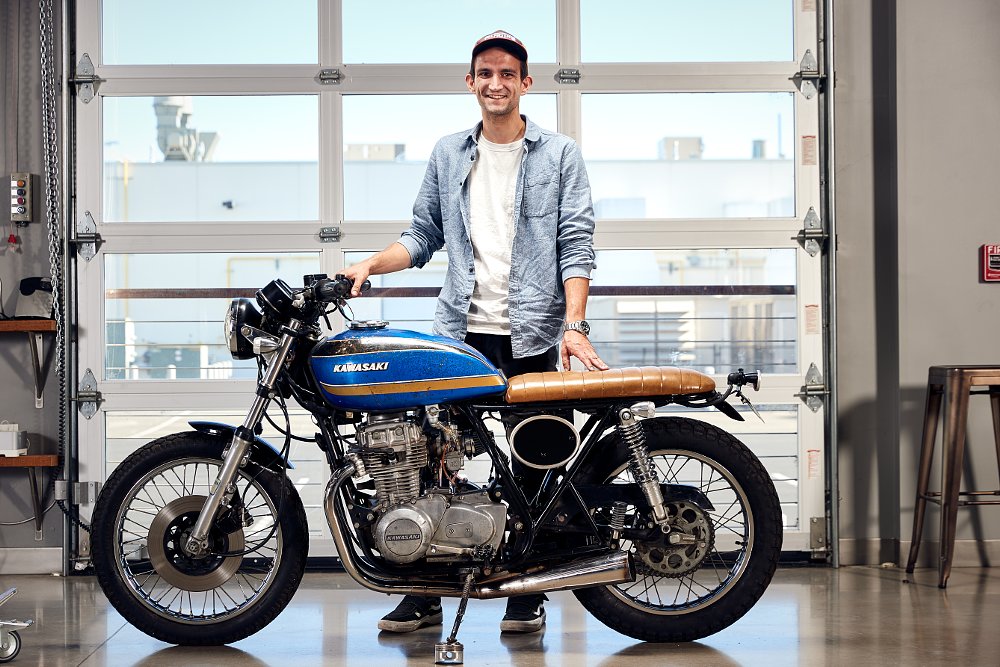
The motorcycle in these photos was my very first street bike: a 1978 Kawasaki KZ400. It has been chopped up, thrashed, stuffed away in storage, and chopped again several times. I decided to treat it to one last round of modification and polish before sending it off to a new owner. As my goal for this project, I wanted to get a few photos with my old ride before it left my fleet, and Luke’s photos are a fitting final look at the trusty KZ. Let’s get started.
Step one: Prep your motorcycle and choose your location
You might think that finding a professional photographer would be your first step, but getting your motorcycle photo-ready should be completed first. That way, you’ll have everything prepared when the shoot date arrives. This also gives you the flexibility to accept any proposed date that the photographer suggests without pulling an all-nighter to get ready.
Clean every surface thoroughly, unless you’re going for a ratty, barn-find look. This is your opportunity to tie up any loose ends, give a final polish, and treat the battery to a full charge if you will be leaving the lights on for some shots. I like DuPont Moto Floss for cleaning hard-to-reach areas around the wheels and frame.
If you have a specific location where you’d like to shoot, try to visit the spot in the morning, midday, and evening. Where are the shadows and natural light falling? If it is a public place, does it get busier at certain times? Do you need permission to shoot photos there? These details will help your photographer pick the best time to arrive and set up. You can also let the photographer scout the location virtually via Google Earth. Navigate to the location and copy the URL out of your browser’s address bar.
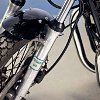
There’s one final point of preparation that’s easy to miss. It’s generally best for your motorcycle to sit as upright as possible for photos, unless you’re showing off a mean lean on your raked-out chopper or something. The upright look is accomplished by putting an object of suitable thickness under your sidestand. Scout around your garage for the right piece, and bring it with you to the photoshoot. It can be a piece of wood, a brick, or even a spare piston. This will save time on photoshoot day.
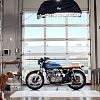
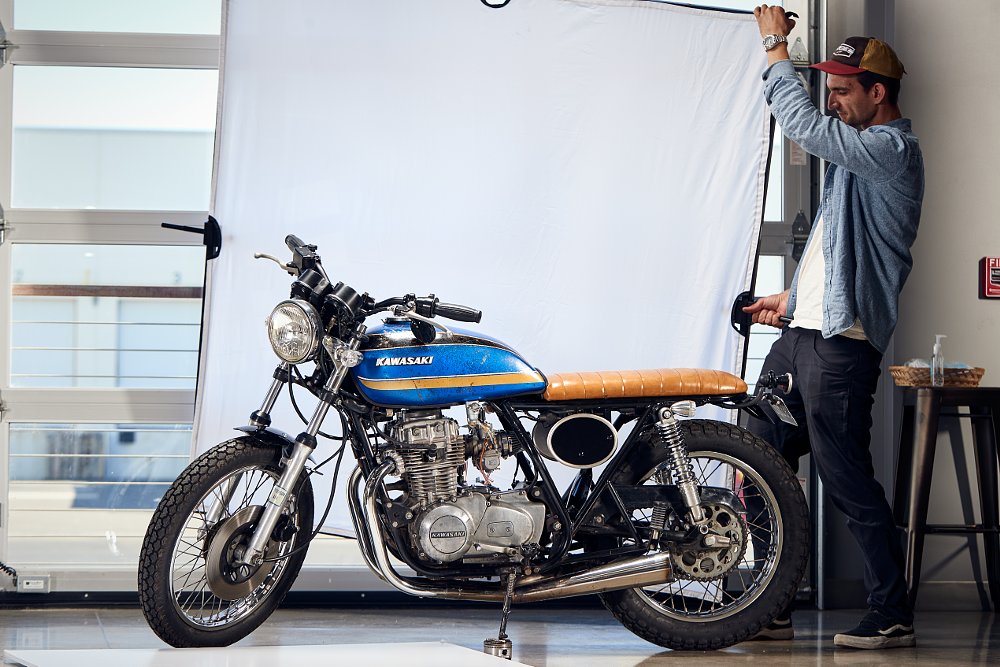
Example: I decided on 12 photos of this KZ400. The photos were shot inside RevZilla’s Philadelphia HQ, so I had to make sure the room was available on the day that I was shooting. I trailered the KZ to RevZilla to keep it clean. A quick wipe-down was all it needed before shooting. Luke didn’t have to travel far from the RevZilla studio across the hall to meet me, but he spent a long time setting up the space before I arrived to get his camera and lighting set up for the conditions. We agreed on late afternoon to take advantage of the light coming through the rolling garage door with glass panes that would be the backdrop. A dirt bike piston was the perfect height for holding my motorcycle upright once situated.
Step two: Determine your goals for the project
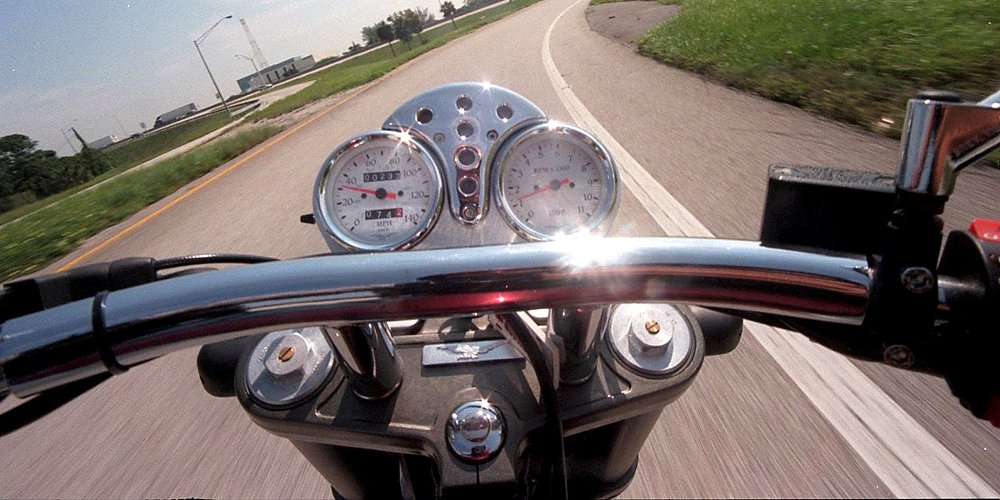
Not all photos are created equal. What kind of pictures do you want? Pictures for custom bike sites are almost always landscape with careful lighting and tasteful depth of field. An artsy shot to hang on your wall might be dark and moody. Portrait and square photos are popular for social media. Then there’s the question of resolution. Do you need high-quality stuff for publication and a big feature, or are you looking to post mainly on Instagram? File type matters, too. A good photographer should be able to deliver whatever you request. Many custom bike sites want .jpg or .png files. A higher resolution file like a .tiff might be necessary for print or high-res web work, especially if you’re extensively manipulating the photos yourself after the shoot.
Quantity matters as much as quality. Luke recommends bringing a shot list to give the photographer a clear idea of what you want. Provide a description of each shot along with its location and any specific notes. You can even take low-effort versions of the final products you want using your phone or a digital camera for reference. You’ll want to capture both sides, the front, the tail, a few quarter shots, and details that highlight your favorite parts of the motorcycle. You'll also want to discuss prices, payment, and a timeline for receiving the final images.
If you are submitting photos to a custom bike site, make absolutely sure to read the site’s guidelines for submissions. Failing to follow these guidelines will almost certainly result in a rejection. Read up on your second- and third-choice sites, too, in case your build isn’t received as well as you’d hoped. That way, you can instantly pivot to the next one instead of reshooting to new standards.
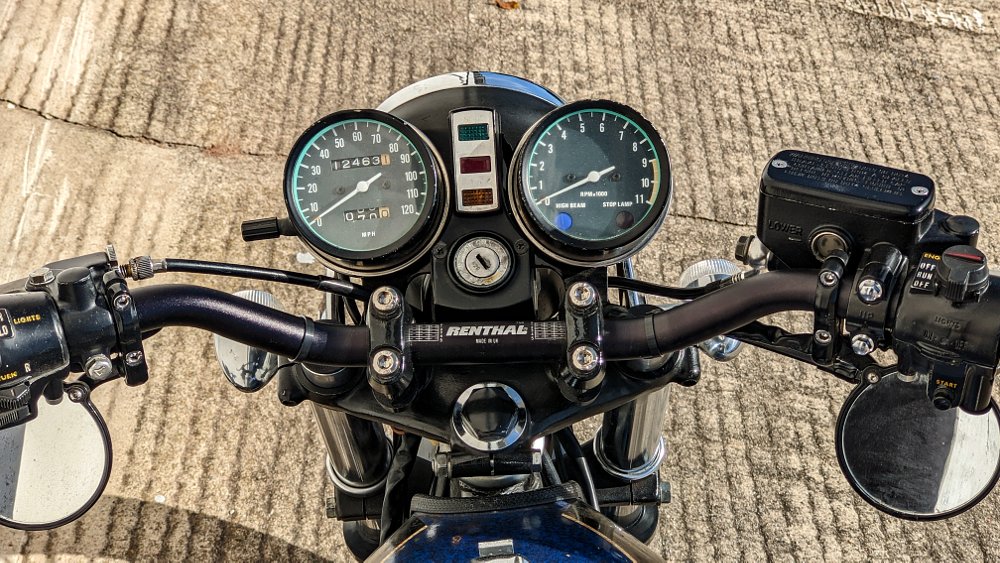
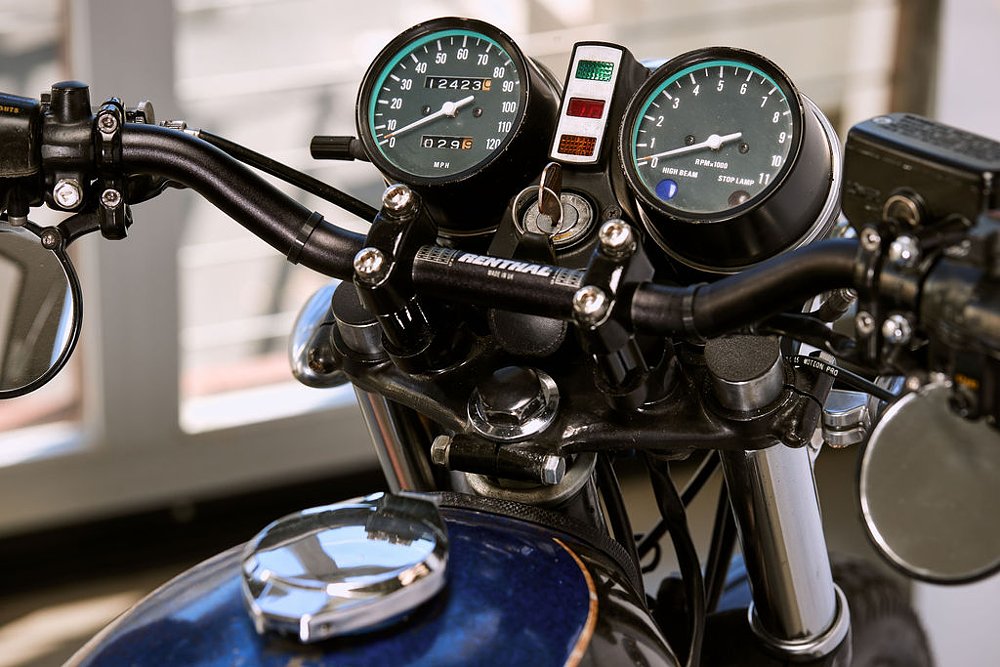
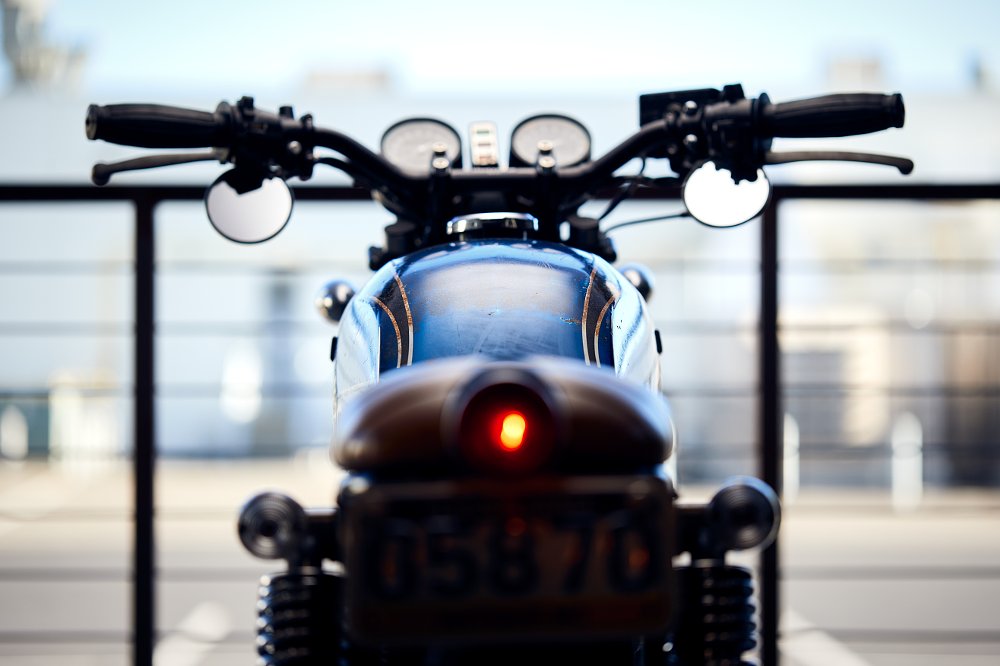
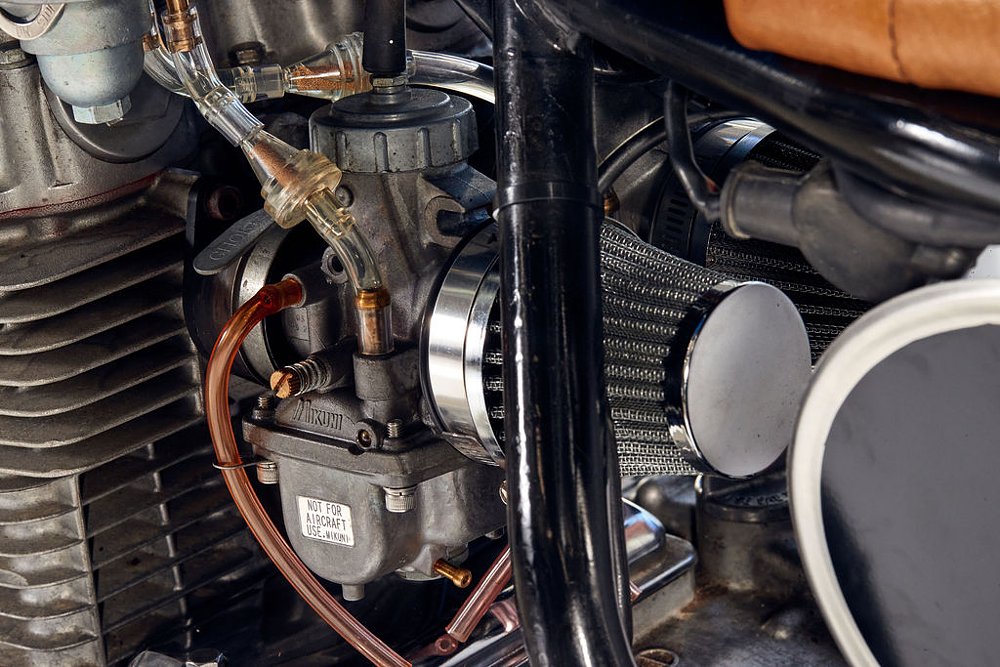
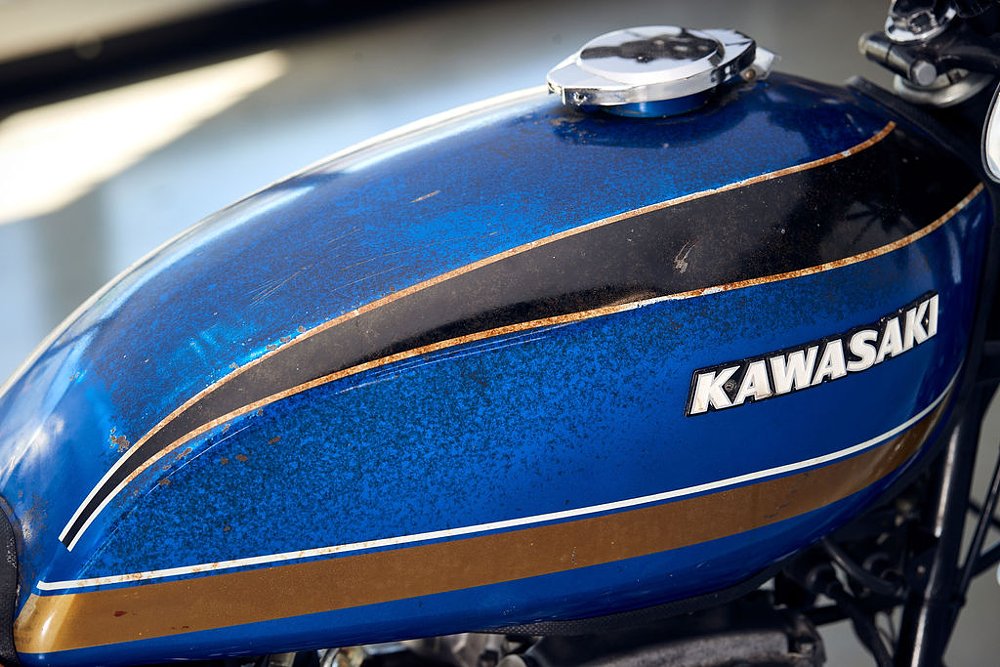
Example: My 12 photos were organized into a shot list that I sent to Luke before the shoot. I requested .png files since that format is more than adequate for my needs. The photos are all landscape with a few centered-up shots that would easily crop to squares if I wanted to post them on social media. I requested shots of some of my favorite parts, like the front right quarter view, the tank’s patina, and the slim profile from the rear.
3. Finding your photographer
If you want a good motorcycle photographer, start asking motorcycle folks for recommendations. Talk to the organizers of local custom motorcycle events. They’ll almost certainly know somebody. Same goes for car events. Photographers with an automotive focus shouldn’t have much trouble shooting a motorcycle. Luke’s background is in action sports photography, so you can also try talking with anyone who shoots local bicycle races, skateboard parks, and so on. Of course, you can always hire a local freelance photographer, but try to find one who has more experience with vehicles than weddings. Be prepared to pay up for good photos.
Example: I cheated. I work with a guy who shoots motorcycles all day. Thanks, Luke!
Step four: Photoshoot day
Show up early with your motorcycle completely ready to go, unless you want to pay a photographer’s hourly rate while you wipe the final flecks of dust off your paint. And don’t forget your side stand (or center stand if your motorcycle is something sporty). Microfiber towels and a bottle of your favorite cleaner should be on hand, just in case.
Wheel the bike into position yourself. You know that machine better than anyone. You’ll be doing a lot of position adjustments, so get used to it. Cover the tires with cling wrap before rolling onto a dirty surface to save the trouble of wheel cleaning if necessary. Work through the shot list together until it is complete. Don't expect to be in and out in 20 minutes. Luke took a lot more than 12 photos over several hours to get the shots just right. You’ll probably receive the final products at least a day later, so pack up and sit tight until the much-anticipated email hits your inbox.
Example: Luke arrived at the shoot location before I did and set up all his lighting. All I had to do was push the bike into position and nudge it around all afternoon. We spoke at length about how the first few photos came out, and after we were both happy with the results, I just stayed out of his way and let him do his thing. I got to hold the silks (large fabric panels to manipulate light) during the shoot, and we did a little creative problem solving to overcome reflections on the chrome pod filter caps. I helped Luke lug his gear back to the studio, loaded up the bike, and headed home. I was glad that I charged the KZ before showing up, because it sat with the lights on for a while during the course of the afternoon.
Step five: Enjoy and share your photos
I didn’t have to wait long before a link arrived with all the photos I needed. Using a shot list and communicating during the shoot meant that there were no surprises with the final results. The KZ looked better than it ever had, and shortly after this shoot, it found a new owner. I’m glad to have decent photos of my first real motorcycle, and the experience made me want to get pro photos of some other machines that are special to me.
For those of you submitting your masterpiece to a custom motorcycle site, collect the best photos and write up whatever details are needed for the final submission. Some sites only want original builds that are not featured anywhere else. (But you already know that, because you read the submission guidelines, right?) Start with your top choice and work your way down. Be ready for rejection, or even no response at all. The custom bike world is competitive. But without pro photos, you don’t have much of a chance at all, so give it your best shot and keep your head up.
Example: I'm having some of these KZ400 images printed up on good photo paper to hang in my garage. I also sent photos of my KZ to custom motorcycle websites (BikeEXIF and Pipeburn) just for kicks, but I didn’t receive a response from either one. This is exactly the outcome I expected. Both sites are clear that they cannot respond to every submission, and honestly, the top-tier builds they feature are way nicer than mine. Thankfully, earning a spot on their sites wasn’t really the goal for me, and it was fun to try. Besides, now my bike has been featured on Common Tread, which has to count for something!
Parting thoughts
With any photoshoot, the pictures are ultimately for the client. You are seeking out a professional to make your motorcycle look its best. What you do with those photos is your call. Take a word of advice from me, a motorcyclist who is always forgetting to snap a quick picture of a machine or a ride before it is gone forever: You’ll rarely regret having some nice pictures to look back on.