Like a fine wine, leather motorcycle apparel tends to get better with age. Few things on this earth are cooler than a leather motorcycle jacket that has been with you through the miles.
Also like a fine wine, however, is the fact that if you want to reap the joys that come with that age, you will want to take a few key steps along the way to care for your leather motorcycle gear. While it is not an all-encompassing list, and you should always refer to your specific apparel’s care instructions before starting, this guide offers a few tips and tricks that we have found helpful when it comes to cleaning leather motorcycle gear.
Three phases of cleaning leather motorcycle gear
To get the vintage, broken-in look while maintaining the function and quality of leather apparel, you will want to focus on the three phases of leather motorcycle gear care:
- Cleaning the interior
- Cleaning the exterior
- Conditioning
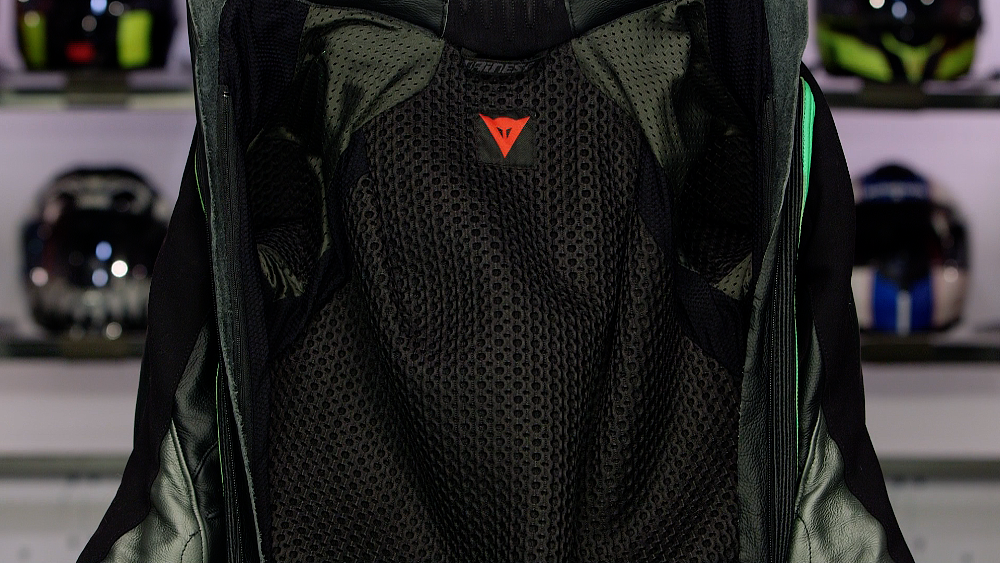
Phase one: Cleaning the interior of your leather motorcycle gear
As you ride, you sweat. As you sweat, you load up the interior lining of your motorcycle gear with oils from your skin, as well as salt from the sweat itself. Depending on how you ride, the type of ventilation on your jacket, and the weather in which you trek, the levels of each will vary. Because of this, the vigor with which you will attack the inner-jacket dankness will, as well.
Step one: Is your interior removable?
Removable interiors make things easy. These are relatively common on leather race suits (as those are the ones that get the gnarliest). If your gear comes with a removable interior that is machine washable, just pull it out, do a load, and skip to the next phase on cleaning the exterior.
Step two: Air it out
If your leather gear does not have a removable liner, not a problem. Most modern leather motorcycle apparel comes with a sweat-wicking, anti-microbial liner, so generally speaking, you can see a marked improvement in the internal condition of your gear if you simply let it air out. Should that not do the trick, you can also take it one notch further and amp up the olfactory improvements with a quick hit of Febreze.

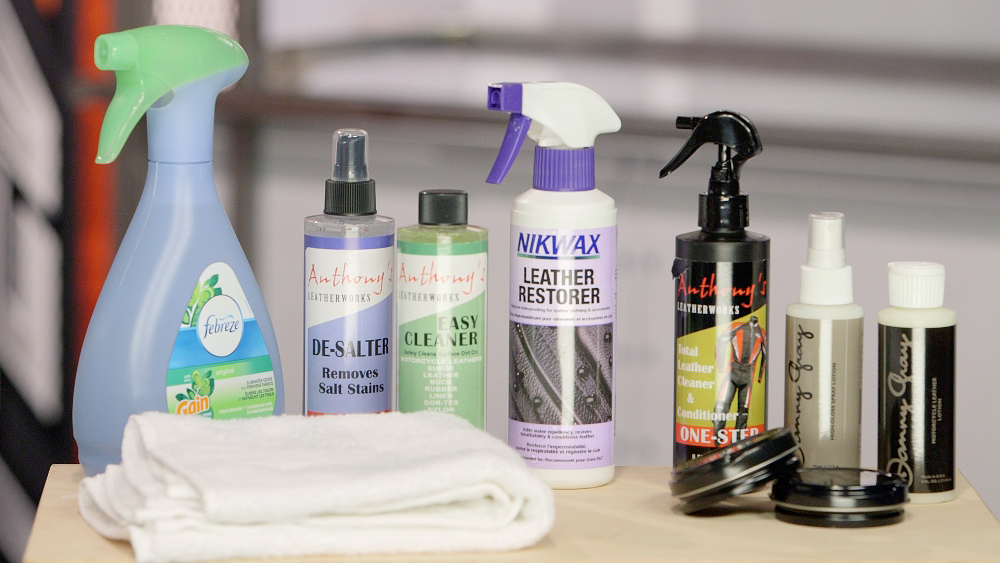
Step three: Apply de-salter
Over time, the salt that accumulates in motorcycle gear can lead to some really funky odors and even mold! When airing it out doesn’t work, and the Febreze ain’t cuttin’ the proverbial mustard, you will want to turn to an appropriate de-salter in order to get the dank out. To clean a motorcycle jacket interior with de-salter, remove all of the internal armor, turn the jacket inside out, and apply the de-salter liberally throughout. Be sure to leave the jacket inside out until the de-salter has completely dried.

Phase two: Cleaning the exterior of your leather motorcycle gear
Most modern leather jackets have pretty resilient exteriors. The processes by which they are treated not only allows them to stand up to the elements (and look stylish as heck), but it also means that they do not stain quite as easy as some jackets from yesteryear. That being said, when cleaning a leather motorcycle jacket (vintage or contemporary) it is exceedingly important to always pay attention to the contents of the cleaning solution you are using, as well as the manufacturer’s recommendations, to ensure you are not using something that will harm the leather.
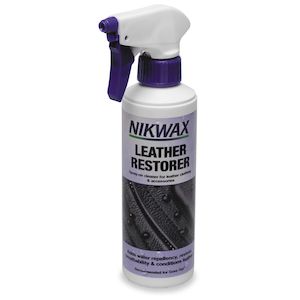
Step one: Find a quality leather cleaner
A significant part of the learning process is figuring out what not to clean leather motorcycle gear with. While specifics can vary amongst leather types, brands, and finishes, it is generally a good practice to stay away from silicones and waxes, as they tend to dry out the leather. Additionally, you also shouldn’t use animal-based products such as mink oil paste, because animal byproducts can possibly discolor the leather.
Once you have found a leather cleaner that is designed for your gear, it’s time to get to work. While applicator preferences vary as much as styles of leather jackets and the riders who wear them, generally speaking, a soft cotton terrycloth rag is a tried and true method for applying leather cleaner to leather.
Step two: Add small amount of cleaner to rag
In the era of super sizes and Big Gulps, it’s important to remember that more is not always better. That is especially true when caring for leather motorcycle gear. You aren’t slathering BBQ sauce on a rack of ribs here. Be liberal, but not overzealous with the application of leather cleaning solution. To help this, you always want to be sure to apply the leather cleaner directly to your applicator. This will work to eliminate excess product on the jacket and reduce the risk that too much is absorbed into the leather.

Step three: Apply cleaner to leather jacket
Using the rag, apply the leather cleaner to the exterior. Be gentle, there is no need to power through this like you are polishing a diamond to perfection. Starting at the front of the jacket and working your way throughout the torso, arms, and back, be sure to keep an eye on the dirt build-up of the rag. If it gets gunky, rinse it off, wring it out, and pick back up where you left off.
Note: You don’t need to do a full wash of your leather gear quite as often as you might think. Baby wipes offer a great way to spot clean your jacket throughout the year and will reduce the amount of time spent doing a cleaning.

Step four: Let the jacket dry
Not just a little bit, either. Really let the jacket dry. For the conditioner to work in later steps, the leather it is applied to needs to be without moisture. You should allow a full 24 hours in between washing leather motorcycle gear and conditioning leather motorcycle gear for best results.
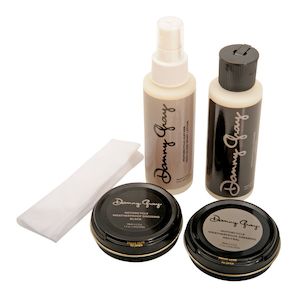
Phase three: Conditioning leather motorcycle gear
If you were to take 70 mph wind in your face or hours on end while letting the summer sun bake your shoulders, you would dry out; so too will your leather motorcycle gear in time. The process of conditioning leather jackets, pants, gloves, and race suits centers around reinvigorating them with essential oils that have been depleted with time, use, and exposure to the elements. By restoring moisture to the leather’s pores, the conditioning process works to extend the life and quality of your leather gear.
Step 1: Apply leather conditioner to clean leather surface
When researching how to condition leather motorcycle gear, you will notice that there are a plethora of leather conditioners on the market. Everyone has an opinion on which works the best. The main thing is to choose one, and then follow its specific instructions explicitly. While most of these leather conditioners will follow the same basic trajectory of application, the best practices and manufacturer’s instructions for each may differ slightly.

Generally speaking, you will want to apply a liberal amount of conditioner to a soft, damp applicator (like a sponge) and then work it in throughout the jacket. Much the same as when cleaning leather motorcycle gear, you will want to move over the entire garment and apply evenly throughout.
Note: While you don’t need to condition your leather every time you clean it, you do need to have ensure that your leather is clean every time you condition it.
Step 2: Let it dry
To get the most out of conditioning a leather jacket, pants, boots, race suit, etc. you will need to allow it to dry thoroughly (just like when cleaning it). This will ensure that your jacket enjoys the full benefit of the essential oils as they absorb and bring out the best in the leather.
Step 3: Don’t over-condition
The last step of the leather conditioning process is to remember not to do it too often. The reasoning for this is that too much oil on the jacket can lead to discoloration. It can also end up clogging the pores of the leather and prematurely wear down the leather itself. A good rule-of-thumb is that it is best to condition leather motorcycle gear only once, and no more than twice per year (depending on use).
Conclusion
How many friends can you count on who would put themselves between you and asphalt at 50 mph? What other accessories do you own that instantly turn you into a petrol-powered, super-speed, moto-juggernaut-bad-ass simply by putting them on? Long story short, your leather motorcycle gear does a lot for your well-being. By cleaning and maintaining your leather gear properly, you can treat it as well as it treats you.