Your motorcycle helmet is your most important piece of safety gear and, for many riders, likely their most expensive piece. So how do we treat our expensive helmets? We splatter them with mud off-road and cover them with bug guts on the highway, expose them to the sun and rain and every other kind of harsh weather, and sweat in them any time it's hot.
In exchange for all it does to protect you, the least you can do in return is clean your helmet once in a while. If that doesn't motivate you, consider the fact that the interior of your helmet is not going to smell that great after a summer of sweaty use and those vents won't move much air if they're clogged with insect remains because you haven't cleaned your motorcycle helmet in years.
Here are the steps we recommend for cleaning your helmet. It doesn't take that much time or effort or many special supplies.

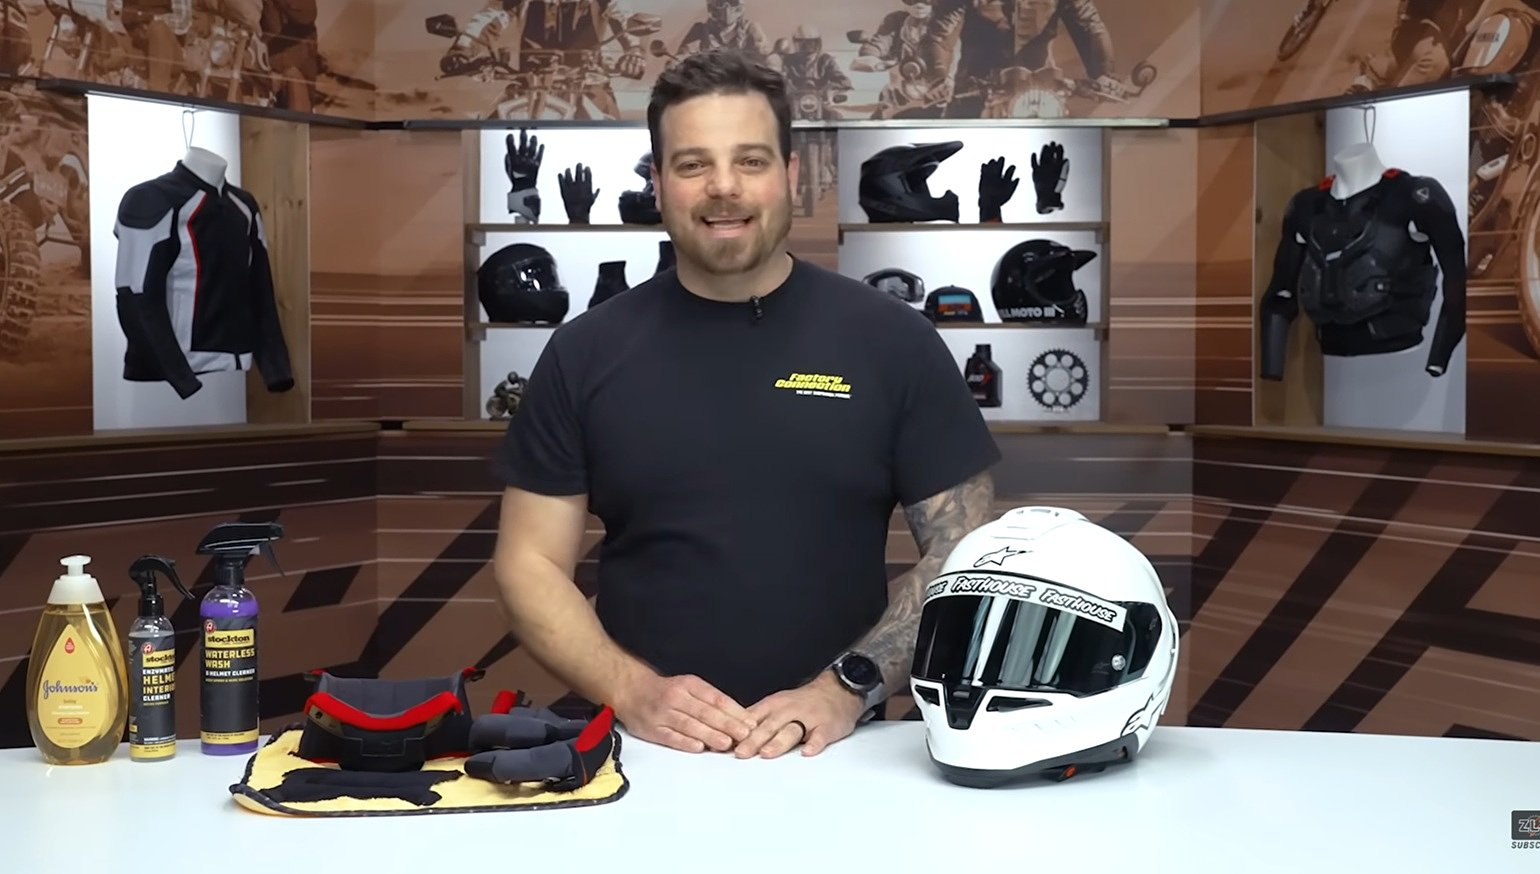
Step 1: Gather your helmet cleaning materials
Getting organized first makes the process go more smoothly and there's only a few simple things you need to gather.
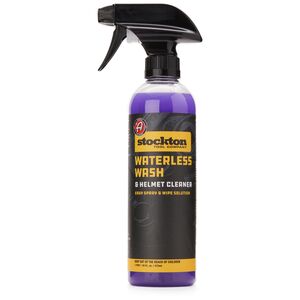
- Warm water: You'll use this to gently loosen dirt and dead bugs from the exterior without potentially harmful scrubbing and then to wash the internal lining.
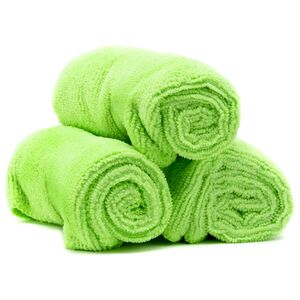
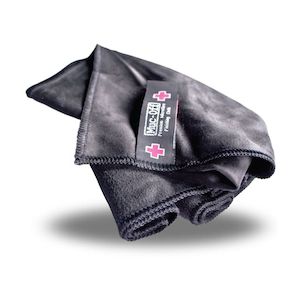
- Microfiber towels: Good for cleaning the helmet and the faceshield because they're less likely to cause scratches, as long as you make sure they're clean.
- Baby shampoo: A mild cleaning agent meant for your hair is a good fit for cleaning the interior lining that soaks up your sweat and oils from your hair.
- Toothbrush: When you treat yourself to a new one, save the old one for helmet-cleaning duty.
- Compressed air: Not essential, and not everyone will have easy access to compressed air, but it's helpful; just don't use air from an aerosol can, however, as that will erode the EPS liner in the helmet and degrade its protective capabilities.
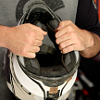
Step 2: Remove any electronics and the helmet's interior
Remove any electronic accessories such as Bluetooth communicator units, microphones, speakers, antennas, batteries, etc. Then remove the interior liner. Different manufacturers use slightly different designs. In most cases the cheek pads and liners attach with snaps, but some use hook-and-loop material or even magnets. Typically, a few strategic tugs does the job, but if in doubt, check your helmet's owner’s manual. Set aside the interior pieces. We'll get back to them in a minute. If you’re working on a dual-sport or off-road helmet that has a peak, removing it makes it easier to clean.

Step 3: Prepare the helmet's exterior
Here's a simple step that will save you some effort and reduce the chances you'll scratch your helmet or faceshield. Soak a microfiber towel in the warm water and drape it over the helmet. The moisture will make it easier to remove dried bug guts and caked-on dirt without any scrubbing. Let the wet towel do its work while we move on to step four.

Step 4: Clean the interior lining
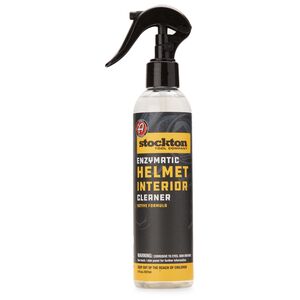
It’s often the interior of a motorcycle helmet that most needs a good cleaning, due to sweat and hair oils. Add a small amount of the baby shampoo to your warm water and dunk the liner and pads into it, gently massaging each piece in the soapy water to rinse out the gunk. Set the interior pieces on a towel to dry and, if you want to go the extra step, spray them with something like the Stockton X Adam's Enzymatic Helmet Interior Cleaner, a non-toxic, biodegradable treatment that uses enzymes to eliminate odor. After letting the enzymatic cleaner sit for 10 to 30 minutes to do its work, rinse the pieces in clean water and then let them air dry, preferably overnight.
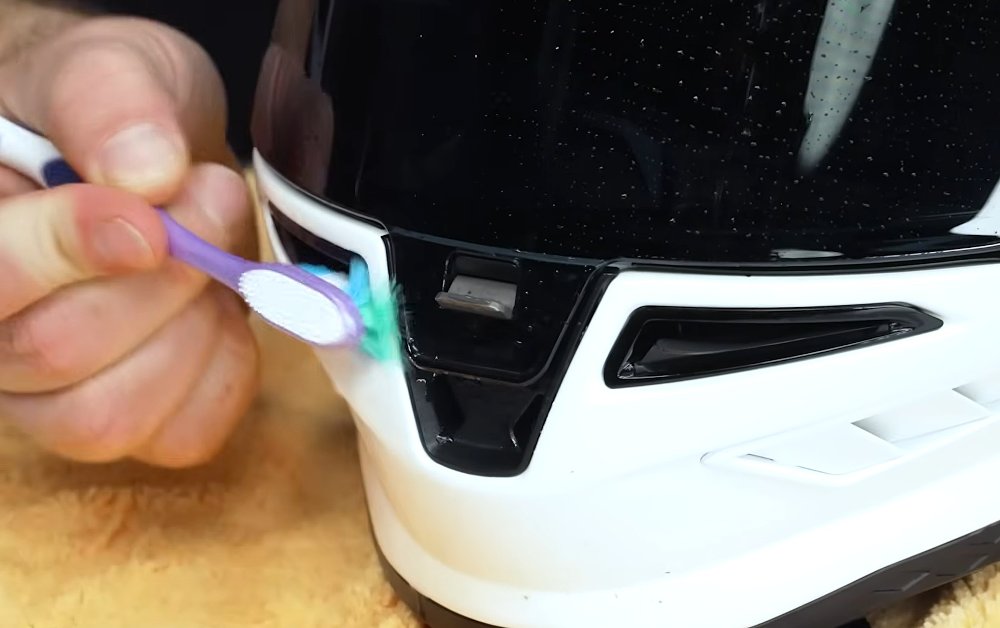
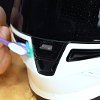
Step 5: Clean the motorcycle helmet's exterior
By now the wet towel you placed on the helmet in Step 3 will have softened up the worst dirt. Use a different, clean, wet microfiber cloth to gently work your way around the exterior of the helmet and wipe away any leftover dirt. Using nothing more than warm water avoids the possibility of using solvents or cleaning solutions that could damage the helmet. Use the toothbrush to clean vents or crevices.

Step 6: Blow out the vents (if needed)
Sometimes, dirt or a dead insect can get wedged deep inside a vent channel where even your toothbrush can't reach. If available, a quick blast from an air compressor (not an aerosol can) can get the air flowing freely again.

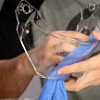
Step 8: Clean the faceshield
Faceshields deserve some special attention. You want to be careful cleaning them because scratches are really annoying when you're riding and many modern faceshields have some sort of protective coating that could be easily damaged. It's easiest to clean the faceshield by removing it from the helmet. Clean it with water only and gently wipe away any dirt with a microfiber cloth. Internal drop-down sun shields usually don't get that dirty and can be cleaned with water and a cloth. Removing them is usually far more trouble than it's worth.
If you have a Pinlock shield, remove the insert for cleaning and be especially careful, because it is easily scratched. Also, be sure not to damage the gasket on the insert as it plays an integral role in the Pinlock system working correctly.
Step 9: Reassemble the helmet
Once the interior liner and cheek pads have thoroughly air-dried, put everything back together and you're ready to ride again.
Cleaning your motorcycle helmet takes a little time and patience but no special expertise, no hard scrubbing (if done right) and few, if any, special materials. Keeping your helmet clean will make for a more pleasant place to stick your face every time you ride.