Making light of the situation. Light-hearted attitudes. Lightweight installation. I think the hardest part of cooking up an article on aftermarket lighting is avoiding the puns, so that means I have failed right at the beginning. Rats.
When Fearless Editor Lance asked me to do a little piece on lighting, my eyes glazed over from boredom. Lights are a loop of electricity with a small load placed on it. This is the basis for little kids’ science fair projects. I am a top-notch mechanic! (Not technically true, but I’ve muddled through an oil change or two.) Feeling like Veronica Corningstone, I took my miserable assignment and off I went.
Know what? It wasn’t a bad assignment. I realized this seemed boring because I’ve installed a lot of lights, and it feels basic and repetitive at this point for me. I’ve also read a lot of really crappy wiring articles. They’re dry at very best.
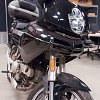
The victim in its pre-operative state. Photo by Ryan Targoff.So, with that said, I am gonna trot out the Super-Exciting-Lemmy-Fun-Filled-Adventure article on lighting here, and hopefully one or two things jump out as helpful. Instead of guiding you through some boring install on a motorcycle you likely do not own, I’d like to bring up some general tips I’ve learned over the years that might help you tackle a lighting task of your own and I’ll limit my references to the specific bike I was working on.
Ryan T’s 2005 Ducati Multistrada 1000 was that specific victim du jour. Ryan decided his stock light setup was leaving a little to be desired. He wanted better performance during nighttime rides, and as such, chose a driving light kit, as he is typically a fair-weather rider.
Lighting tip one: Know what you need, know what you’re getting
Start by selecting an appropriate light. “Fog lights” is a generic-y sounding term people toss around, but really, fog lights have a wide, short beam pattern designed to throw light in a specific way and help cut through fog. Since Ryan wanted long-range nighttime performance, a driving light was just the ticket. Driving lights have a beam that is narrow and well focused but typically reaches much farther than a fog light or general-purpose light. Different lights scatter their light in different patterns. You’re better off running a lower-output light focusing light where you want it than equipping your bike with a powerful unit that scatters its light in a way that’s inappropriate for your application. Do your homework, and get a light that suits your riding style.
Ryan had selected a set of PIAA 510 Long Range Lights, which will be perfect for his jaunts through the unlit sectors of God’s Country. He obtained a Multistrada-specific bracket from one of his fellow Italian bike forum rats and brought me a big ol’ pile of parts.
On most bikes, I usually attack this job by doing a loose install of the wiring, then a loose install of the lights. Then I hard-mount everything, running my wire where I want it to live for eternity, making everything permanent only when I am sure things are the way they should be.
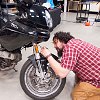
Lemmy hard at work. Photo by Ryan Targoff.
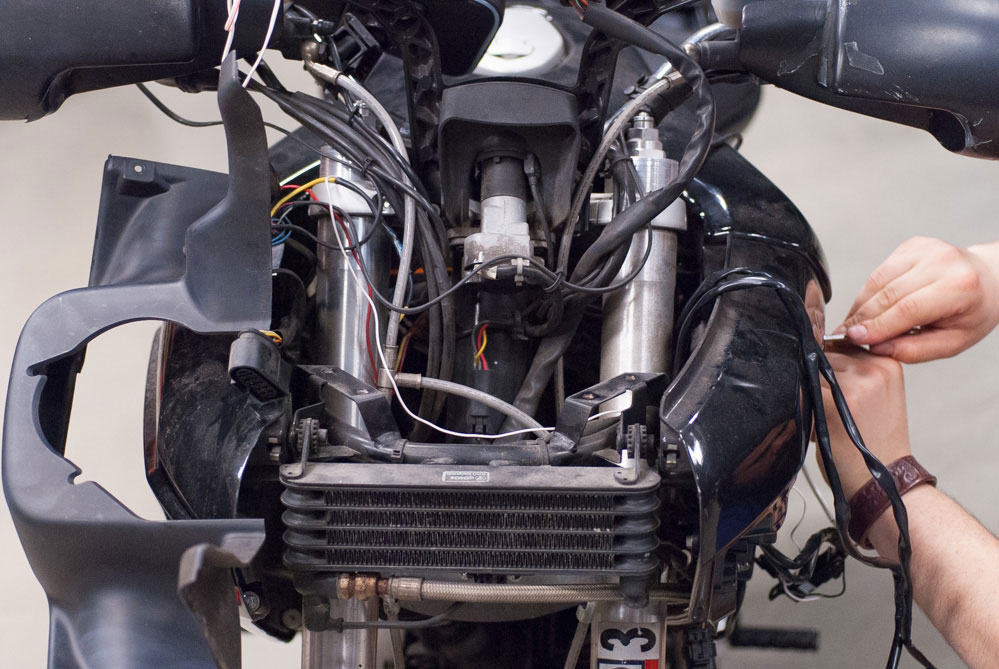
Step one was to start ripping things off, a Lemmy specialty. I started with the outer fairing on this bike, and wound up pulling the grille that covers the oil cooler, and also the inner fairing. You can see the bike puking up its ugly internal guts.
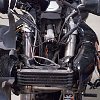
Inside the guts of the Duc. The fairings are off, and the one that shrouds the oil cooler will actually be removed permanently to make way for the new lights. Photo by Ryan Targoff.
I then ran all the wires to their respective areas — over to the battery, down in front, over to the switch — you get the point. There’s an awful lot of spaghetti that gets stuffed into the fairings, even on a fairly simple accessory like lights. Normally, I would consider installing a fuse block on an adventure bike like this one, which is usually loaded to the gills with extra electrical farkles, but Ryan was ballin’ on a budget, and he doesn’t have any other goodies on the bike, so one extra set of ring terminals to stack on the battery posts didn’t give me too large a heart attack. (Oh yeah, that battery lives under a fairing that’s a real pain. If you want this job to go smoothly, own a naked bike or a cruiser. Lord, I get angry at fairin’s sometimes!)
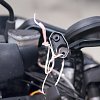
This is the only acceptable use for speaker wire in a motorcycle installation - tying fairings to a safe spot. Use quality stranded wire for actual electrical work, because subpar wire might strand YOU!Lighting tip two: Don’t be cheap!
Don’t use cheap-o wiring. Skimpy, cheap wire doesn’t move the same amount of current, looks awful, protects poorly, and generally does a bad job. When I see a bike roll in for work that has crappy wire on it, I can’t help but wonder what other corners have been cut. See the photo at right? That's what I use garbage speaker wire for: holding up fairings that aren’t totally removed.
Now the wiring is physically in place! Of course that means it's time to actually hook it up.
Lighting tip three: Use a relay
We put in a relay because A) it came with the kit and B) we hardwired right to the battery, which gives power to whatever is hooked up to it until that connection is broken. A relay is no more than a switch that operates electrically. In this instance, I wired the circuit so that Ryan’s driving lights cannot be used unless there is power flowing through the relay. I chose to use switched ignition power to activate the relay. By doing this, the relay will not operate unless the bike’s ignition key is turned on so he can’t accidentally leave the lights on and drain the battery. He also has a remote switch so he can turn the lights off for starting, during daylight hours, or just because, but the relay is a nice failsafe.
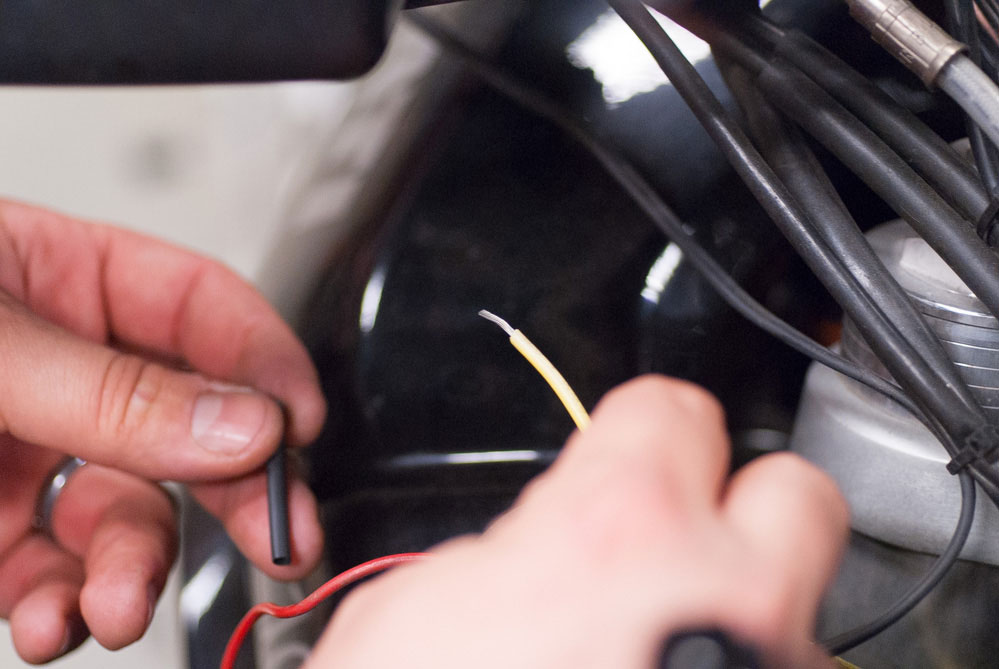
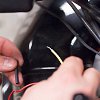
To wire this relay properly, of course, we were on the hunt for some switched power! I used a Digital Volt and Ohm Meter (DVOM) to find a circuit that was switched. The iggy switch gave me what I wanted: zero power with the key off, but plenty of juice with the key flipped to “ON.”
Stripped wire, ready for terminals to be installed. Stripping too much wire can be dangerous if the wire makes contact with a ground, which is often the frame. Strip your insulation only as far as the terminal requires. Photo by Ryan Targoff.
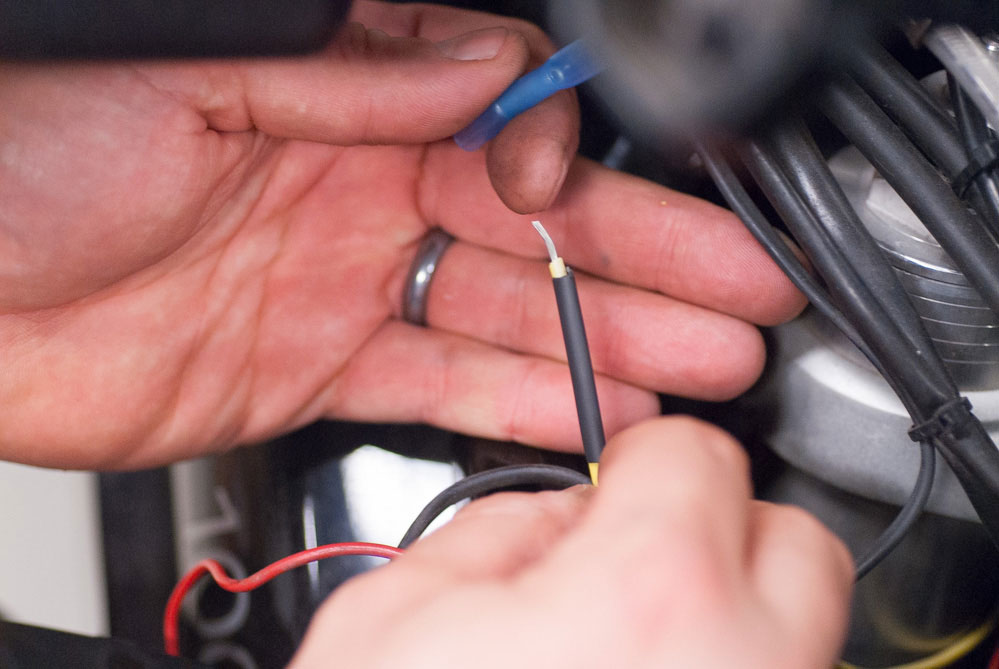
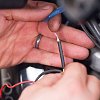
At this juncture I needed to tap into that line. I hate T-Tap connectors with a purple passion. They rip the wiring insulation, allow a spot for water ingress, and often cut strands of wire. T-Taps come with low-end electrical accessories. I recommend avoiding them at all costs. I elected to tap into the circuit using a step-down butt connector, which allows for wires of different gauges to be joined. (They also allow different amounts of wires to be linked up, like we’re doing: basically running two wires into one side of the connector and one out of the other.) We stripped the wire, and then crimped, heated, and repeated on the other side of the connection.
Don't forget to put the heat shrink on prior to the terminal! Lemmy has re-crimped more terminals due to forgotten heat shrink than he'd ever admit.
Lighting tip four: Connections done right
To be honest, this is a lot of tips masquerading as one. If you elect to crimp, do so correctly. Crimping sometimes gets a bum rap, but it can be a super-strong and stable way to join wires — when it’s been done correctly. In fact, in many corners of the aviation world, soldering is not permitted by governing bodies. Crimping is the way they join wires. I have found heavy vibration has broken my soldered joints in the past, and if Ryan’s V-twin Ducati shakes and quakes half as much as my old Harleys, vibration could be an issue. Here are a few pointers:
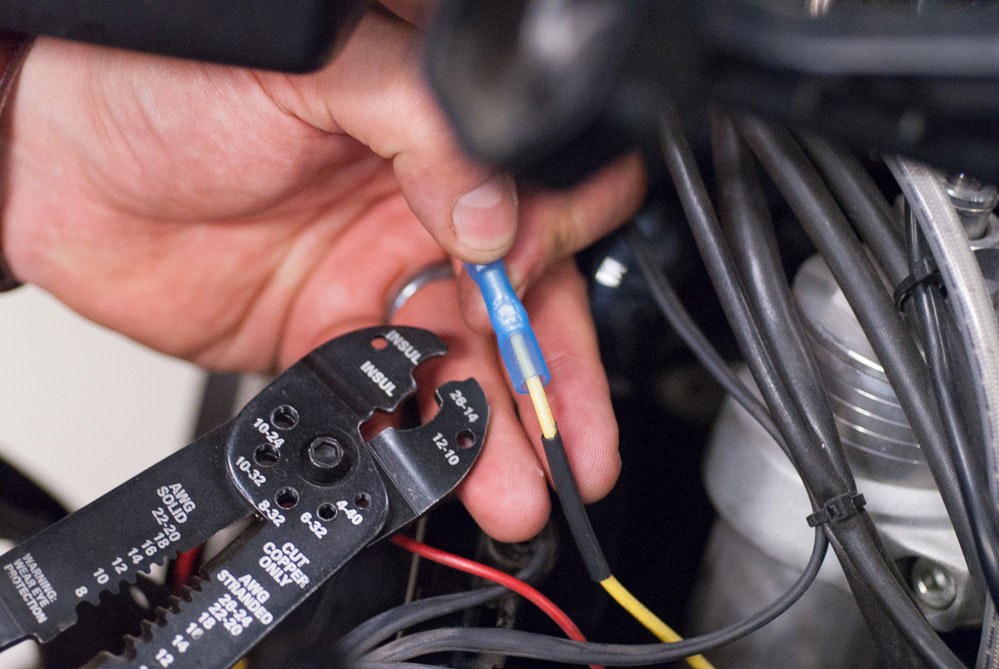
A proper crimping tool is essential to creating a mechanically-sound joint. Photo by Ryan Targoff.Use a crimping tool. I’ve been using an old set of Kleins I have had for years. They crimp correctly and make the wiring joint strong mechanically. There’s a reason they make crimping tools. Don’t cheap out! Cranking down on spade terminals with crappy pliers is a good way to ensure you get good at chasing down electrical gremlins when you’re on the road.
Don’t forget to slip on your heat shrink before you start crimping your terminals. I wish I didn’t know how annoying it is to get my wiring all crimped and then find that I’ve forgotten the heat shrink, but I do all too well.
One of Lemmy's wiring tricks is to insert the heat shrink up inside the connector shroud prior to crimping. This gives a nice weather-tight seal when the crimp is applied and the heat shrink assumes its final size. Photo by Ryan Targoff.Keep it waterproof. I have a sequence I follow when crimping. For wiring that is gonna see some weather, like that on a bike, I use heat-shrinkable butt connectors and terminals. I slide my heat shrink up into the connector, then apply heat to both the shrink and the terminal protector, which leaves me with a very water-tight electrical joint as those items fuse to the bare wire and insulation.
Here you can see the light bracket that will hold the lights in place. Photo by Ryan Targoff.
With the wiring run to all the places it needs to go, I then tackled the mechanical installation. Ryan obtained a used bracket that replaced his oil cooler grille permanently. The bracket is a unit specifically made for his bike by an outfit called Strada Avventurosa. It replaces the grille in front of the oil cooler, so while you may look at the photo above and think that the lights are going to reduce air flow to the oil cooler, the bracket actually allows far more air to flow over that area than the OEM grille does. I bolted up the bracket and began mounting the lights.
Lighting tip five: Don’t crank on those bolts just yet
Don’t bolt the lights down completely. You’ll never get them aimed correctly right off the bat. Odds are you’ll be doing the job on a nice sunny day, and lights are usually best adjusted — surprise! — at night. If the lights are potentially going to be difficult to adjust when the fairings are back on your rig, leave the fairings off until nightfall! There’s no point doing the job twice.
We’ve got the lights in! The end is nigh.
Lighting tip six: Test immediately
Test your lights as soon as you’ve got power to ‘em. Don’t wait until the bike is back together. If there’s a wiring or electrical issue, catch it while the bike is still ripped apart so you don’t need to undo a lot of work to fix the problem.
After a quick test session (On! Off! On again! This is fun!), we decided we were in pretty good shape, so I began securing the wiring we disturbed. Zip ties can work well here. Make sure your wiring is out of the way of any moving or hot parts and is “loose.” You don’t want the wiring itself bearing any mechanical load other than its own weight.
At this point, old Lemmy was getting tired and thirsty. Ryan started throwing his fairings back on. (It took me about 20 seconds to write that sentence. It took him about 40 minutes to actually do it!) We aimed his lights indoors to get them as close as possible. His bracket had a built-in five-degree outward splay. Since many mounting setups are more generic and do not automatically include that, I try to aim all auxiliary lights at the edges of the road. It helps North American riders in rural areas spot wildlife encroaching on the tarmac. (On a slightly unrelated note, headlights should always be aimed down and to the right slightly in this country to avoid blinding oncoming traffic.)
The finished product. These lights are tucked in nice and tight, so they look good and will be difficult to damage on errant branches. Photo by Ryan Targoff.Ryan took the bike that very weekend on a 750-mile tour of the mountains of eastern Pennsylvania and said the lights performed admirably. Aftermarket lights are a fantastic upgrade for those who do lots of night riding or offroad work, or those of you who “outrun your headlights.” I hope some of the tips and tricks we shared with you make your own bike improvement project go smoothly!
By purchasing and enrolling in Riders Preferred Membership, you agree to the
Program Terms and Conditions.
*Some exclusions apply: 10% RPM discount applies on full price and sale price Exclusive Brands.
10% RPM discount applies on additional select brands at full price.
Exclusions apply.
RPM free 2-day shipping applies on qualifying items, contiguous U.S. only.
Not available for AK, HI, or U.S. Territories.
View shipping policies.
RPM free returns apply on qualifying items and are processed on standard return timeline, contiguous U.S. only.
View return policy.