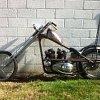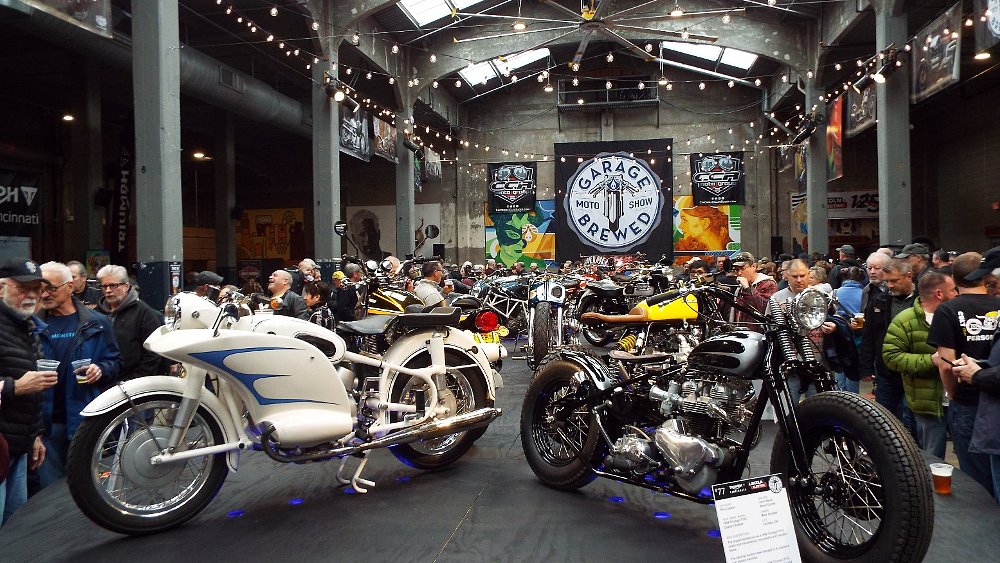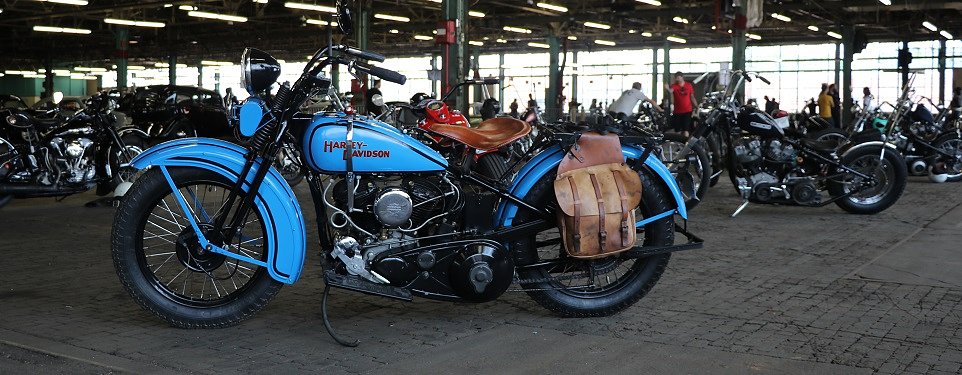
When you see custom-built motorcycles that really blow your mind, chances are that some of their parts are heavily modified or even handmade from scratch.
That includes not just parts that are easy to see, like frames, exhausts and sheet metal, but also hidden parts like custom axles, steering stems, motor mounts and so on. I’m going to go over some tools and machines you may be interested in if you plan on taking your fabrication skills to the next level.

I understand that not all riders are into choppers or cafe racers. Just remember that these tools and machines will also allow an adventure-bike rider to make luggage racks or crash bars or enable a sport bike rider to fabricate an exhaust system. The main takeaway is that all motorcycles are mostly made of metal. If you have the tools and machines to manipulate metal, you can modify any motorcycle to look and perform exactly how you want it to.
I was fortunate to be a member of one of the last generations to have skilled trades classes available in high school, so I spent several years in auto repair, drafting and metal fabrication classes. Those classes gave me a clear understanding of engines, braking and electrical systems, board drafting, computer aided design as well as metal cutting, bending, riveting, welding, machining, casting and so on. I was exposed to all the tools and machines needed to do these various jobs, so when I got into modifying cars and motorcycles, I started collecting my own. Some of these machines take up a good chunk of floor space, but most do not. I built my first bike in a tiny shed with an extension cord running from my old second-floor apartment window to power my welder and grinder.

Tools to get you started
I'm going to split this into two groups: tools to get you started and more advanced tools for when you're ready to take the next step. Let's start with the basics.
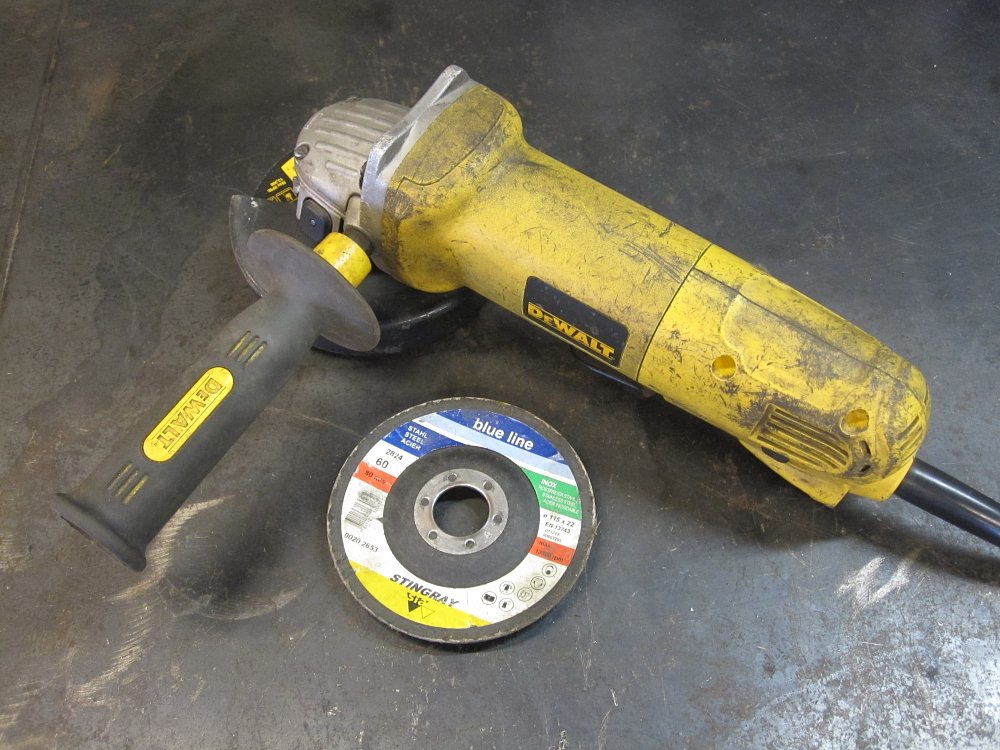
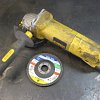
Angle grinder
This tool gives you the ability to strip, cut, grind and shape metal with impressive accuracy. There are tons of different discs and wire wheels available at every hardware store. I generally use cutoff wheels and flap-discs in different grits depending on the job and material I am working with. As for the tool itself, I prefer the 4.5-inch option because I feel it is the perfect balance of power and controllability.
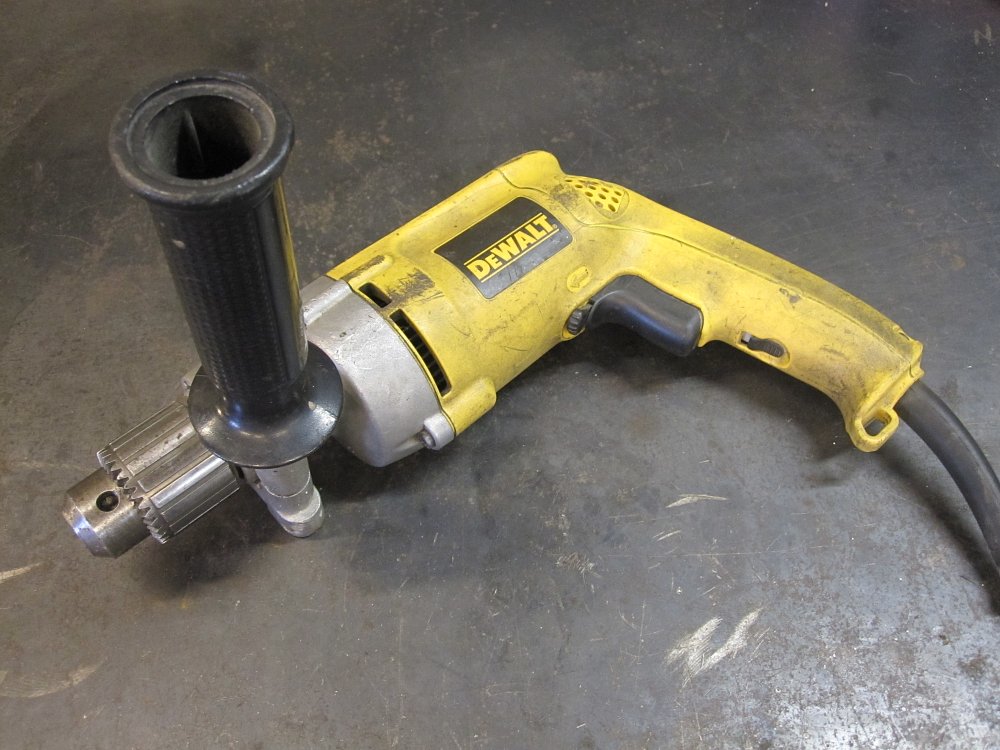
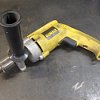
Drill
Depending on the task at hand, I will use my handheld power drill or my drill press. The drill press is great for accuracy, alignment and is much easier on your hands and wrists, but it is impossible to drill holes in really large stuff like frames, which is where the handheld drill comes in. Battery technology has come a long way in portable drills, but the cost of replacing the batteries once they no longer take a charge usually totals the tool itself. I prefer the good ol’ heavy duty corded drill with a nice strong handle on the side.
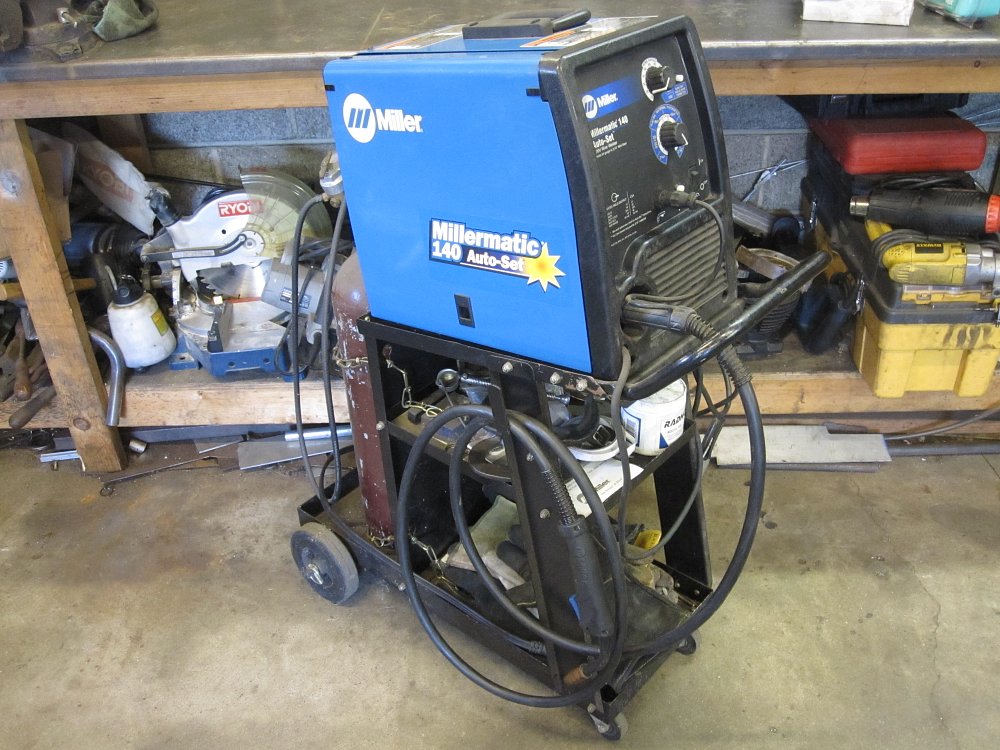
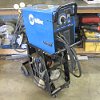
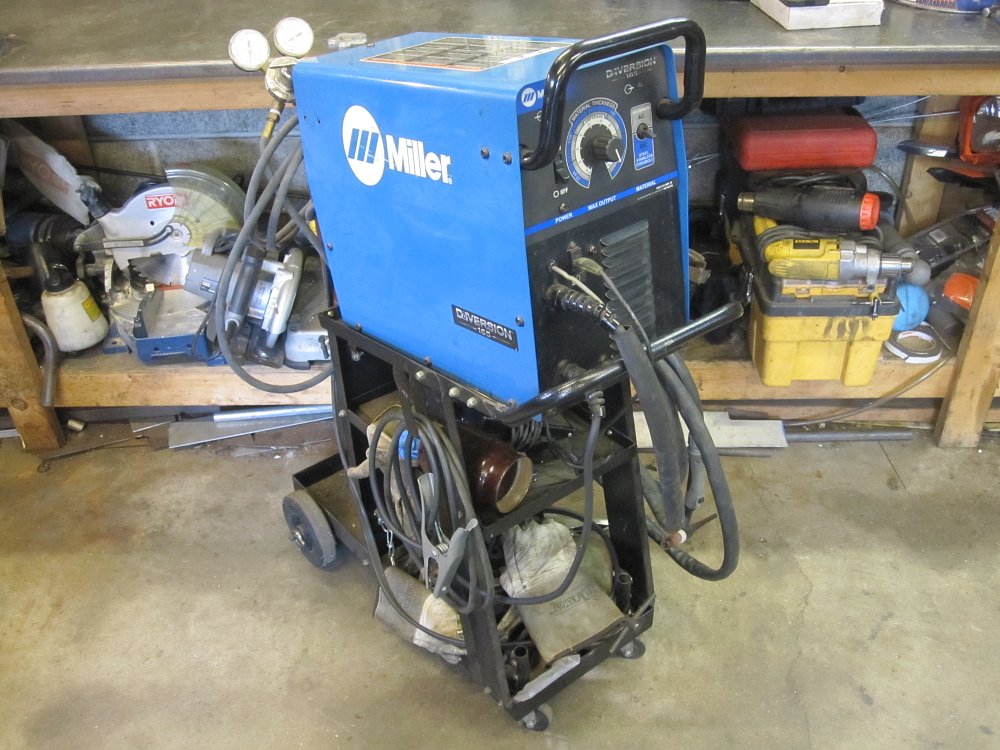
MIG welder
I find that a MIG welder (Metal Inert Gas) can do most of what you would ever want to do to a motorcycle. It is relatively easy to learn since there is just a single trigger to press as electricity melts the filler wire as it auto feeds out of the machine. Two different versions you may see are FCAW (Flux Core Arc Welding, no gas) and GMAW (Gas Metal Arc Welding, gas). Flux core MIG welders are pretty inexpensive. The advantage of a flux core machine is that no shielding gas bottle is required and they really work well in windy conditions, like if you had to do some repairs to your truck’s exhaust on a windy day. Bumping up to a MIG welder that can connect to a shielding gas bottle is a worthwhile consideration since I find the welds to look much better and cleaner with a gas setup.

Bench vice
Unbeatable for holding parts you are welding, drilling or bending. I prefer vices with rotating jaws that also swivel and an anvil surface for beating on stuff.
Advanced tools and machines
When you're ready to take the next step, such as making your own custom parts from scratch, here are some tools you'll want to consider.
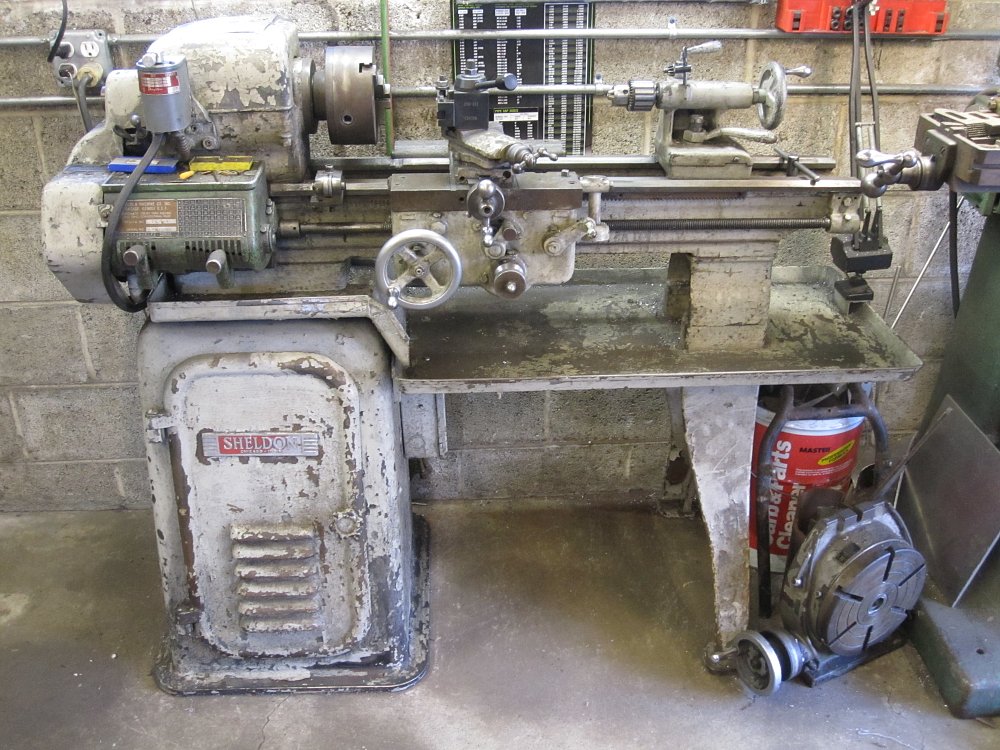
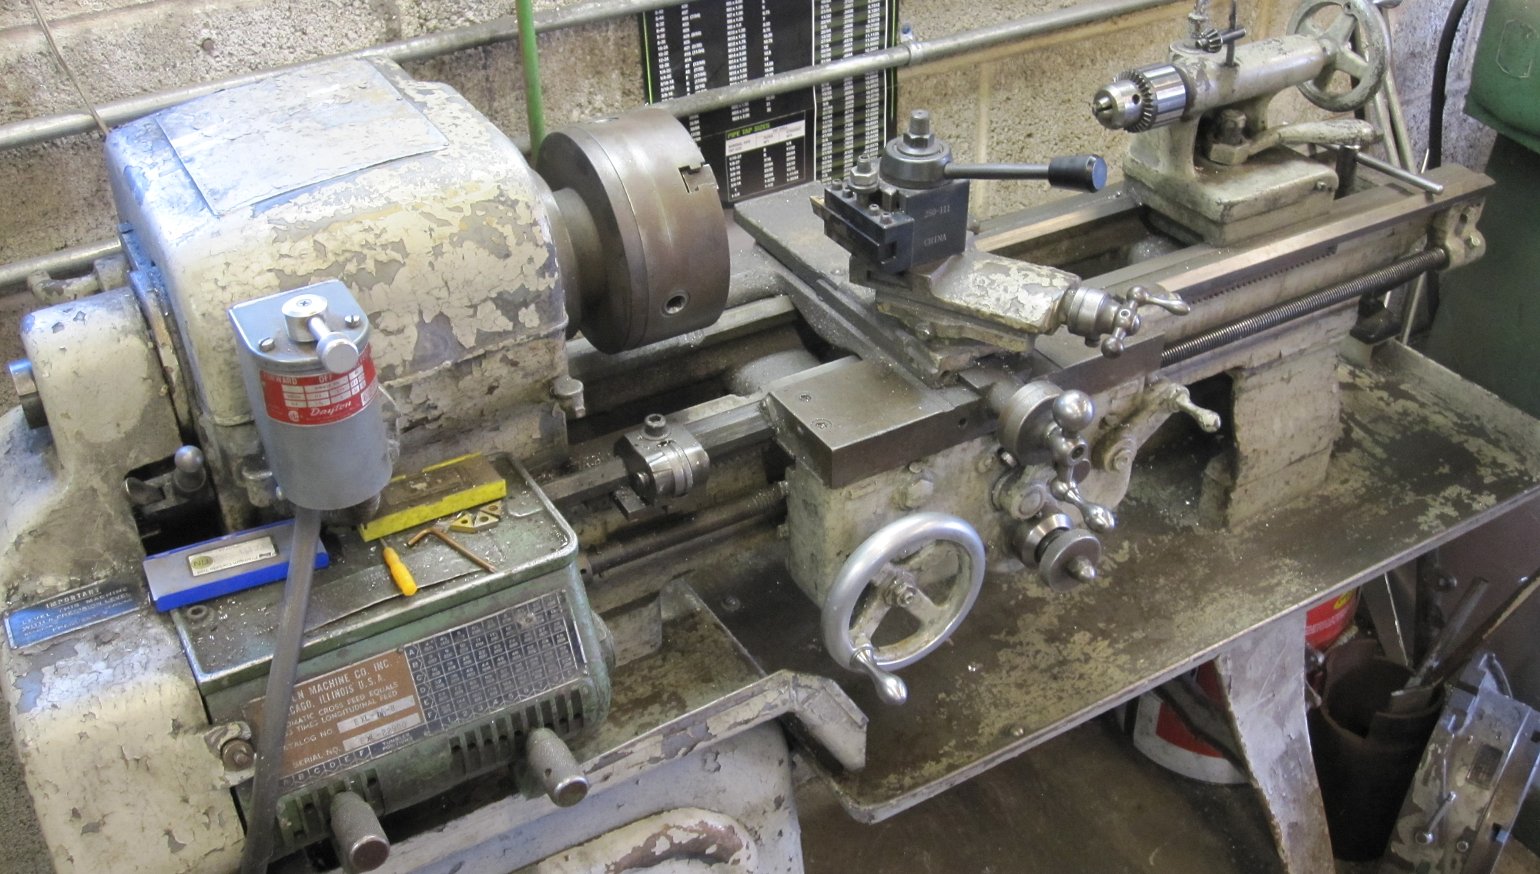
Metal lathe
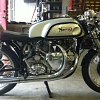
A metal lathe gives you the ability to make cylindrical parts, like axles, axle spacers and steering stems, as well as threaded bungs for mounting things like gas tanks, seats and tail sections. You will typically see a measurement like 10-inch-by-28-inch, which tells you the maximum size item the lathe can work on. The first number is the diameter and the second is the length. My lathe is large enough to work on most motorcycle drum brake diameters. It is also long enough to give me the ability to machine fork lowers. This machine gives me the ability to run different wheels and front ends on various bikes that were never designed to go together, like when I installed a Ceriani fork on my Triumph off-road racer for much better handling. Large lathes can make large things and small things. Small lathes can only make small things. I’ve made my wife some lovely delicate rings on the same machine that’s turned down Harley Wide Glide fork lowers.

Milling machine
A milling machine picks up where a lathe leaves off. Basically, the lathe makes round stuff and the mill makes flat stuff. The truth is both of these machines can make an unreal amount of stuff with a skilled operator and proper tooling. You can mill warped cylinder heads perfectly flat again or mill engine cases back to spec if they have been broken and repaired. I recently used my mill to manufacture a small run of replacement parts for my van that are no longer available. There is something to be said for a machine that weighs over half a ton that can accurately create parts that are smaller than a dime. Just like a lathe, a large milling machine can make large and small things whereas a small milling machine can only make or repair small things.
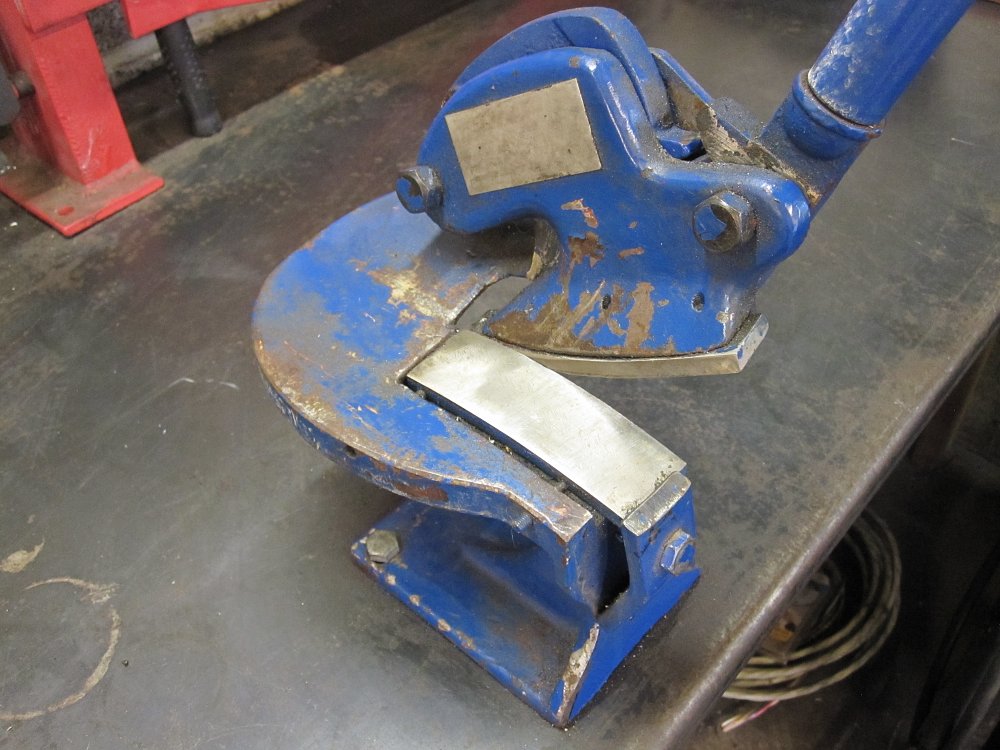
Shear
There are several types of metal-cutting shears but I find a manual throatless shear to be the most useful for motorcycle applications. This is a great tool that allows you to cut curves as well as straights. If you plan to fabricate custom oil tanks, gas tanks, fairings, tail sections, seat pans, instrument panels and the like, a throatless shear makes short work of the task at hand. While this tool looks nothing like scissors, it basically works just like them, cutting through sheet metal like paper.
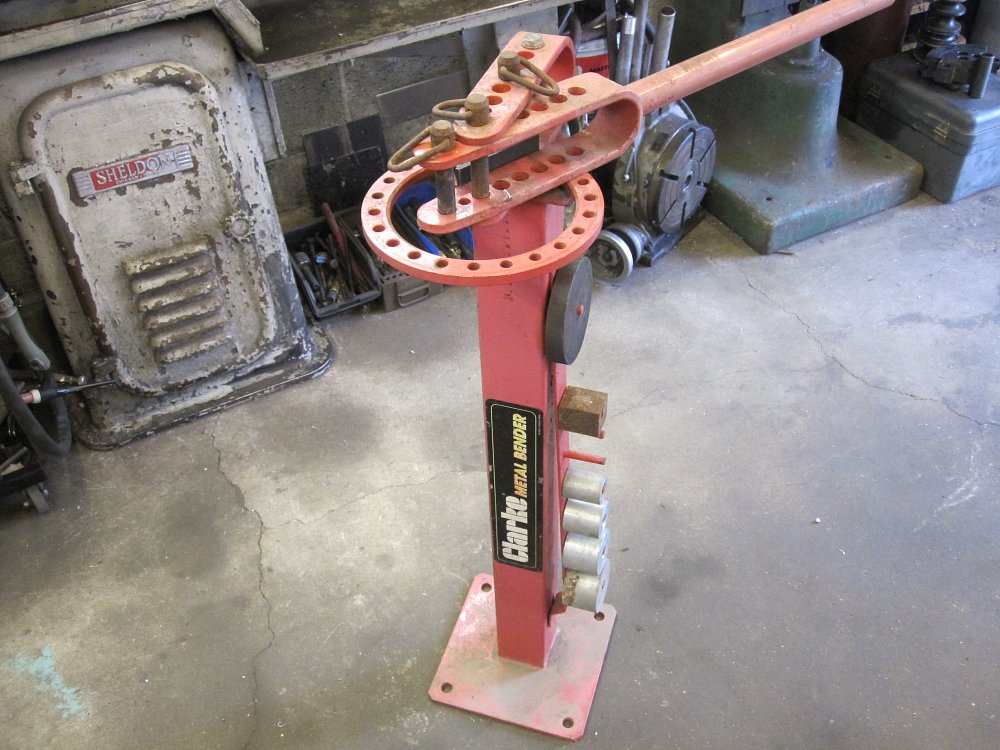
Metal bender
There are a variety of manual metal benders available which range in size from small benchtop ones to large pedestal style which bolt to your shop floor. Benders typically include a variety of dies in different diameters to create bends with the desired radius. They also typically can bend mild steel and aluminum flat, solid round and solid square stock up to 180 degrees and have pins which allow for easily repeatable bends. These are excellent for making sissybars, foot controls, motor mounts and so on.
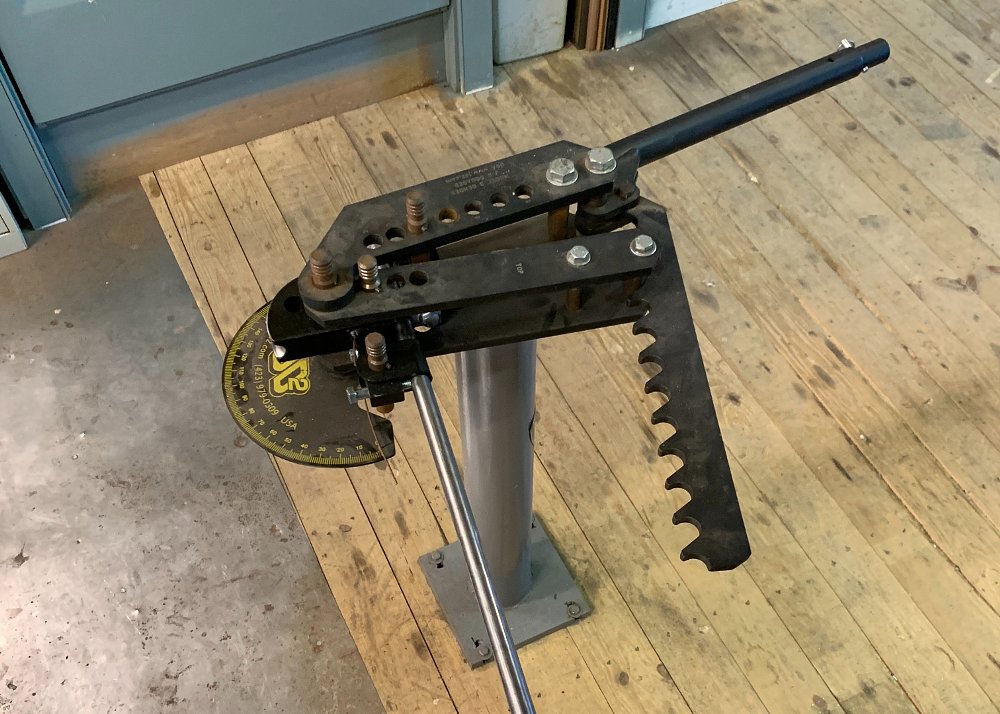
Tubing bender
Not to be confused with a metal bender, but works similarly. The main difference is the dies are radiused instead of flat. This is critical for bending hollow tubing for frames, handlebars and exhaust pipes. If you try to bend hollow tubing with a traditional metal bender, it will just crush and kink. Tubing benders are usually much more expensive, so another option to consider, if you’re just doing a set of exhaust pipes, is to buy a pipe builder's kit like this one from Biltwell. I've built some pretty trick exhausts with this kit just by cutting sections of the pre-bent tubing and welding them together. It is time consuming to have to grind down the welds to have the pipes chromed, but it's a really nice option if the cost of a tubing bender isn’t worth how much you might end up using it.
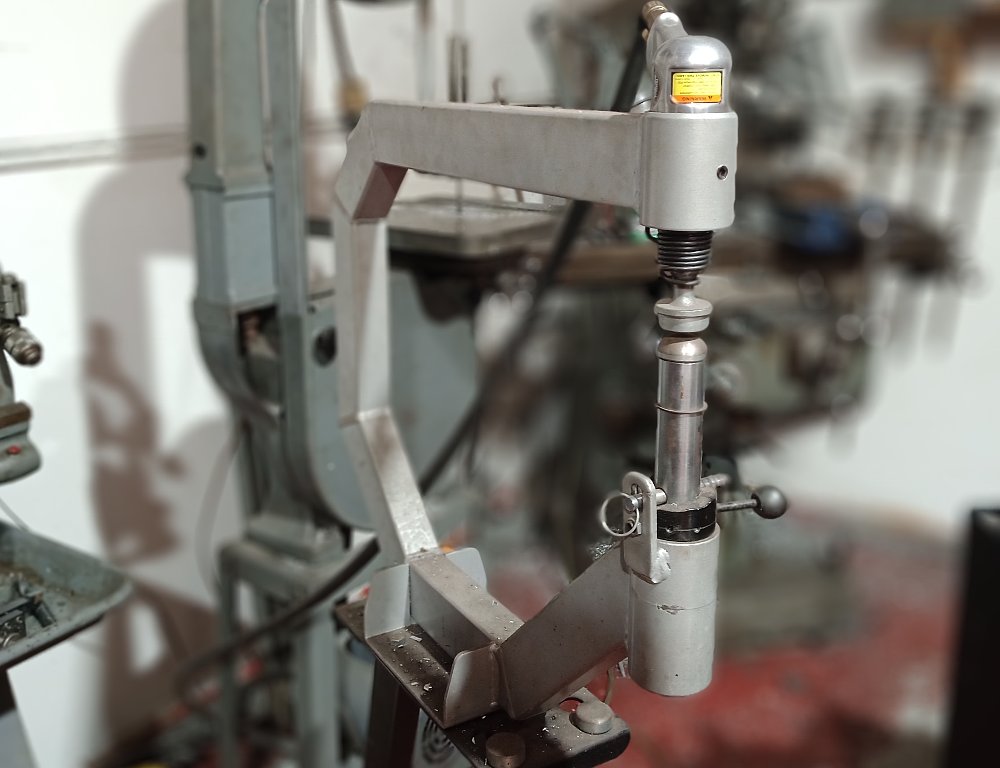
Planishing hammer
Planishing hammers are pneumatic hammers set in a big C frame with various diameter anvils which allow you to smooth and shape sheet metal. This is great for making and modifying gas tanks, oil tanks, side panels and other bodywork. They are very loud and require a pretty strong air compressor to run but the results are really impressive. Typically you would beat a panel with teardrop mallets on a leather bag into a rough shape and then take it to the planishing hammer to smooth out the hammer indentations. A common use for a planishing hammer is when narrowing Sportster tanks, to get rid of the flat spot in the center.
TIG welder
Tungsten Inert Gas or Gas Tungsten Arc Welding (GTAW) is similar to MIG welding in that it uses an electrical arc to melt the parent metal (the part your working on) but the main difference is that you manually feed the filler wire with the hand opposite your torch hand. Also, in most cases, a foot pedal controls the amperage of the arc and therefore the temperature and size of the weld puddle. While a MIG welder just requires one hand, a TIG will usually require both hands and one foot.
The advantage of the TIG over the MIG is that you have much more control of what's going on while you are welding. I also find that TIG welding is tough to beat for welding aluminum. I work on a lot of old air-cooled bikes that have broken fins on their heads or cracked cases. TIG welding gives me the ability to really control the weld puddle and filler wire. It is also much easier to change from AC to weld aluminum to DC for steel. I can also grab different filler wire really easily versus changing the polarity of a MIG machine internally and changing the filler wire spool or adding a spool gun.
One thing to note is that TIG welders will generally always require a shielding gas bottle whereas a MIG setup with flux-core filler wire can be run without a bottle.
Tools of the trade many trades
The advantage of some of these more capable tools and machines is that they allow you to make tools for specific jobs. I’ve made quite a few tools from scratch out of inexpensive raw materials, which has saved me hundreds of dollars over the years. Also, I’ve made quite a few extra bucks on the side with welding and machining jobs, some having nothing to do with motorcycles at all. So just remember that these things can pay for themselves over time.
I hope some of you consider expanding your skills by picking up a couple of these tools for yourselves.