

Winter is often old-bike project time on Lemmy Mountain, and along with my contemporary, Sturgis, I recently serviced the front fork on one of my bikes. Even if you don't have the exact same fork, this is a "representational" fork similar to many other units, so the tips here will apply broadly if your fork has a leaking seal that needs replaced.
Specifically, we tore into a 35mm fork that is commonly found on 1970s and 1980s Harley-Davidson Sportsters and FXs, but the principles are very similar for most conventional hydraulically damped units.
With a six-pack chilled and Sturgis operating the camera, it was time to do this thing.
I do a few things in a specific order to make this job a bit easier. Put your bike in the air on a bike jack or on blocks or sumpin' and remove the front wheel and axle. Remove the fork caps while the tubes are still in your trees. It's easy to get the cap started because the triple is still holding the upper from spinning. On many forks, you can loosen the caps but you don't have to remove them yet. With 35s, you have to remove the caps to be able to slide the fork legs out of the triple tree.
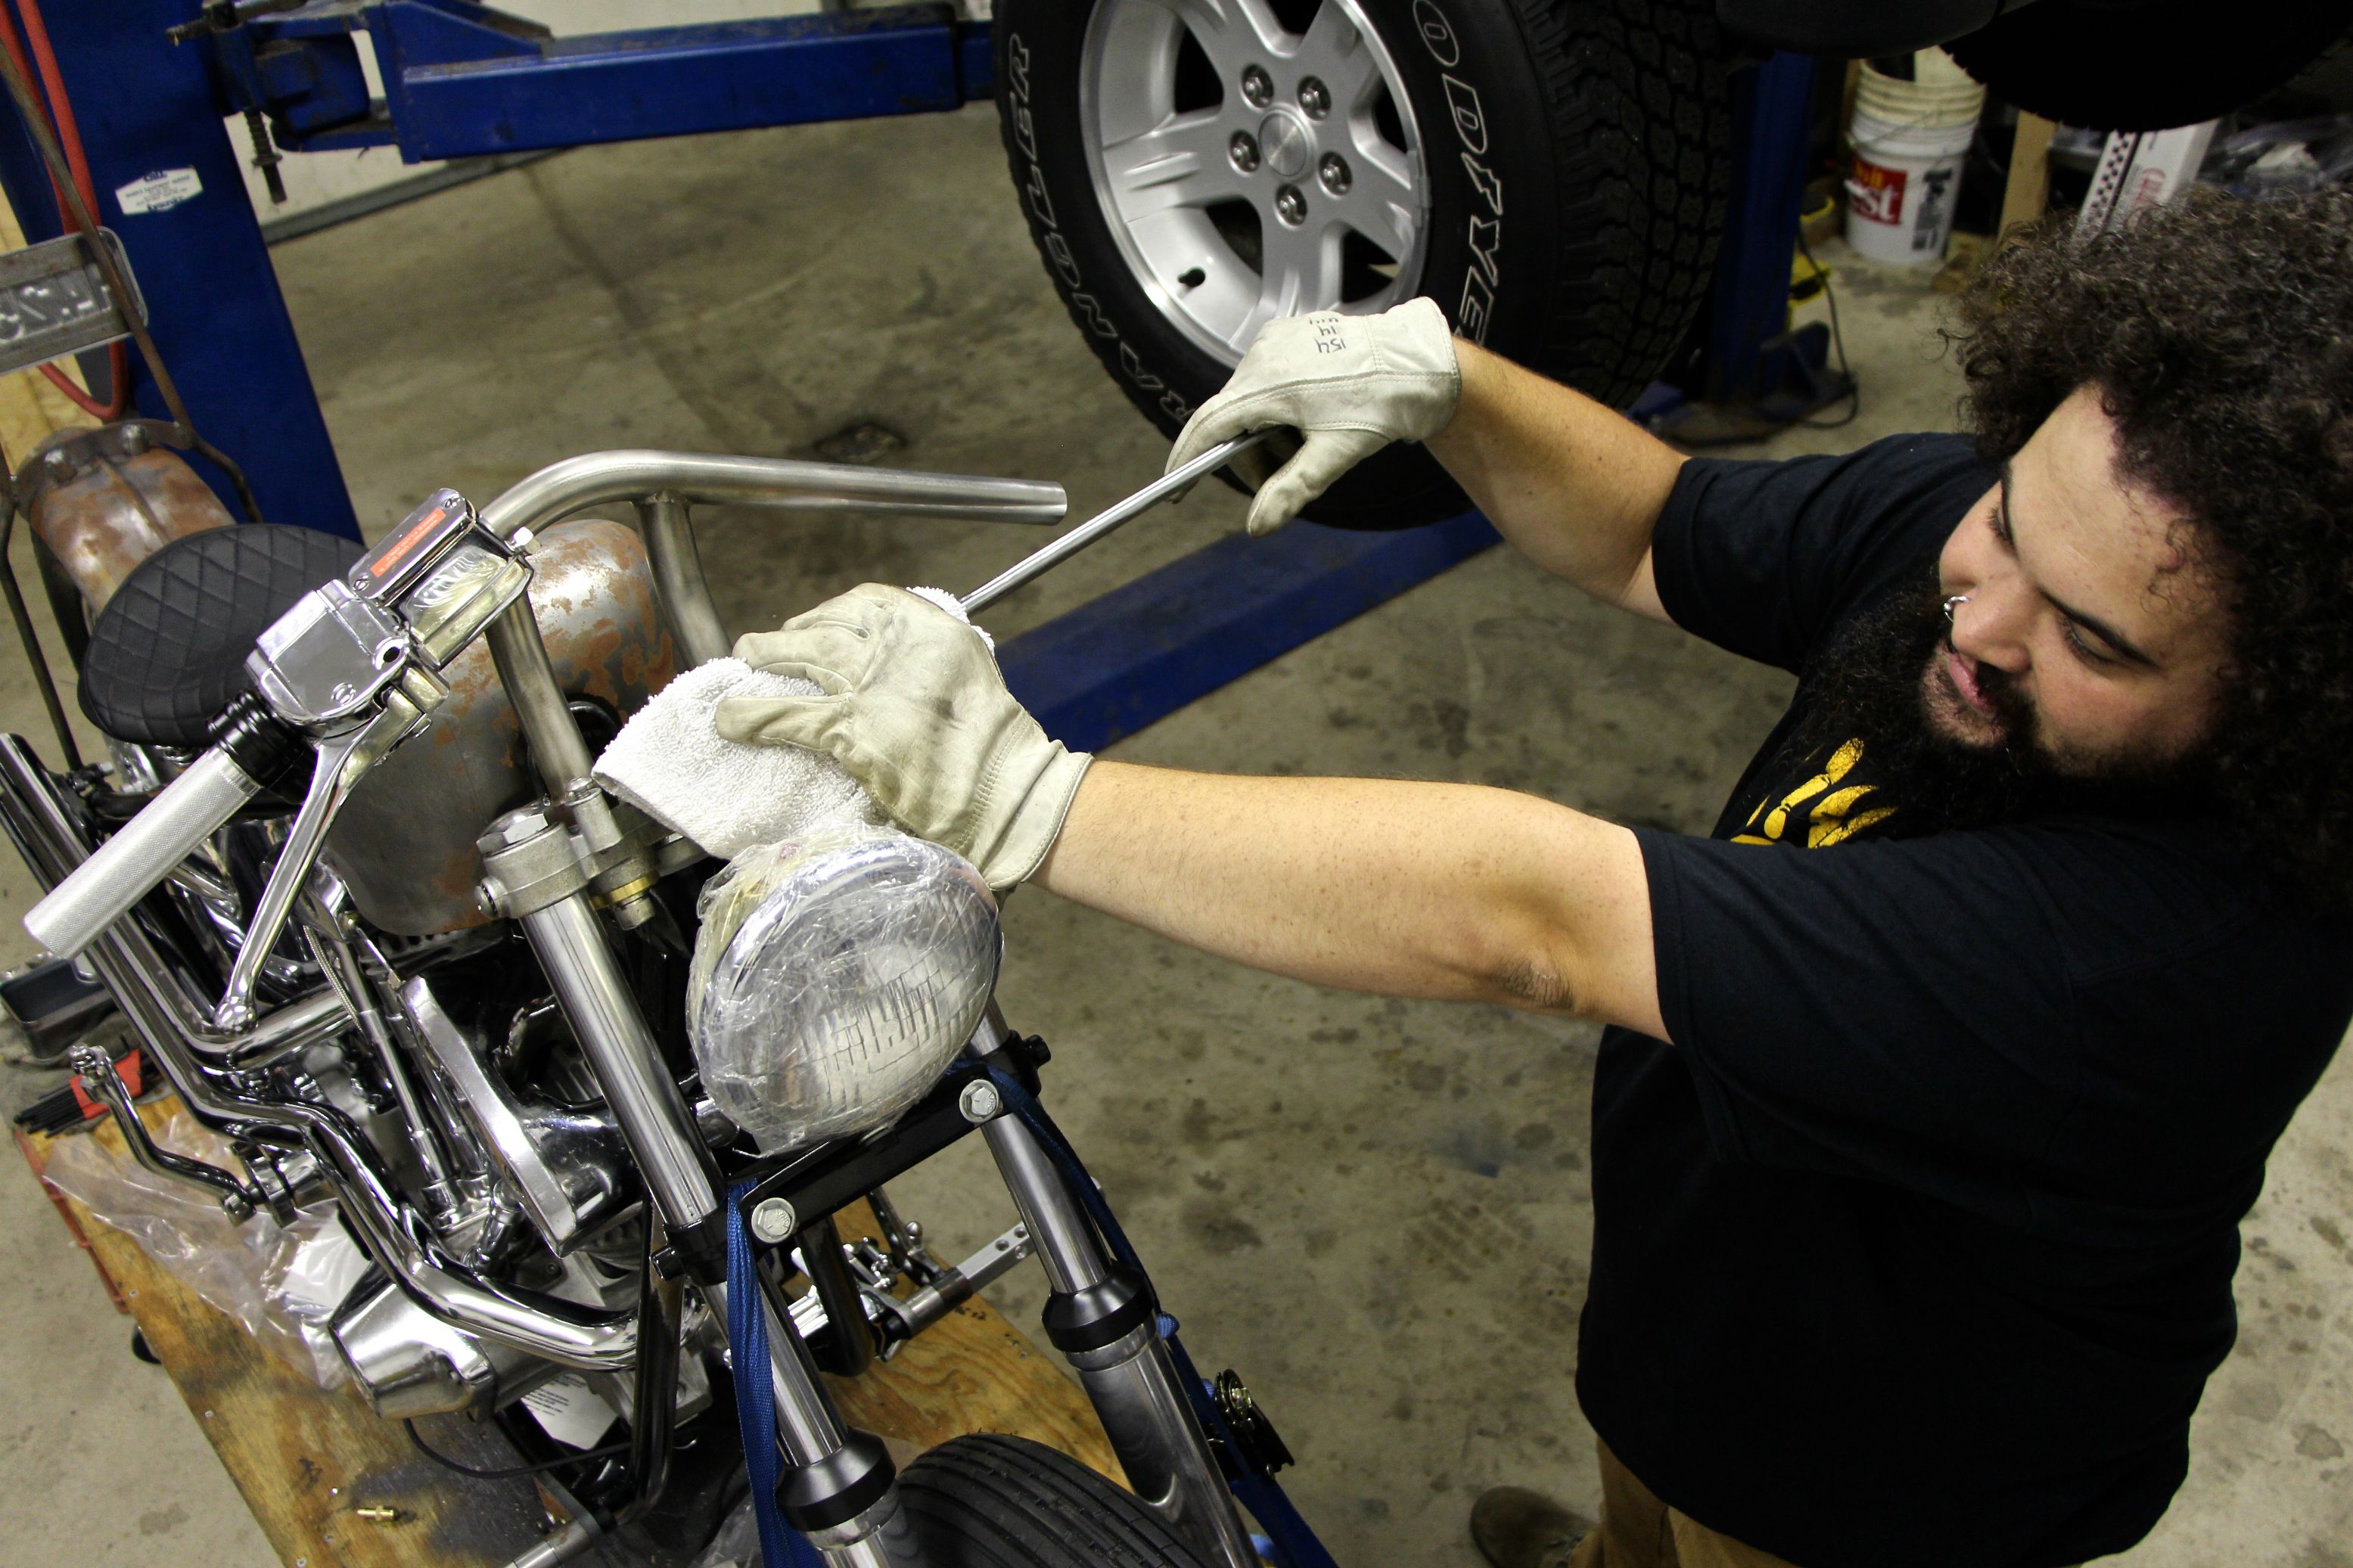
Next, remove the tubes from the trees. Keep them upright, or you'll make a big friggin' mess. Once they're out... put the fork caps back on! More on why you're doing this in just a second. Before you complete this step, read this warning:
- The fork caps have really fine threads, so it's easy to ruin the tubes and the caps.
- Your face and hands are really easy to injure. Wear safety goggles and gloves during this step, and keep your peepers away from that cap.
To reinstall the caps, extend the fork as far as you can, and put on a pair of leather gloves. If you combine moderate downward pressure with a twisting motion, you can probably start the fork caps by hand if you have a little “gorilla” in you.
I like to put the fork legs in a vice when working on them. I wrap a rag around the leg to keep anything from getting nicked and scratched. Everything we do from here on out is the same for both fork legs, so we are just going to show you one.
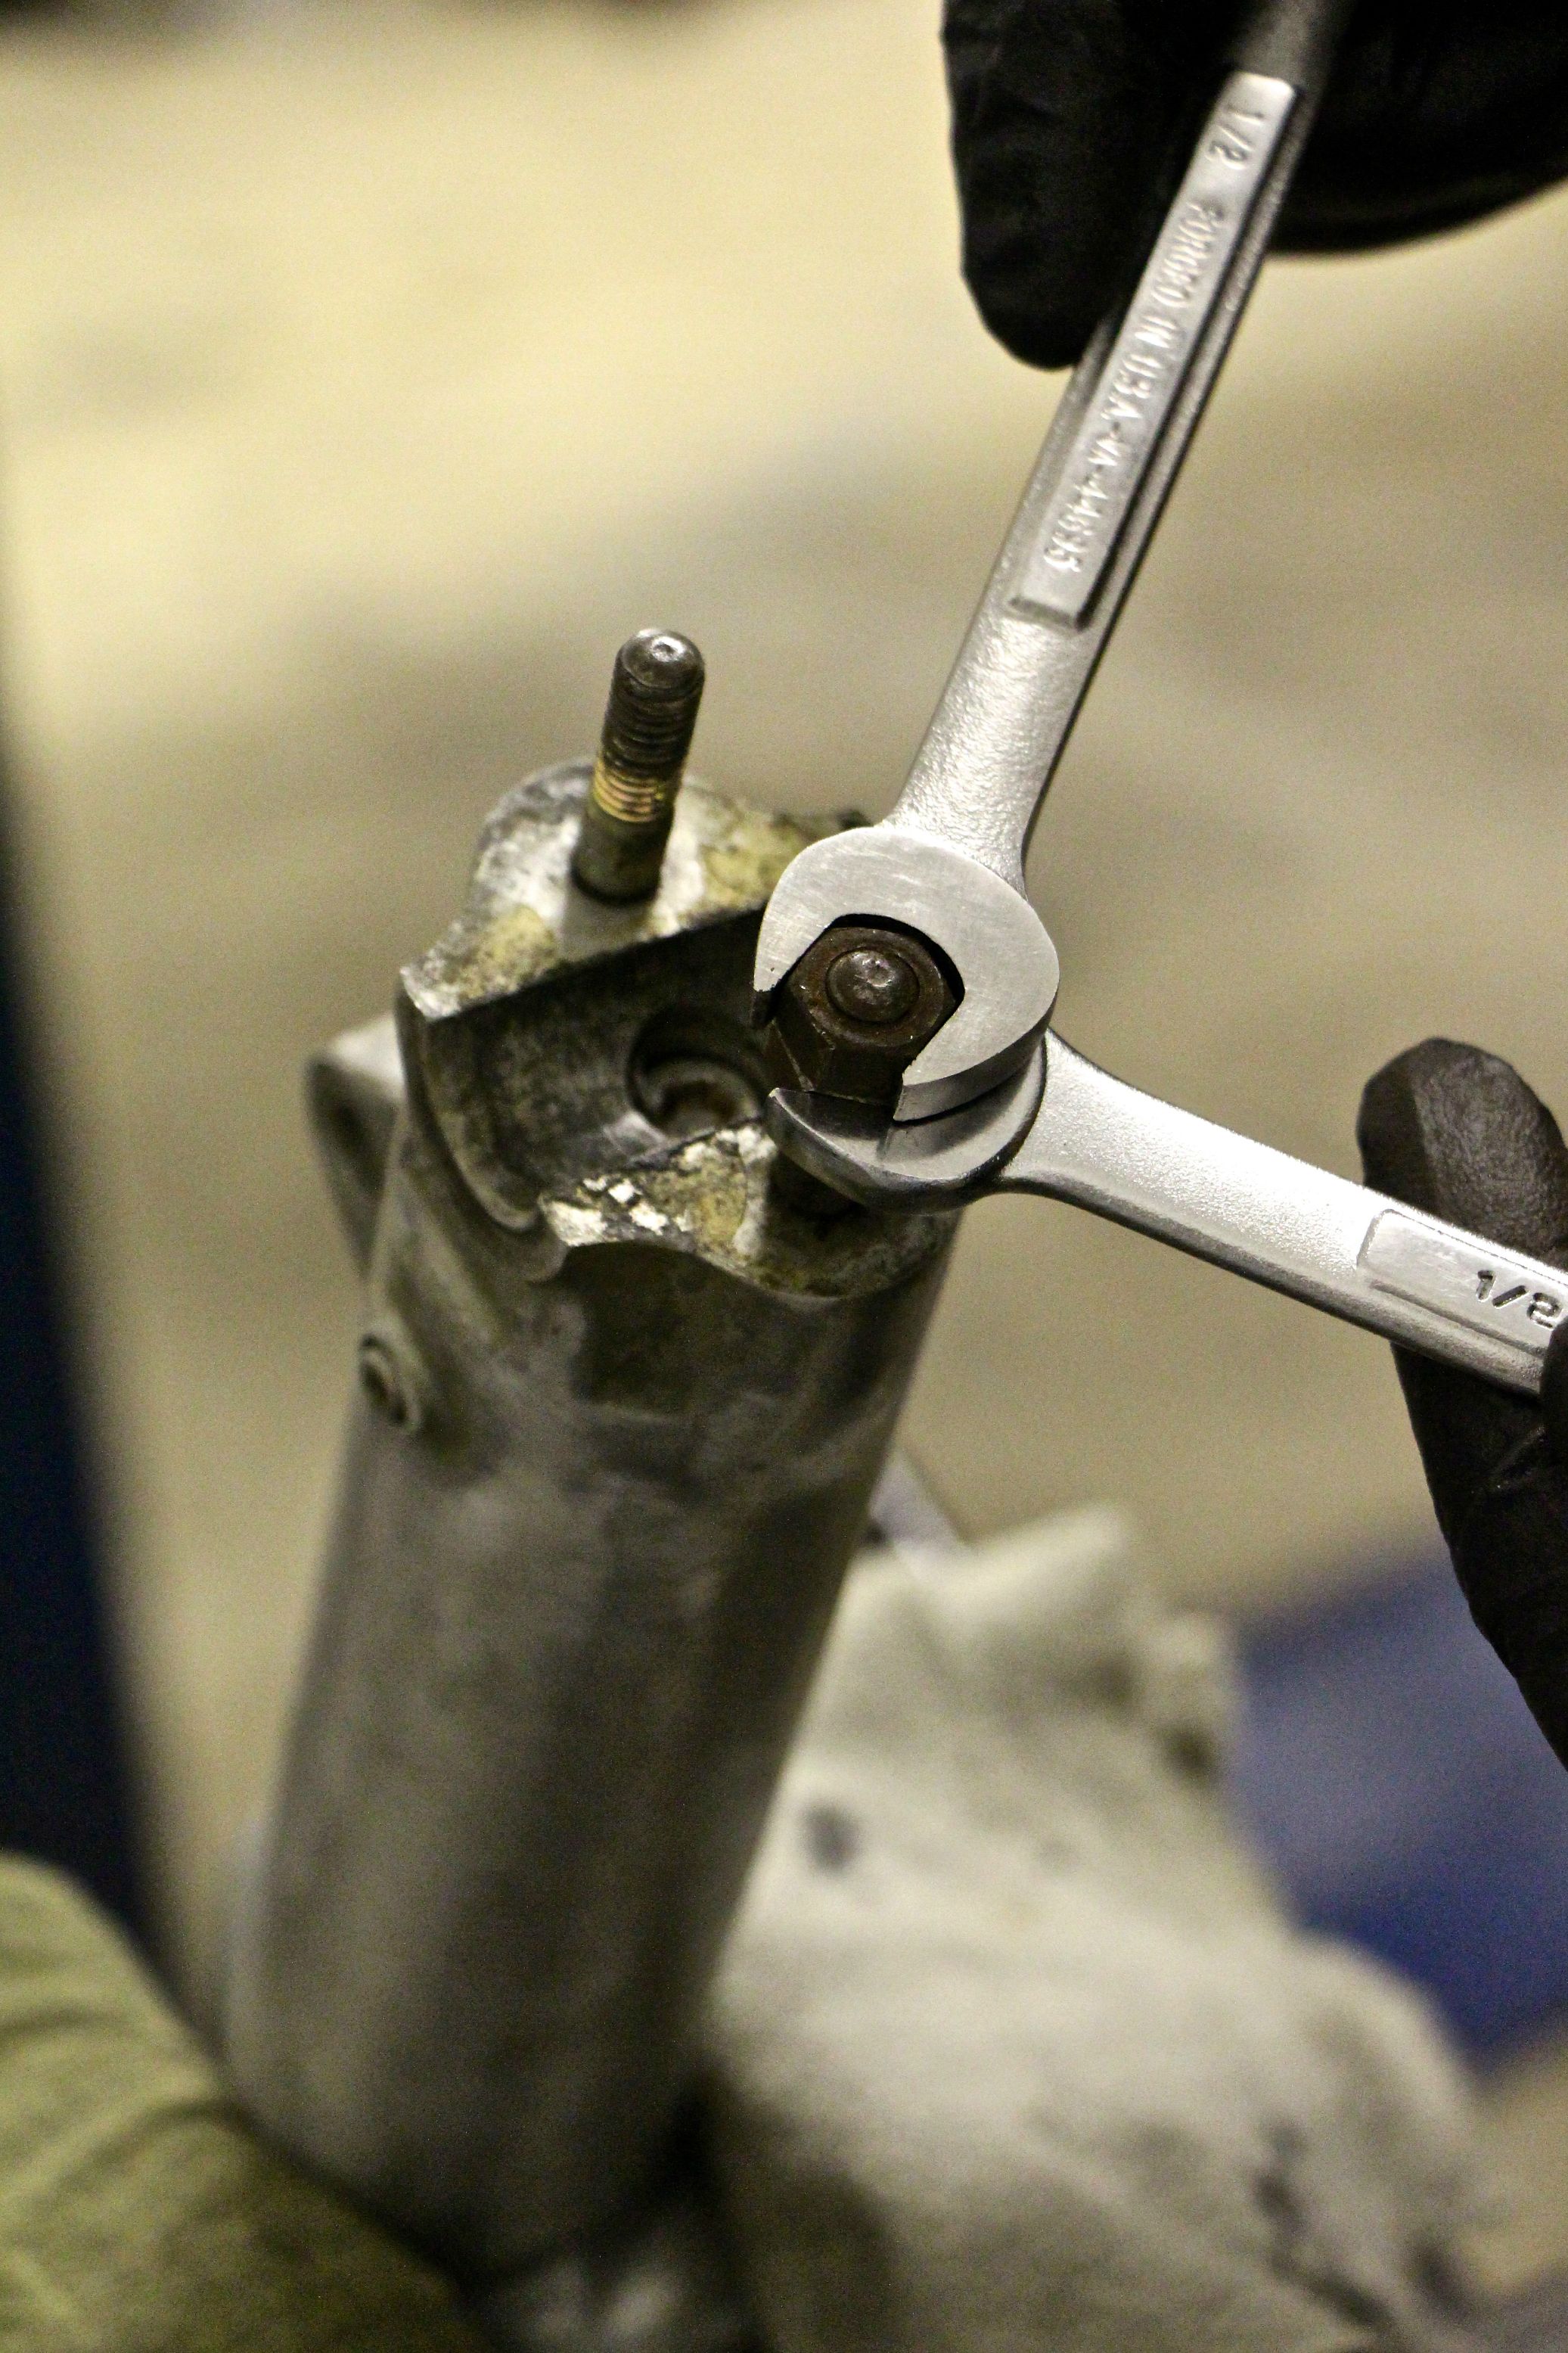
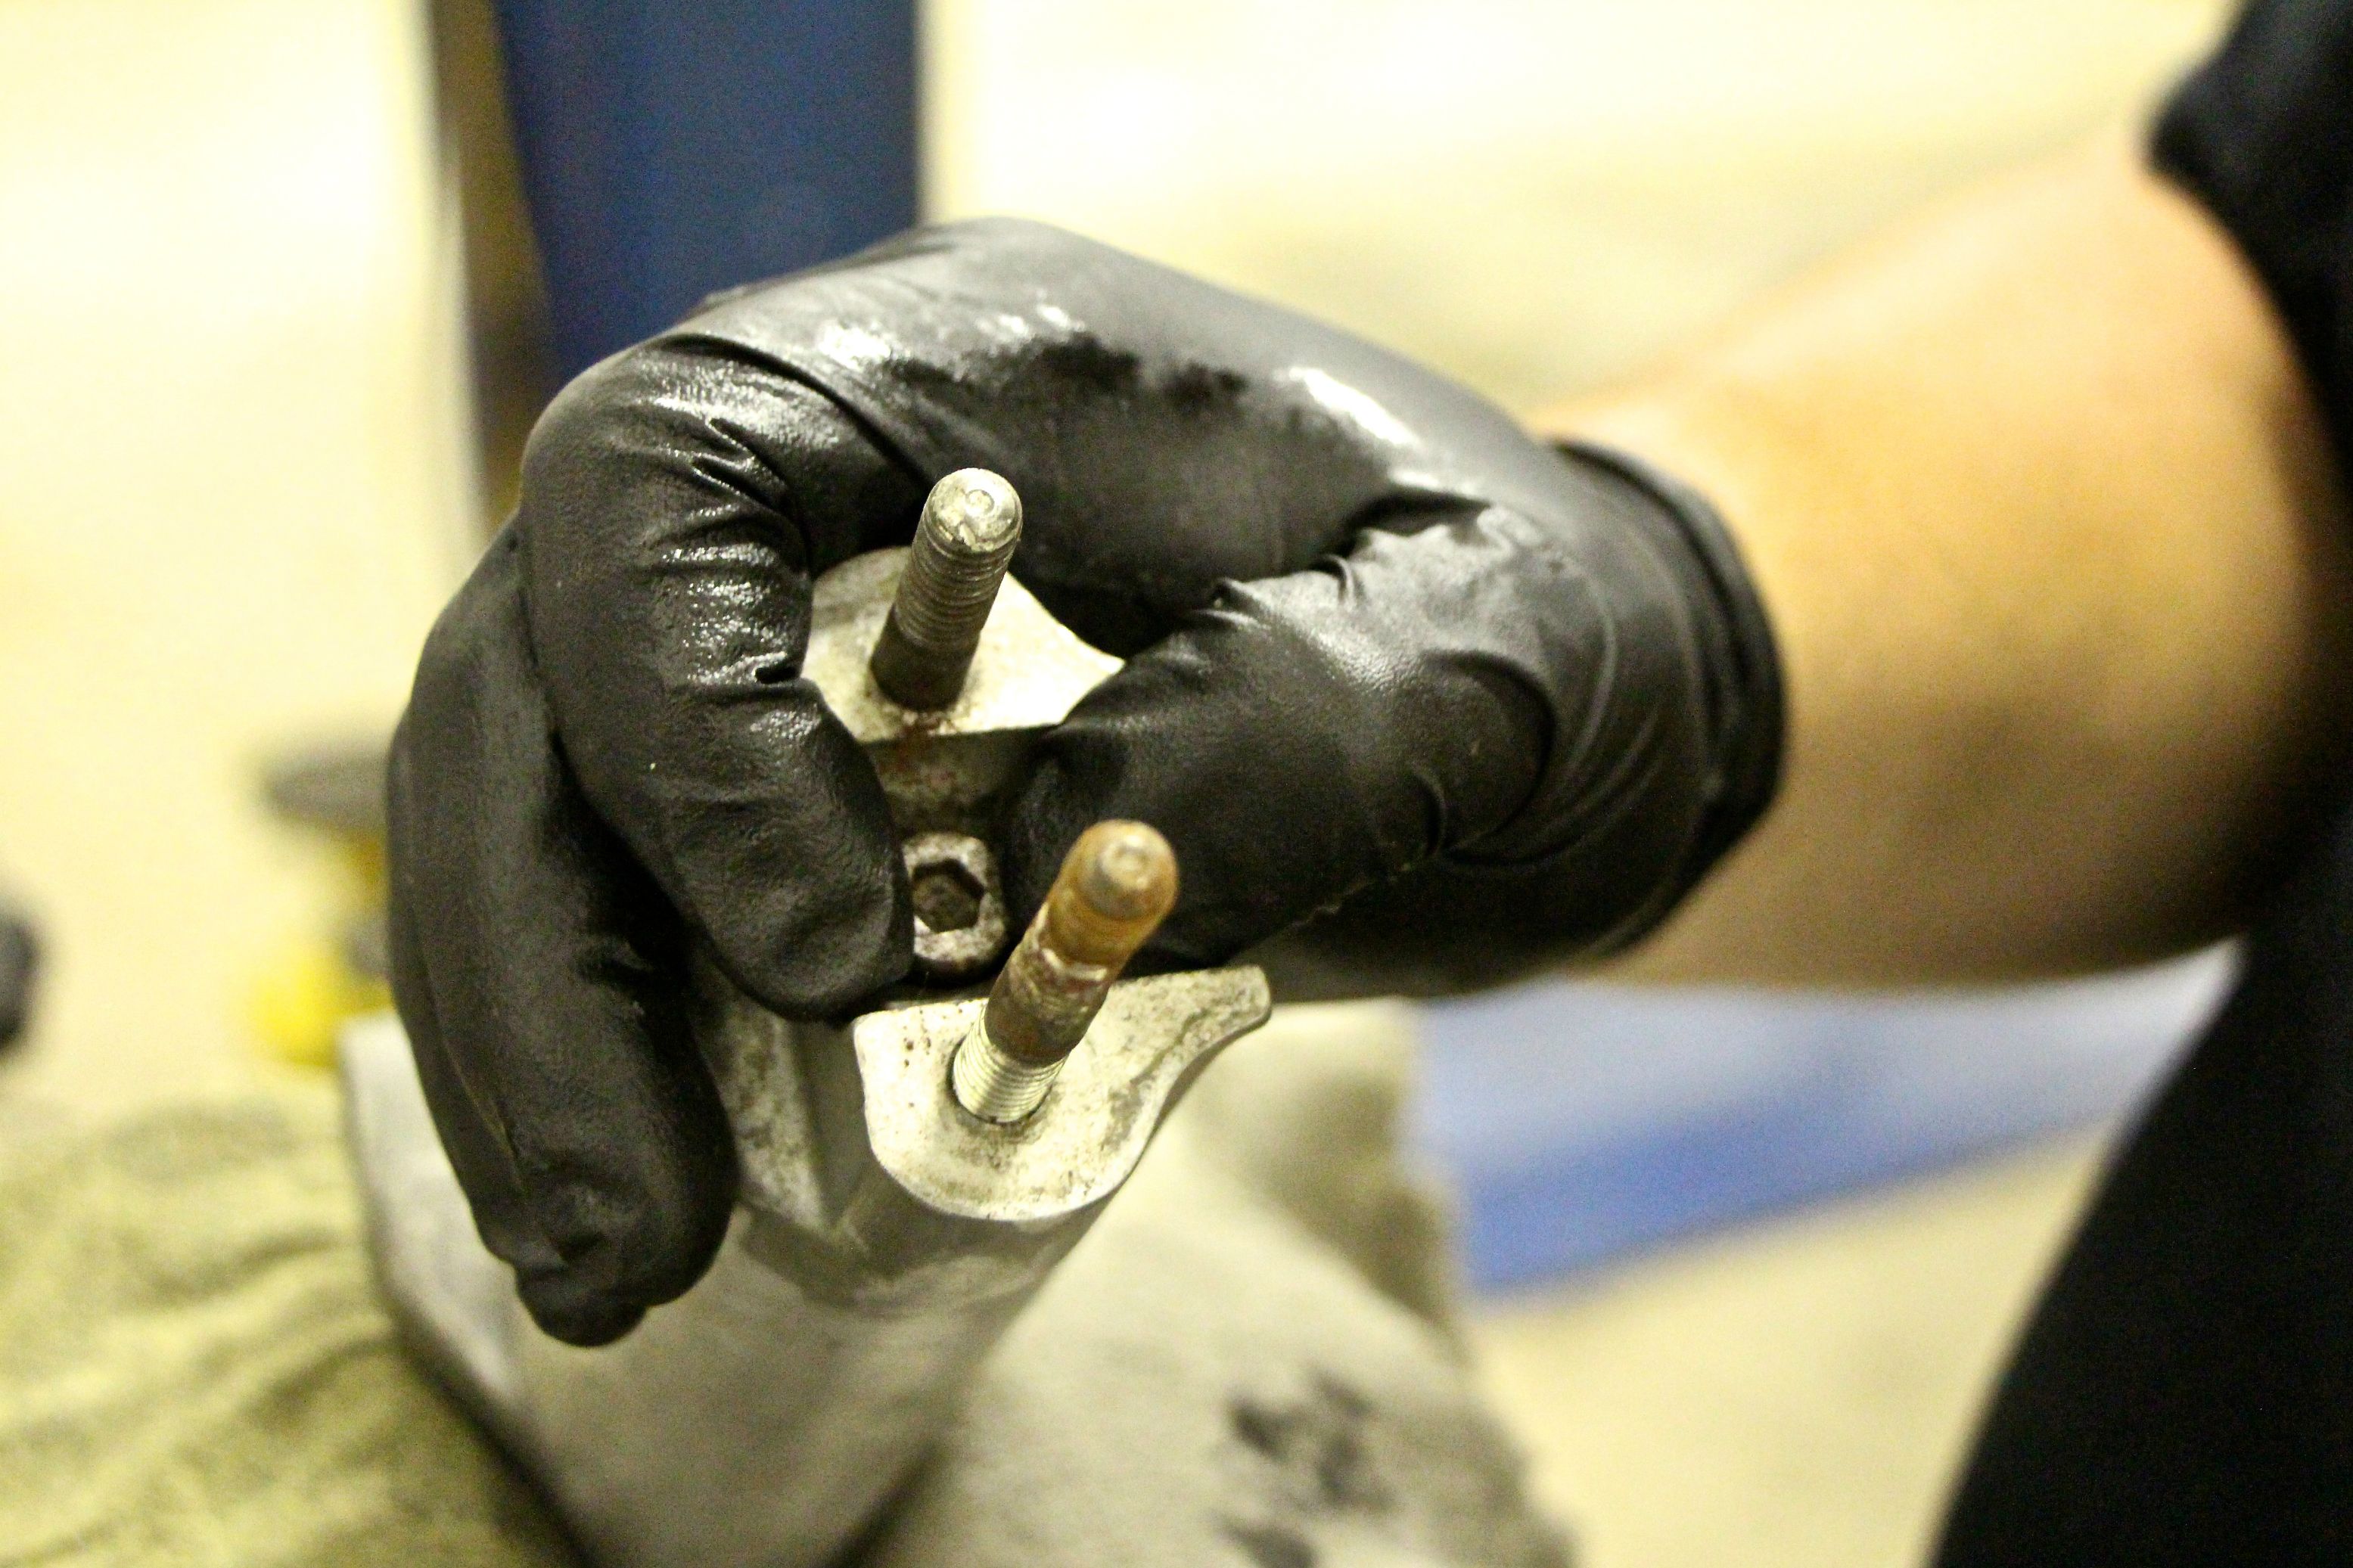
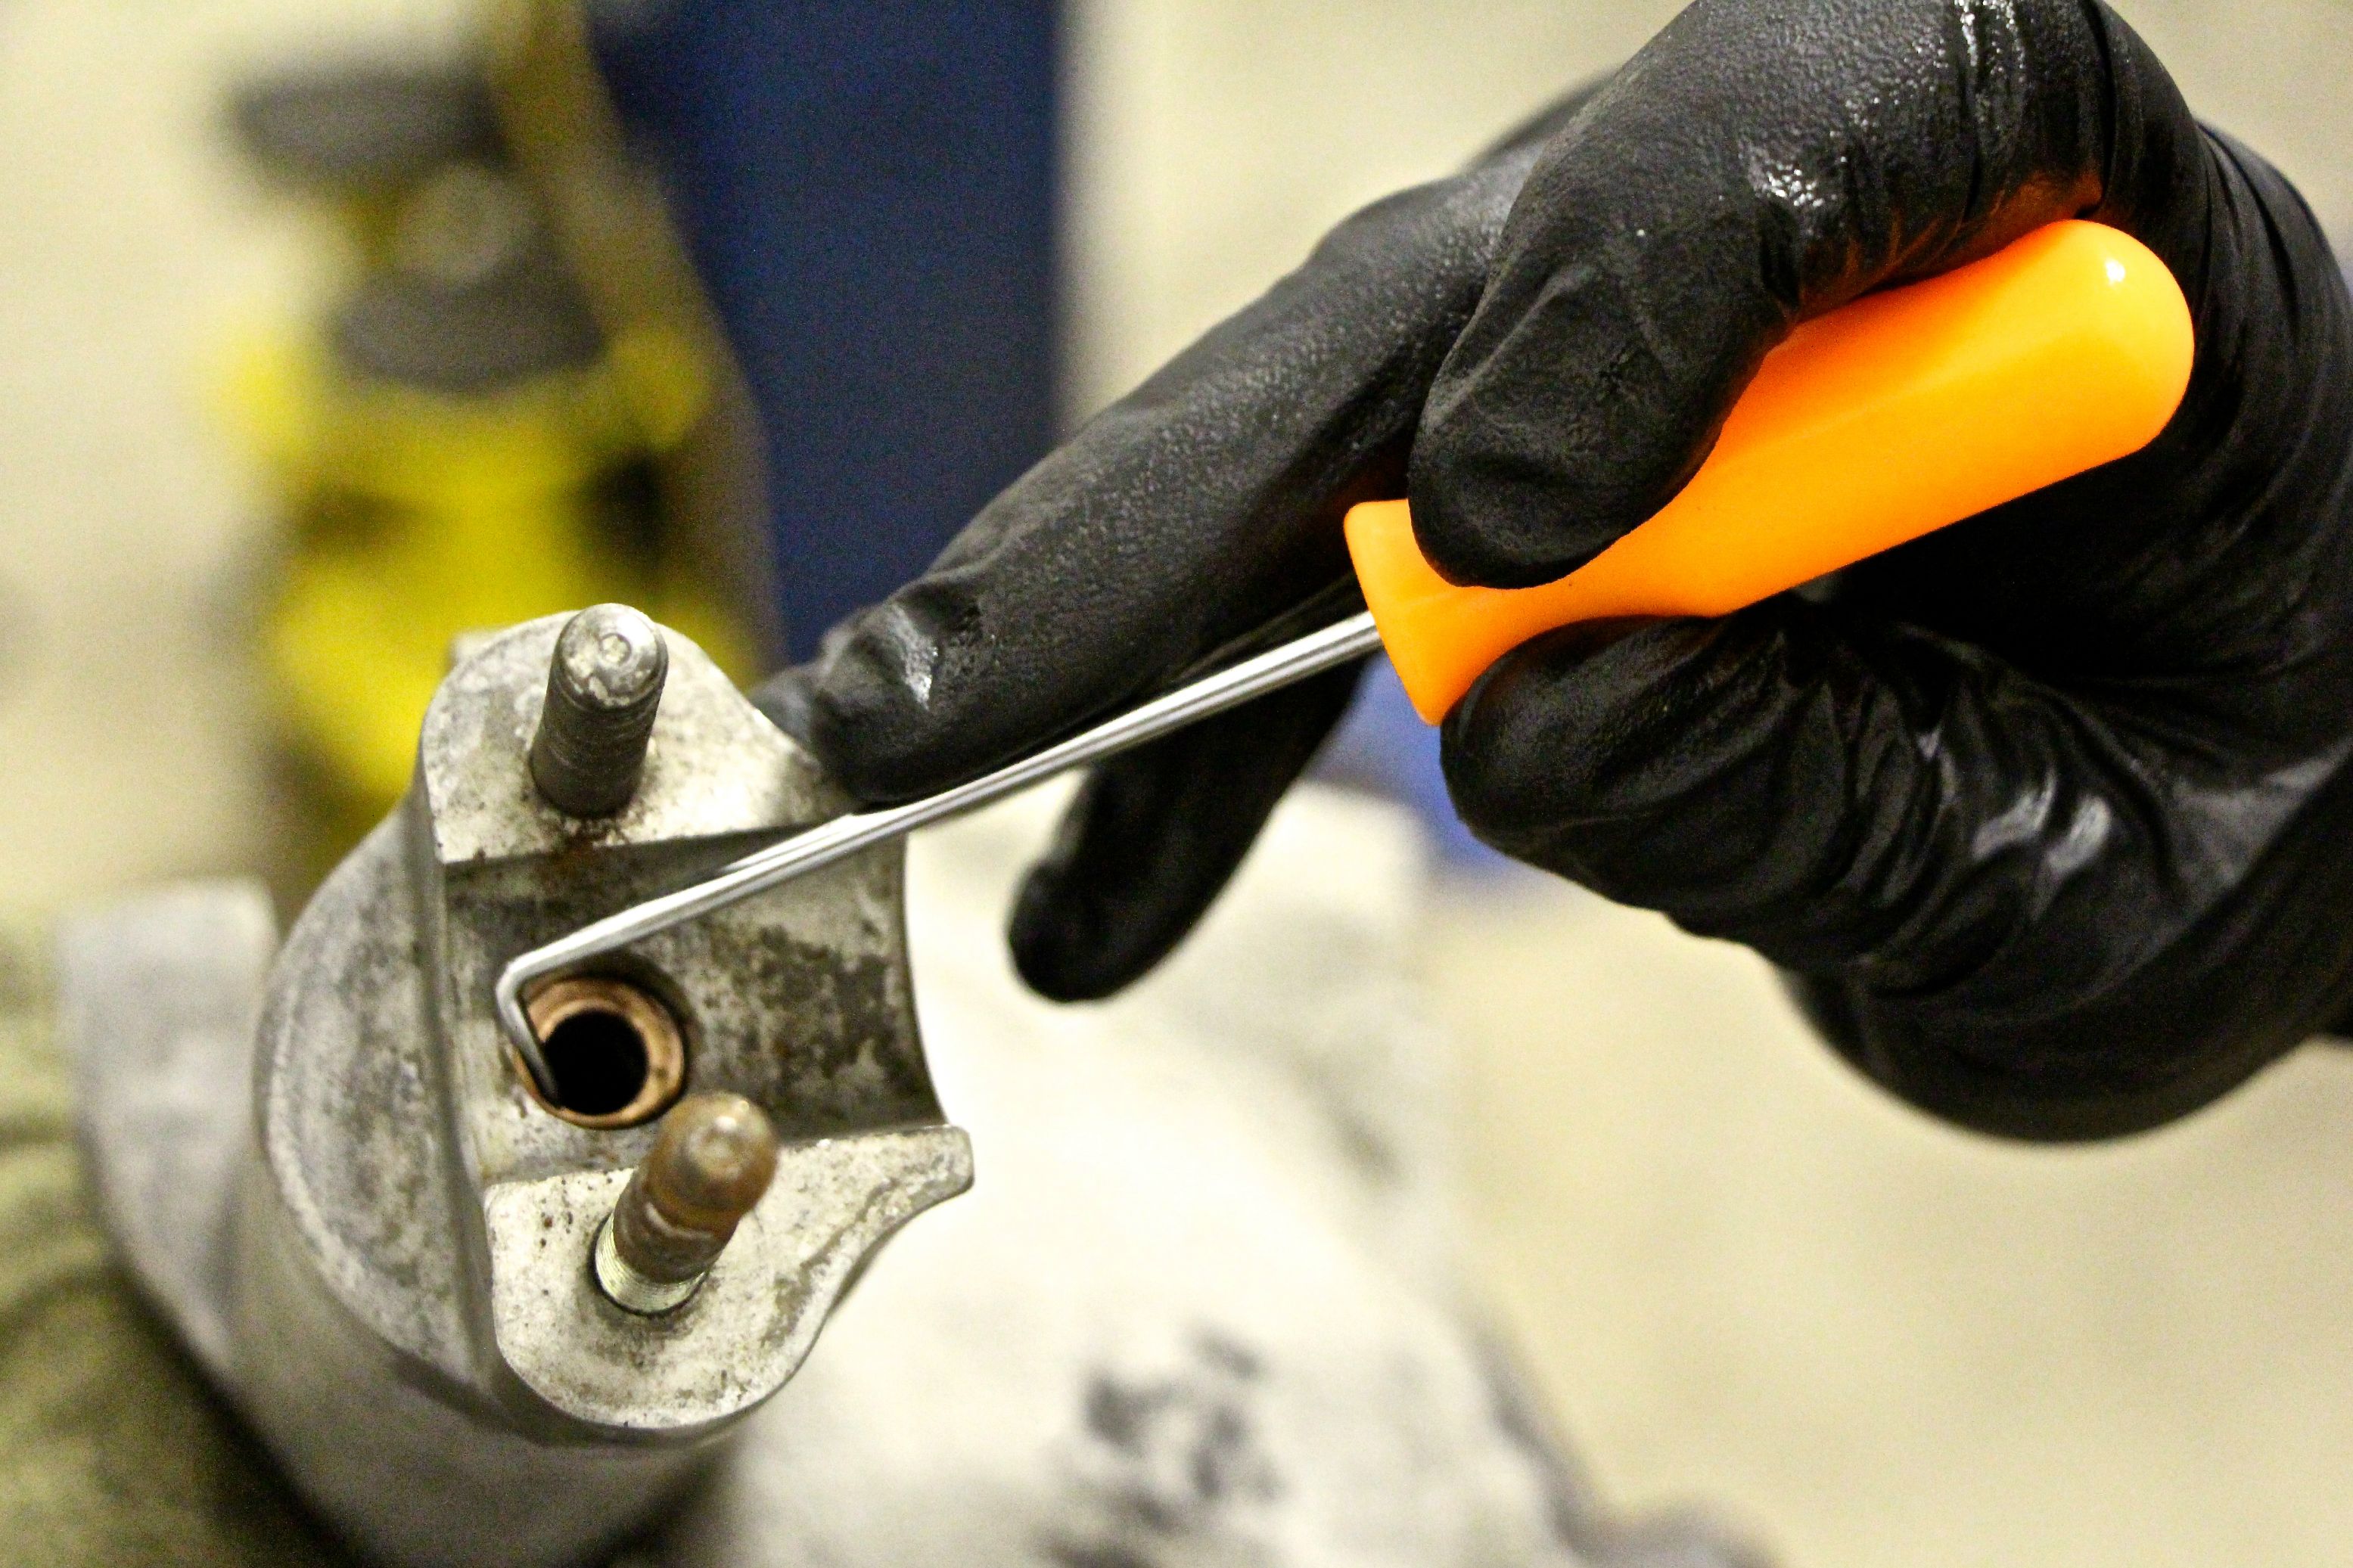
Clamp the fork lower horizontally in your vise, and put a drain pan under it. Examine your axle cap studs. If they look knackered, clean them up with a die or replace them. This is obviously not part of the resealing process, but heck, they’re on the bench, so now's the time to check, right?
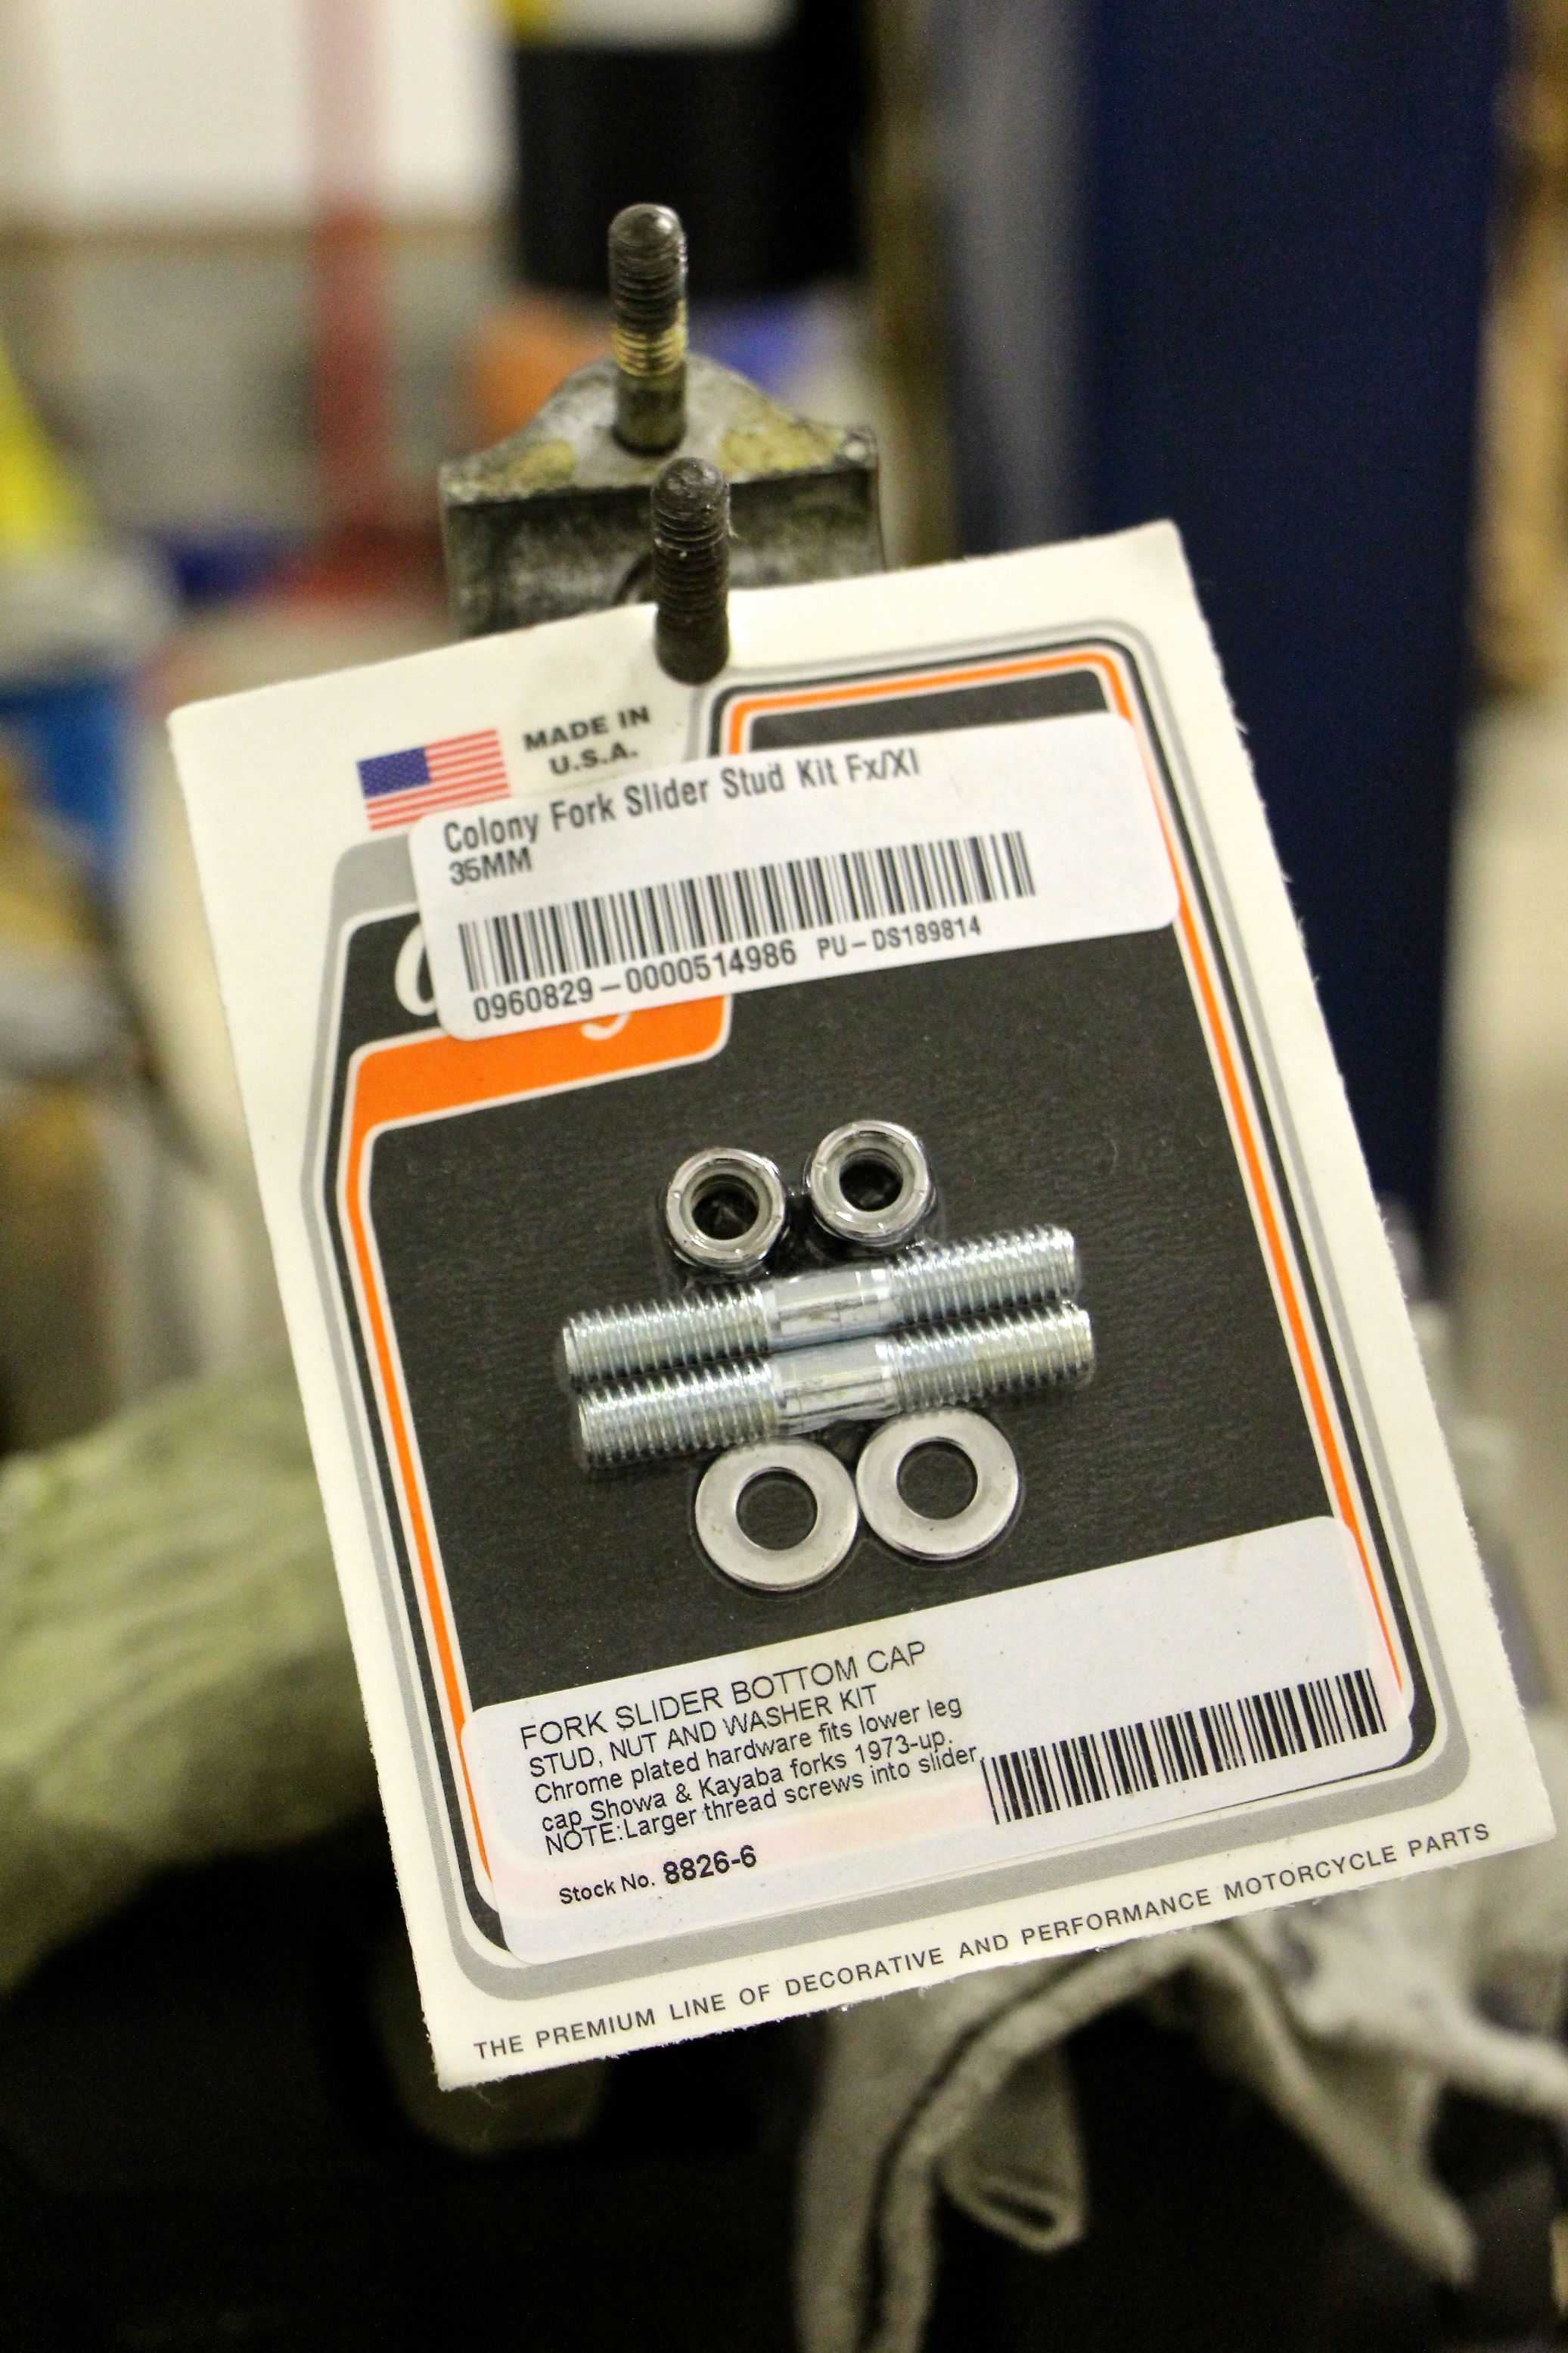
To get the old studs out (and the new ones in), I back two nuts up against each other on the stud and tighten against each other. That's probably the wrong way to do it, but it has worked for me quite a few times now, and the end seems to justify the means. (I'm sure someone makes some expensive tool to install them, though.)
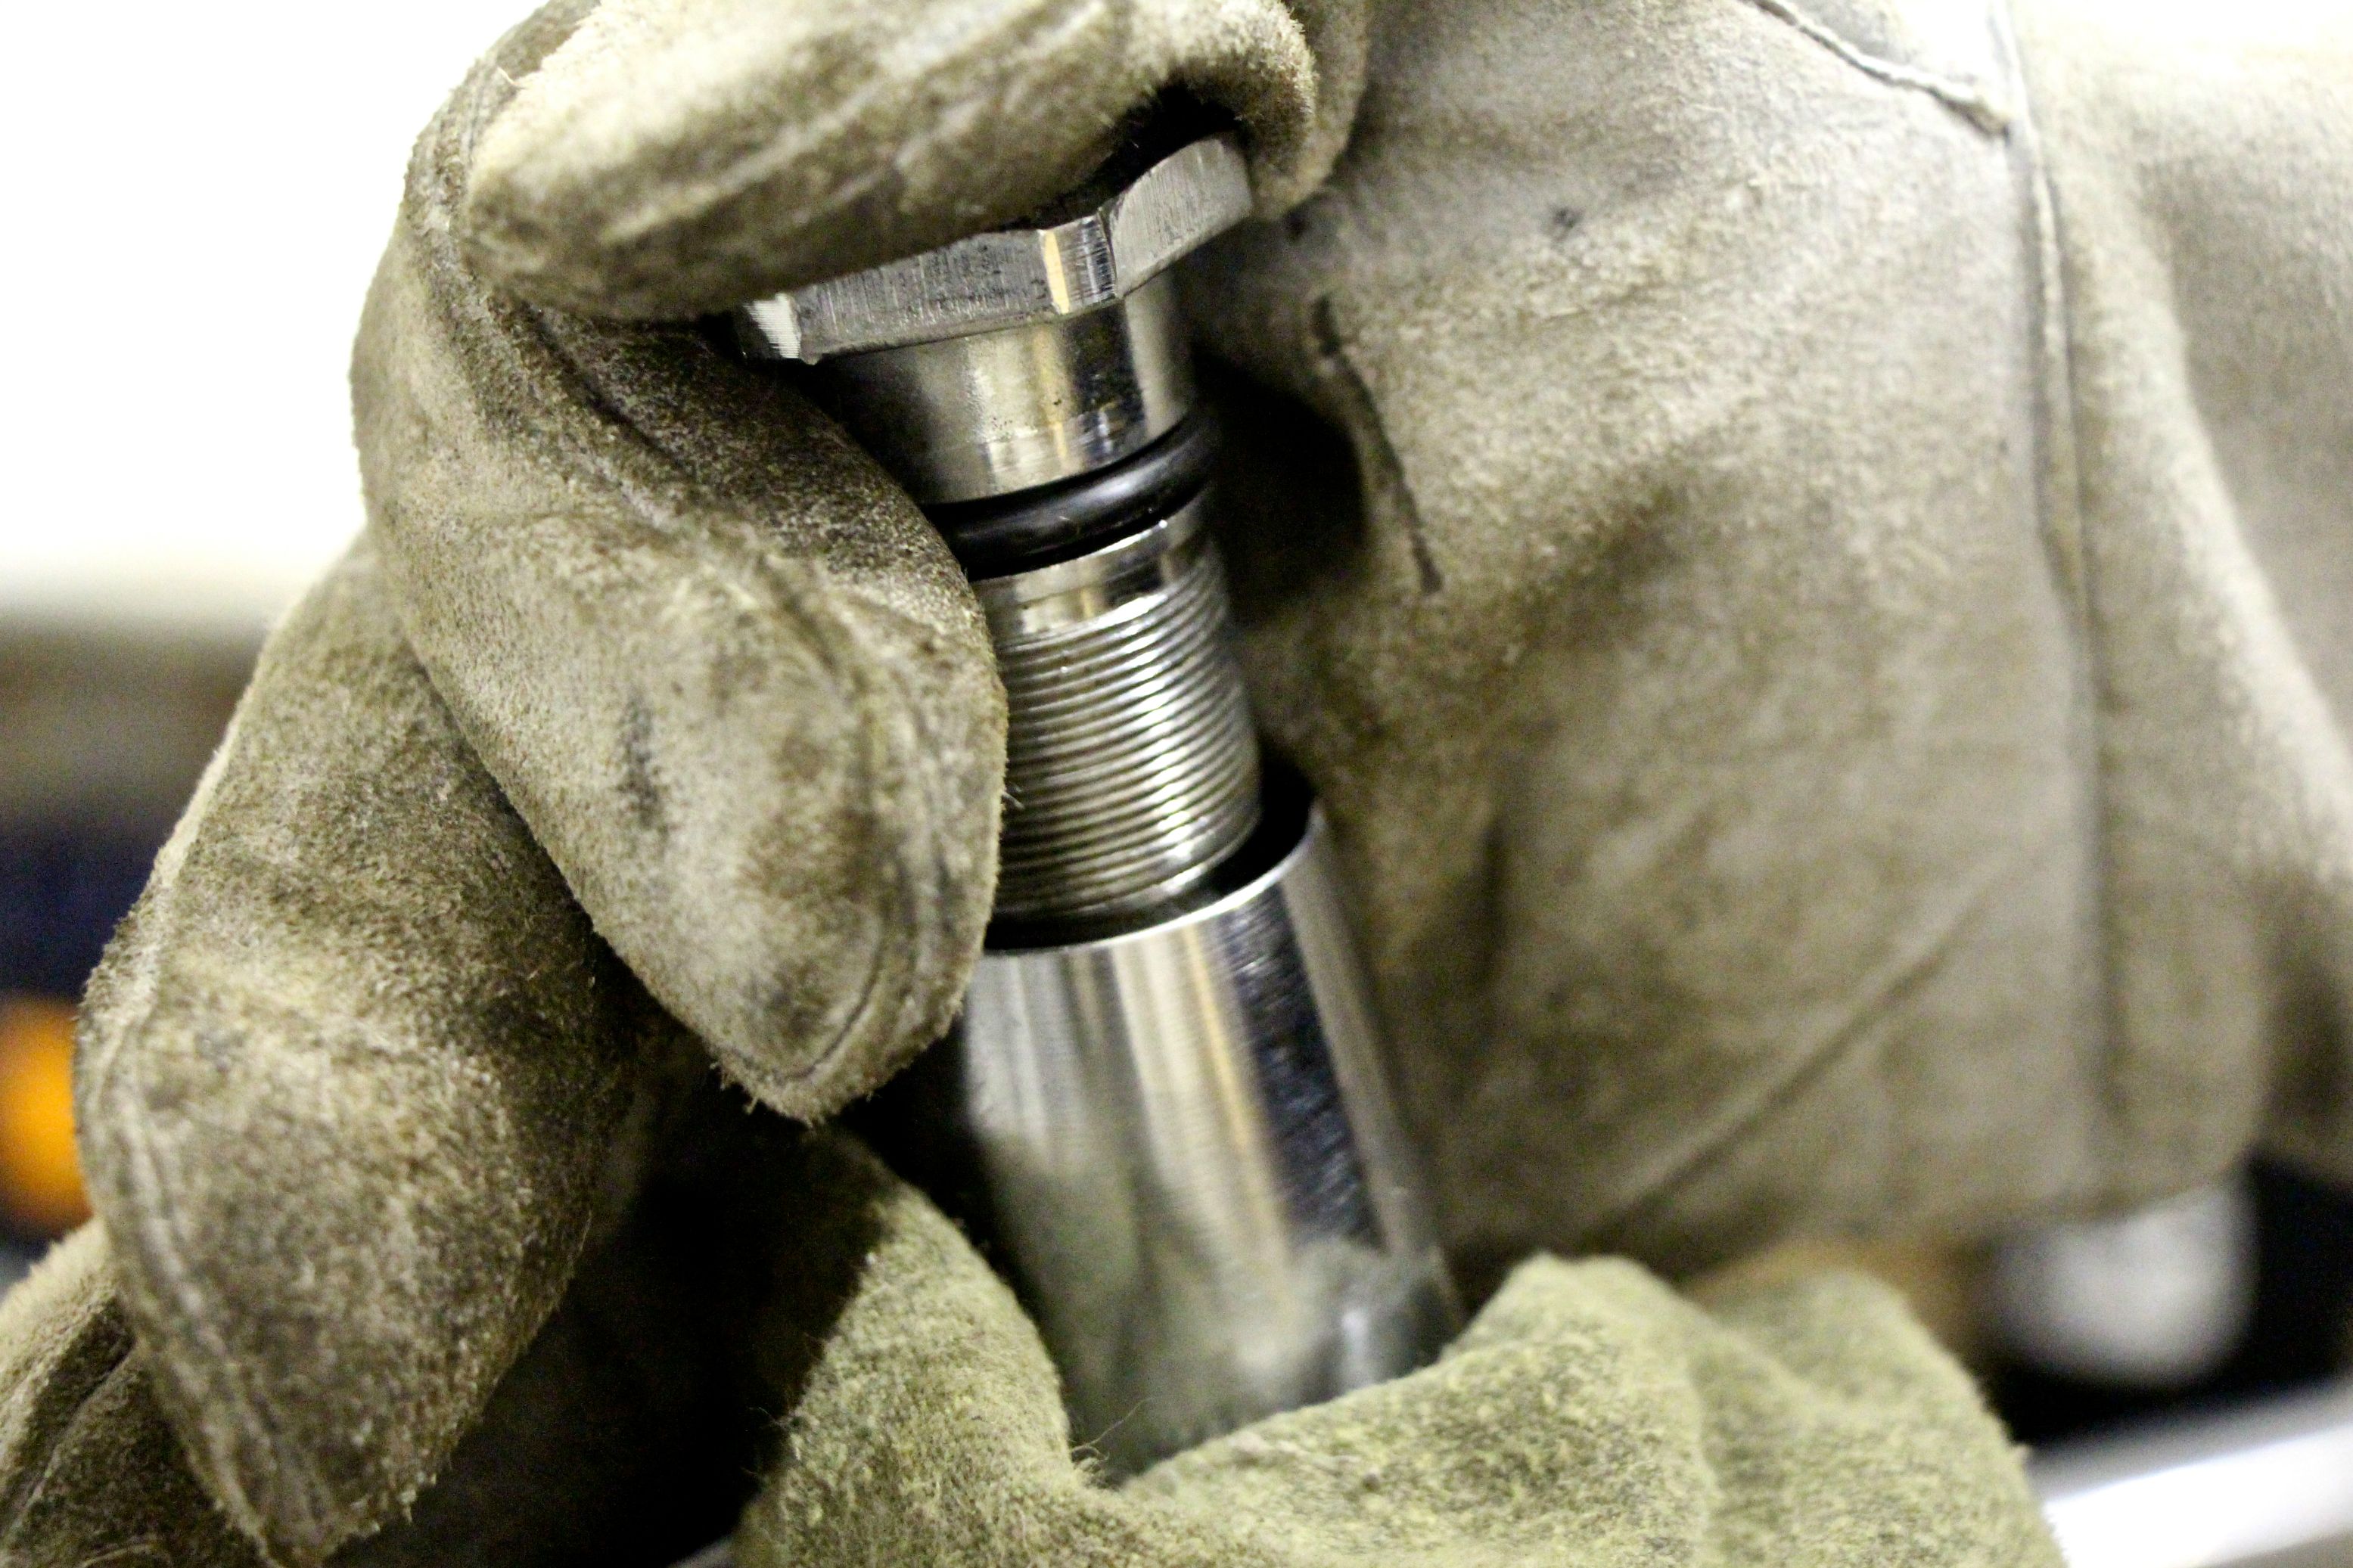
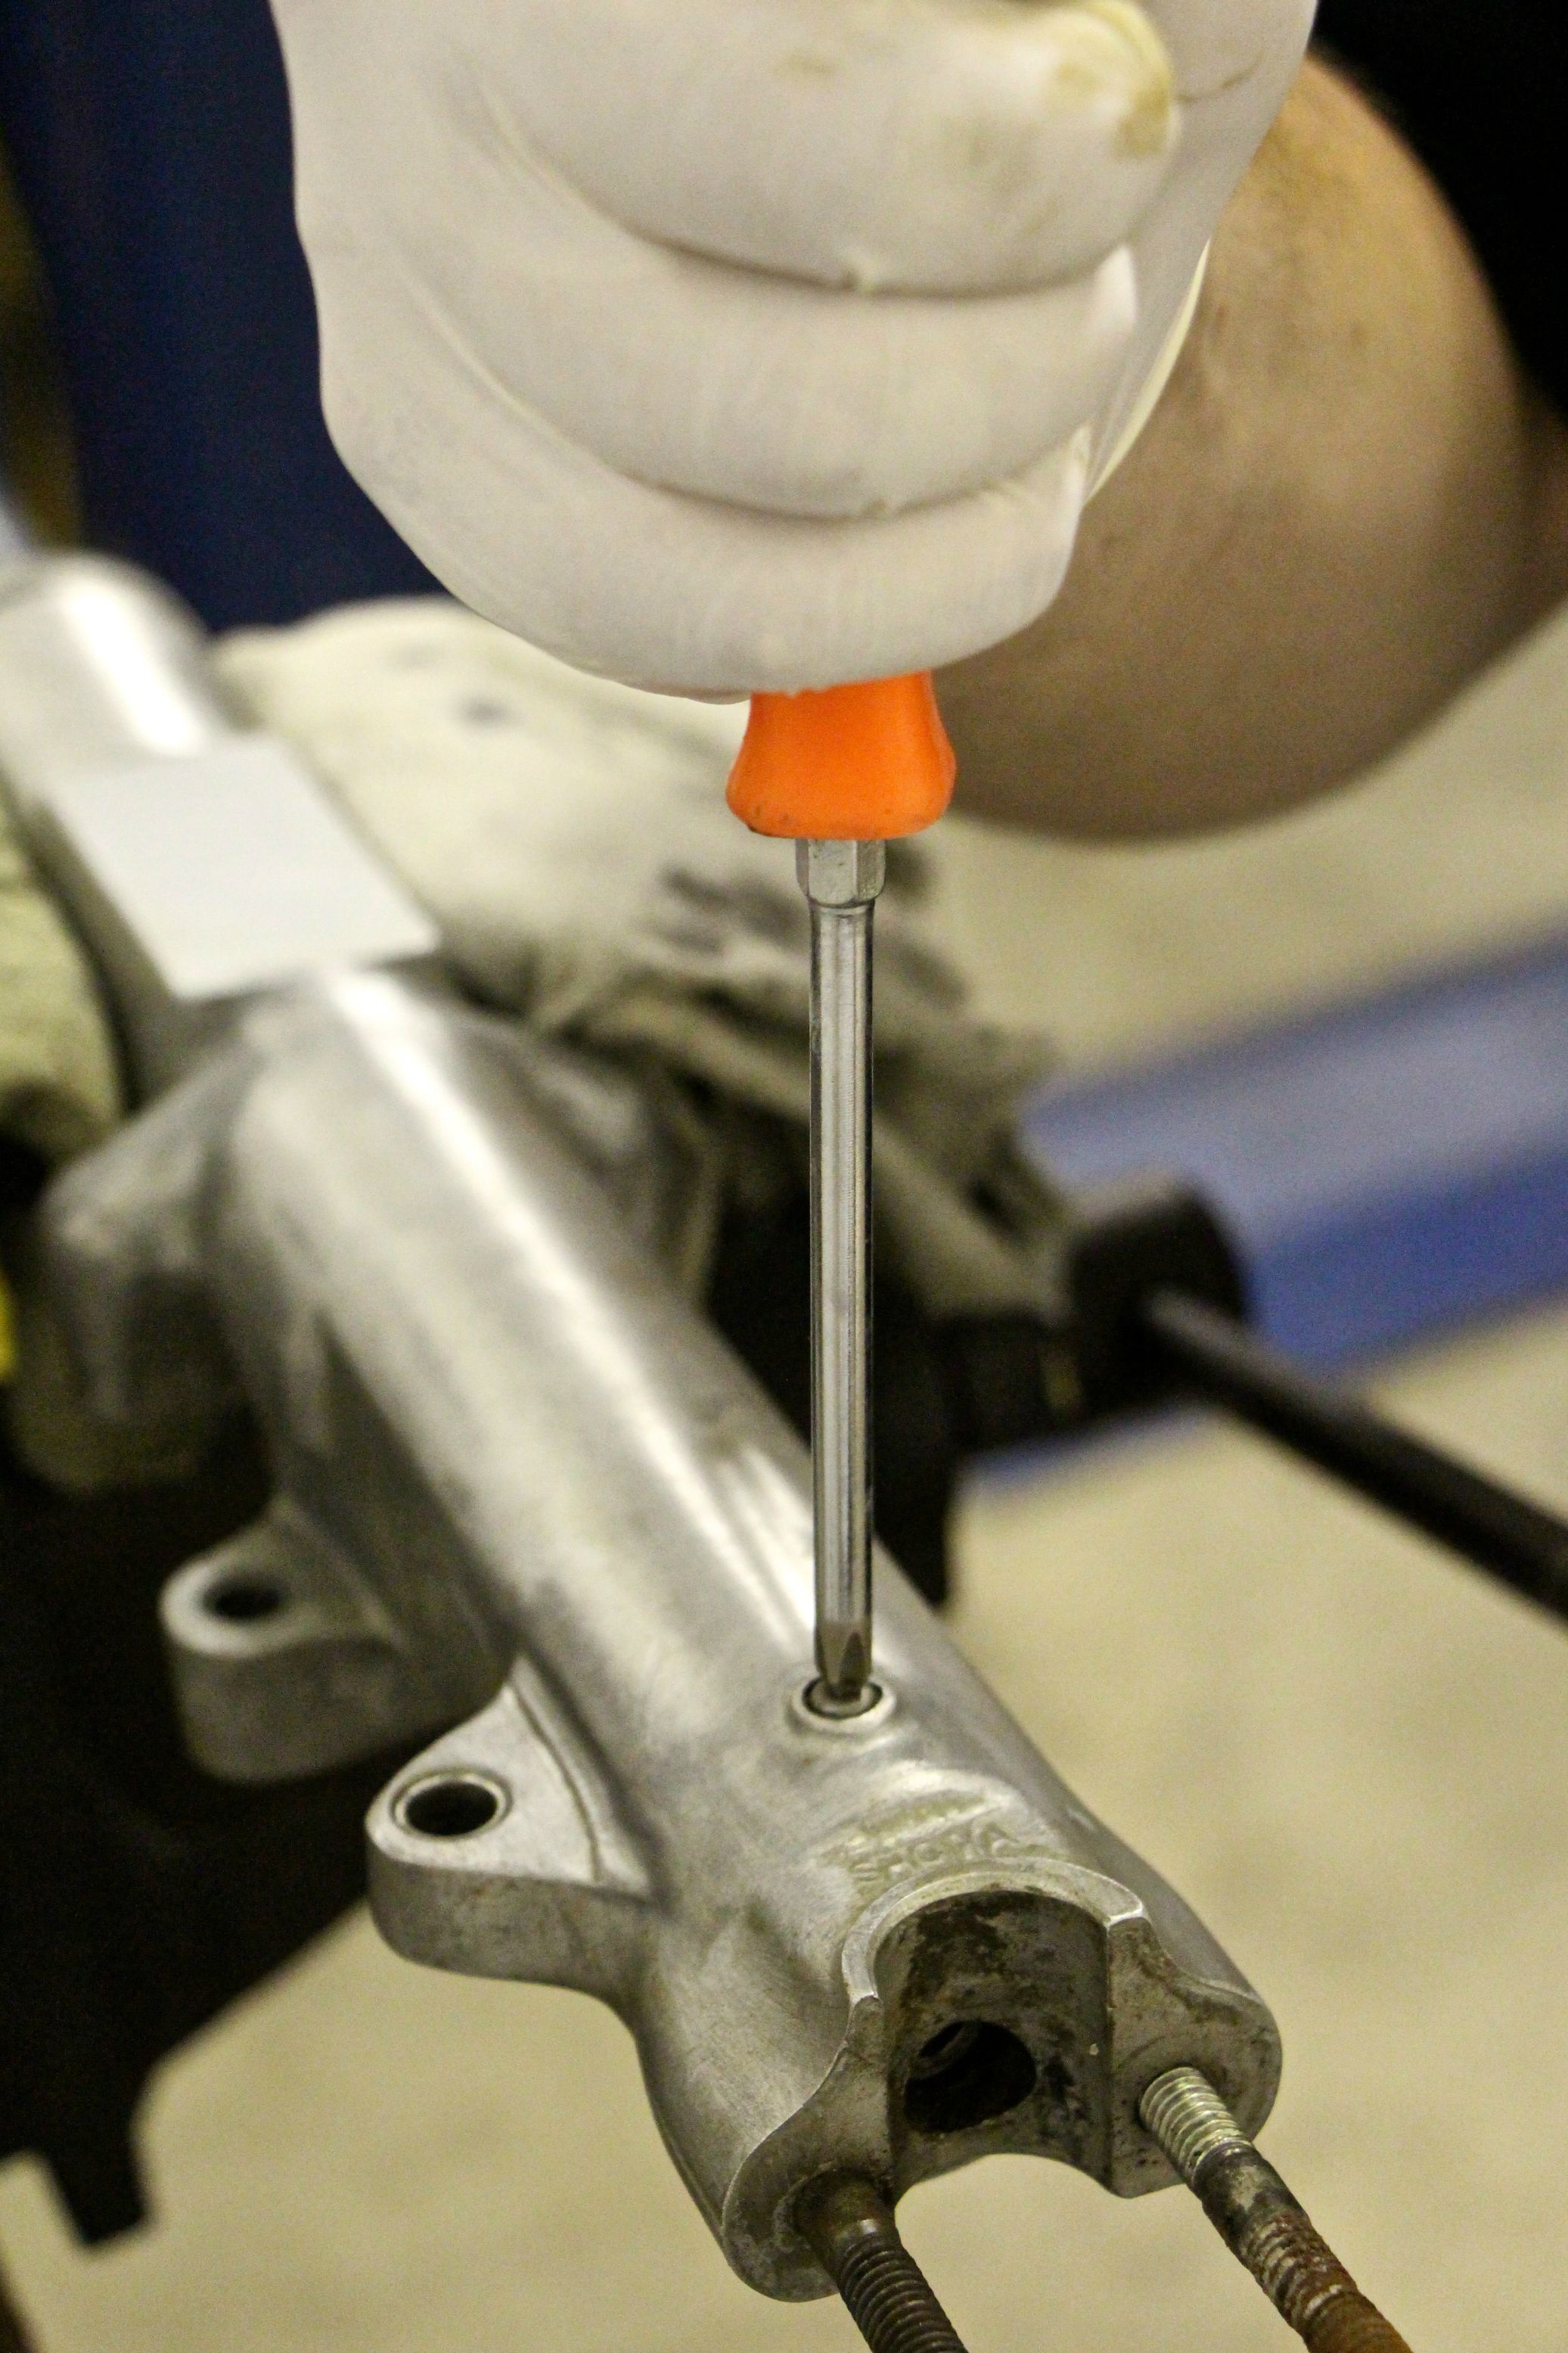
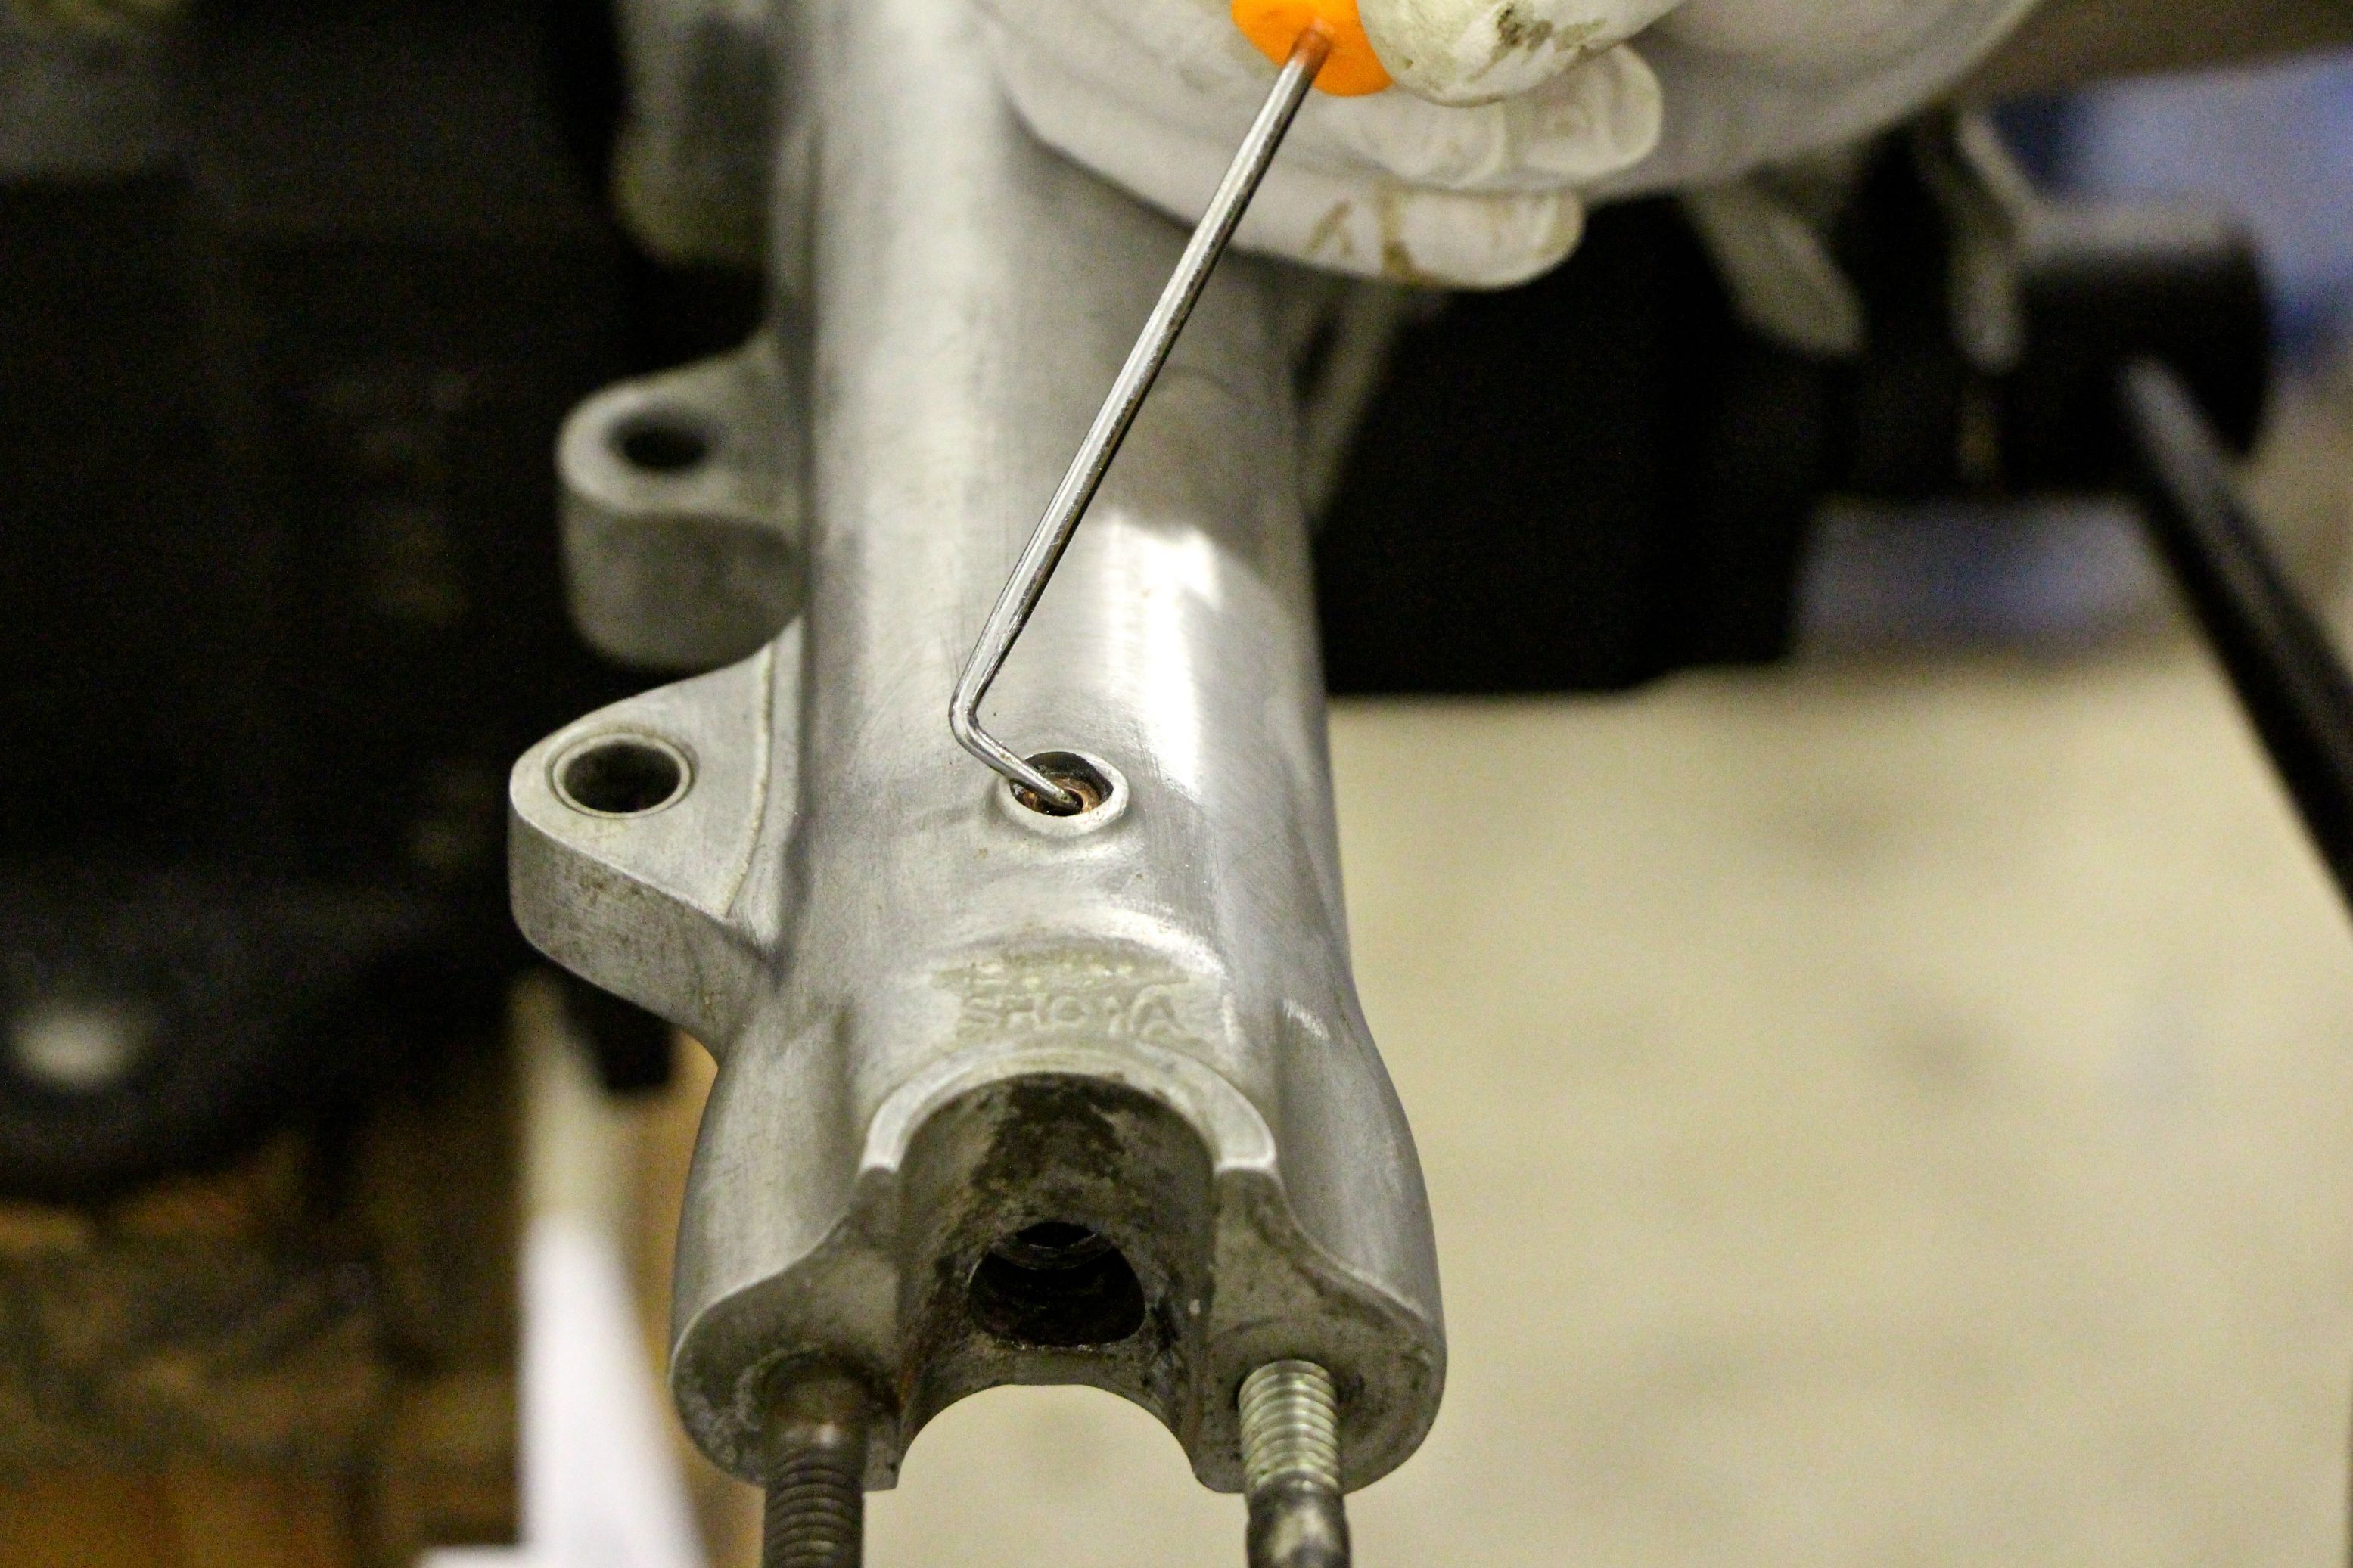
Next I remove the bolt that retains the damper. The reason we screwed that fork cap back in is to get this little guy out of there. The spring tension often puts enough resistance against the damper that it won't spin too much. Sometimes you have to fashion some sort of a long, skinny tool to get down into the fork leg to hold the damper rod from spinning. Usually, I am able to spin them off with an impact gun if they don't loosen by hand. Remember that drain pan? After you get that bolt out of there, it will puke up some oil.
Next, remove the fork drain screws.
After that, you can loosen the fork cap (Again! And be careful!), and remove the fork spring. Stroke the fork a few times after the spring is out. Oil will blow out of the damper bolt hole and the drain screw hole.
Remove the dust cap. It just pops off. You might need to work a small flathead under the bottom lip to get it started.
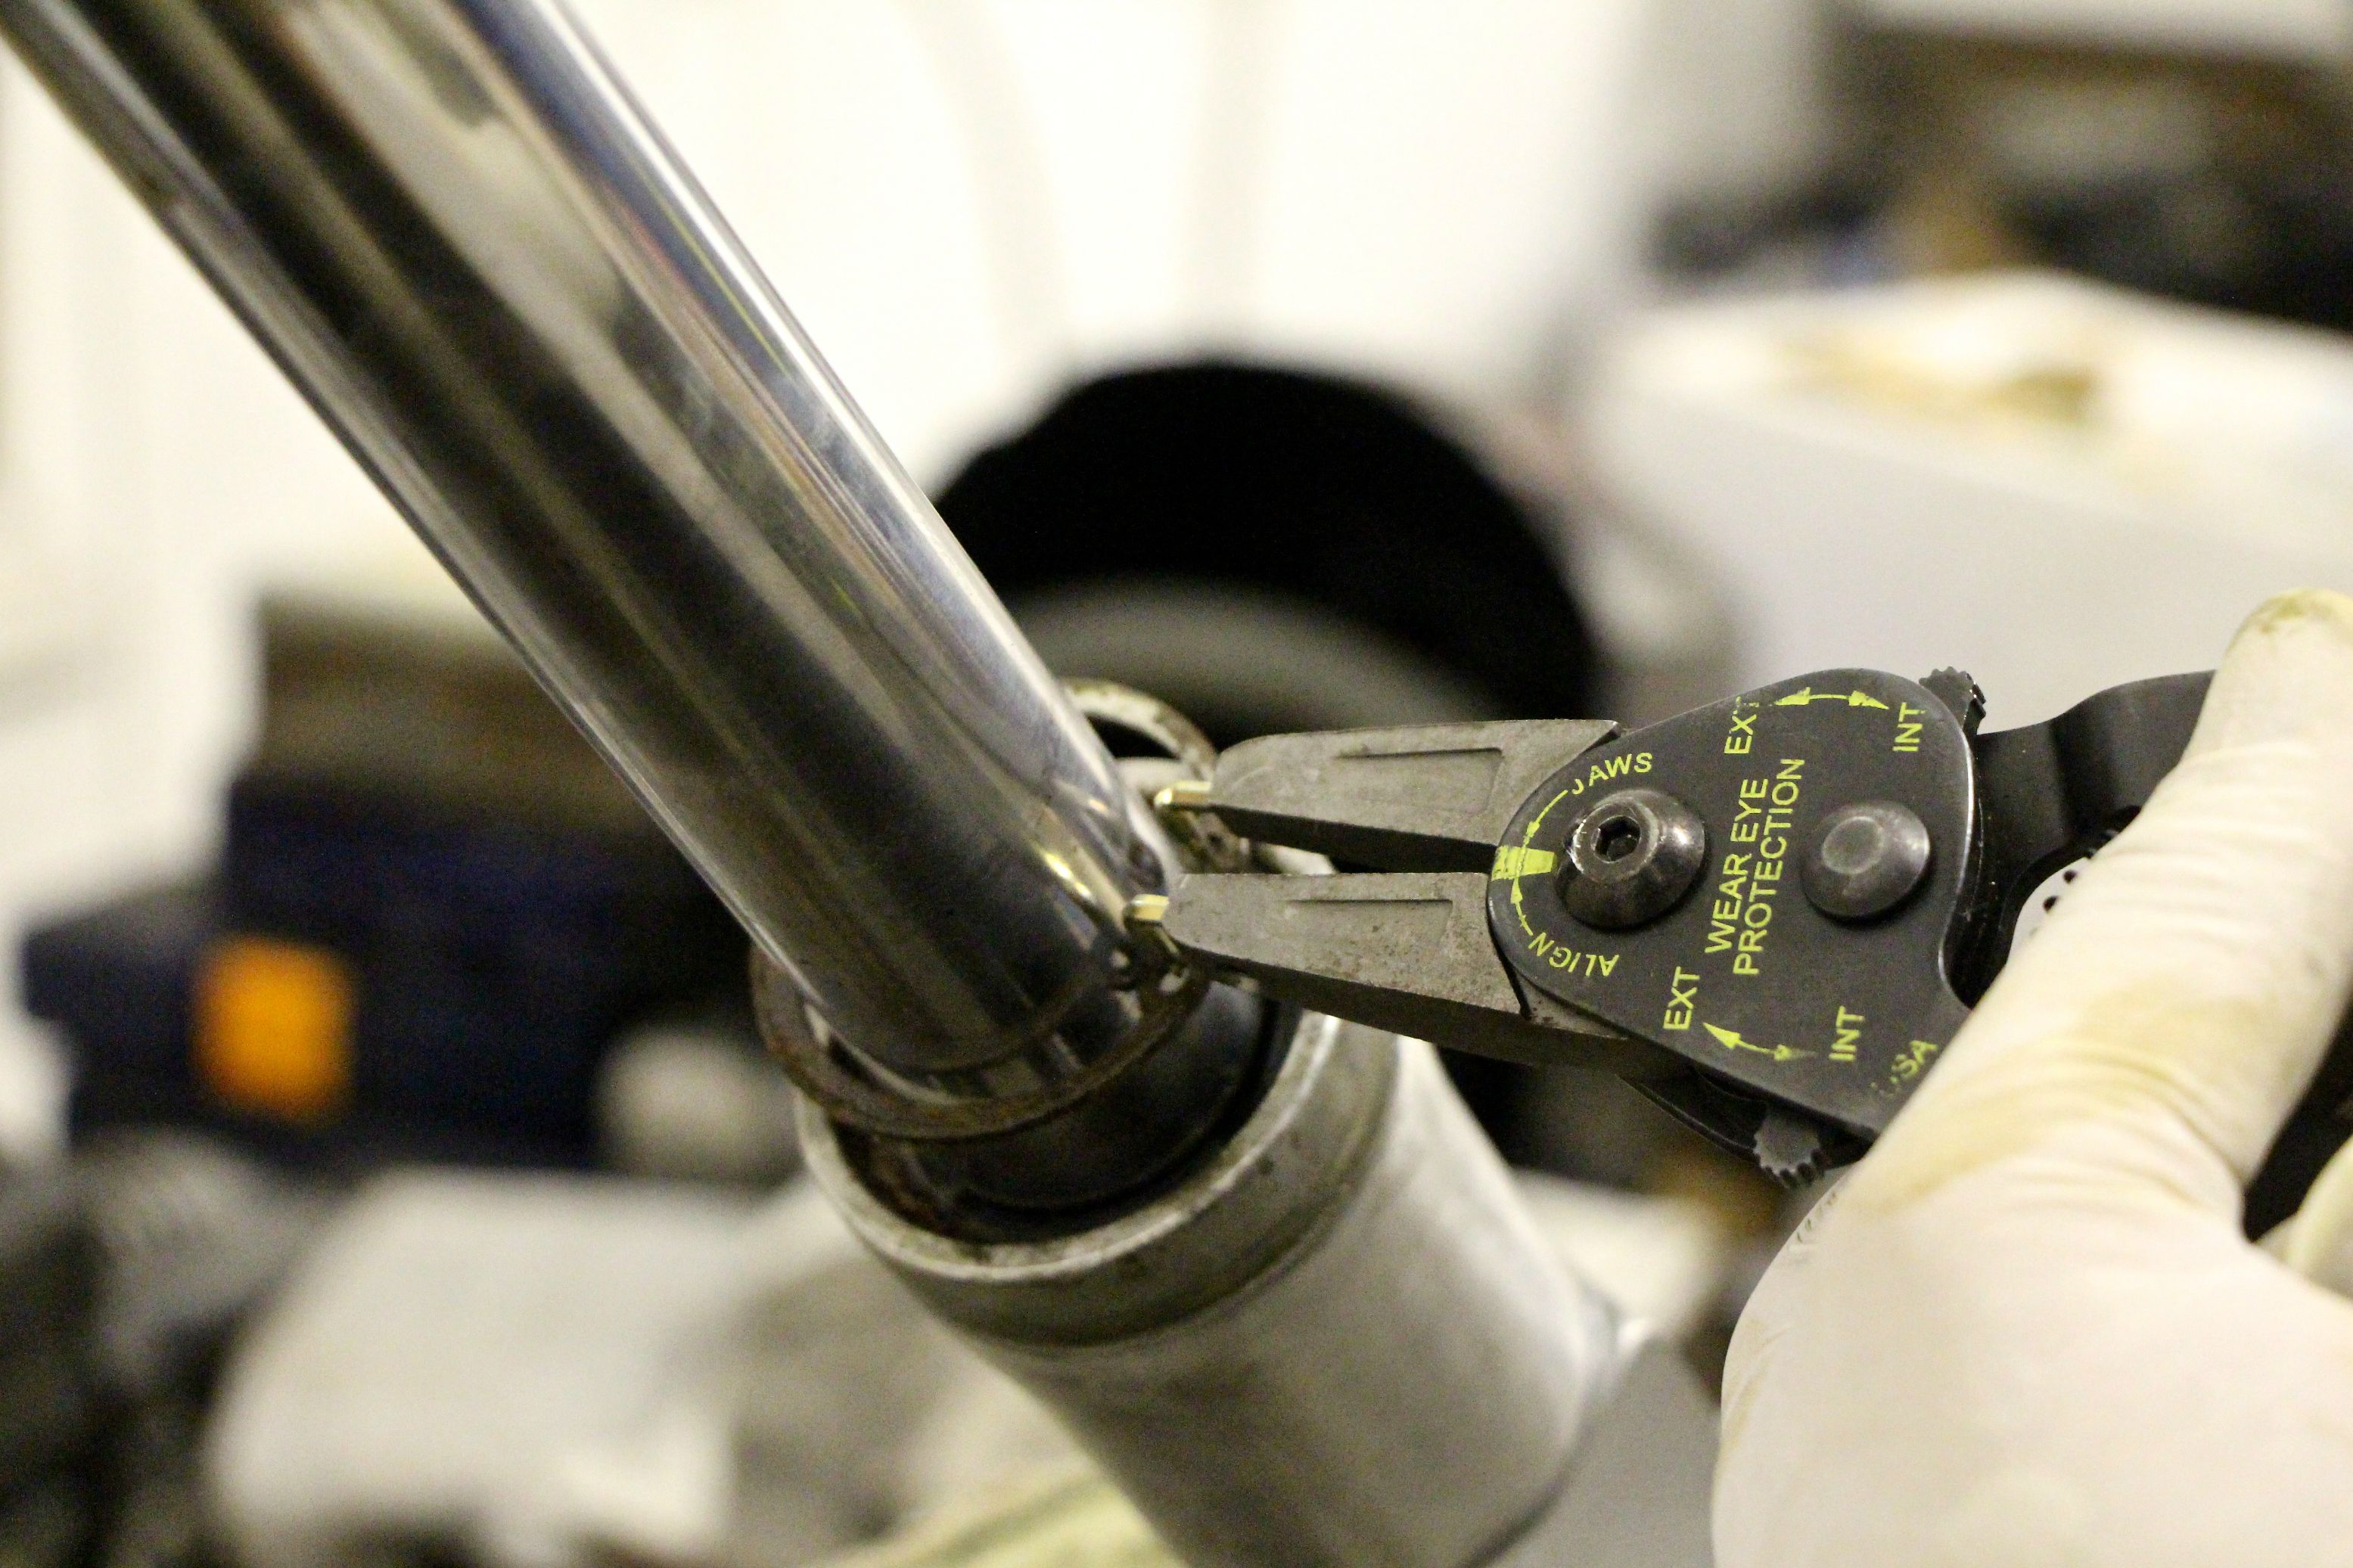
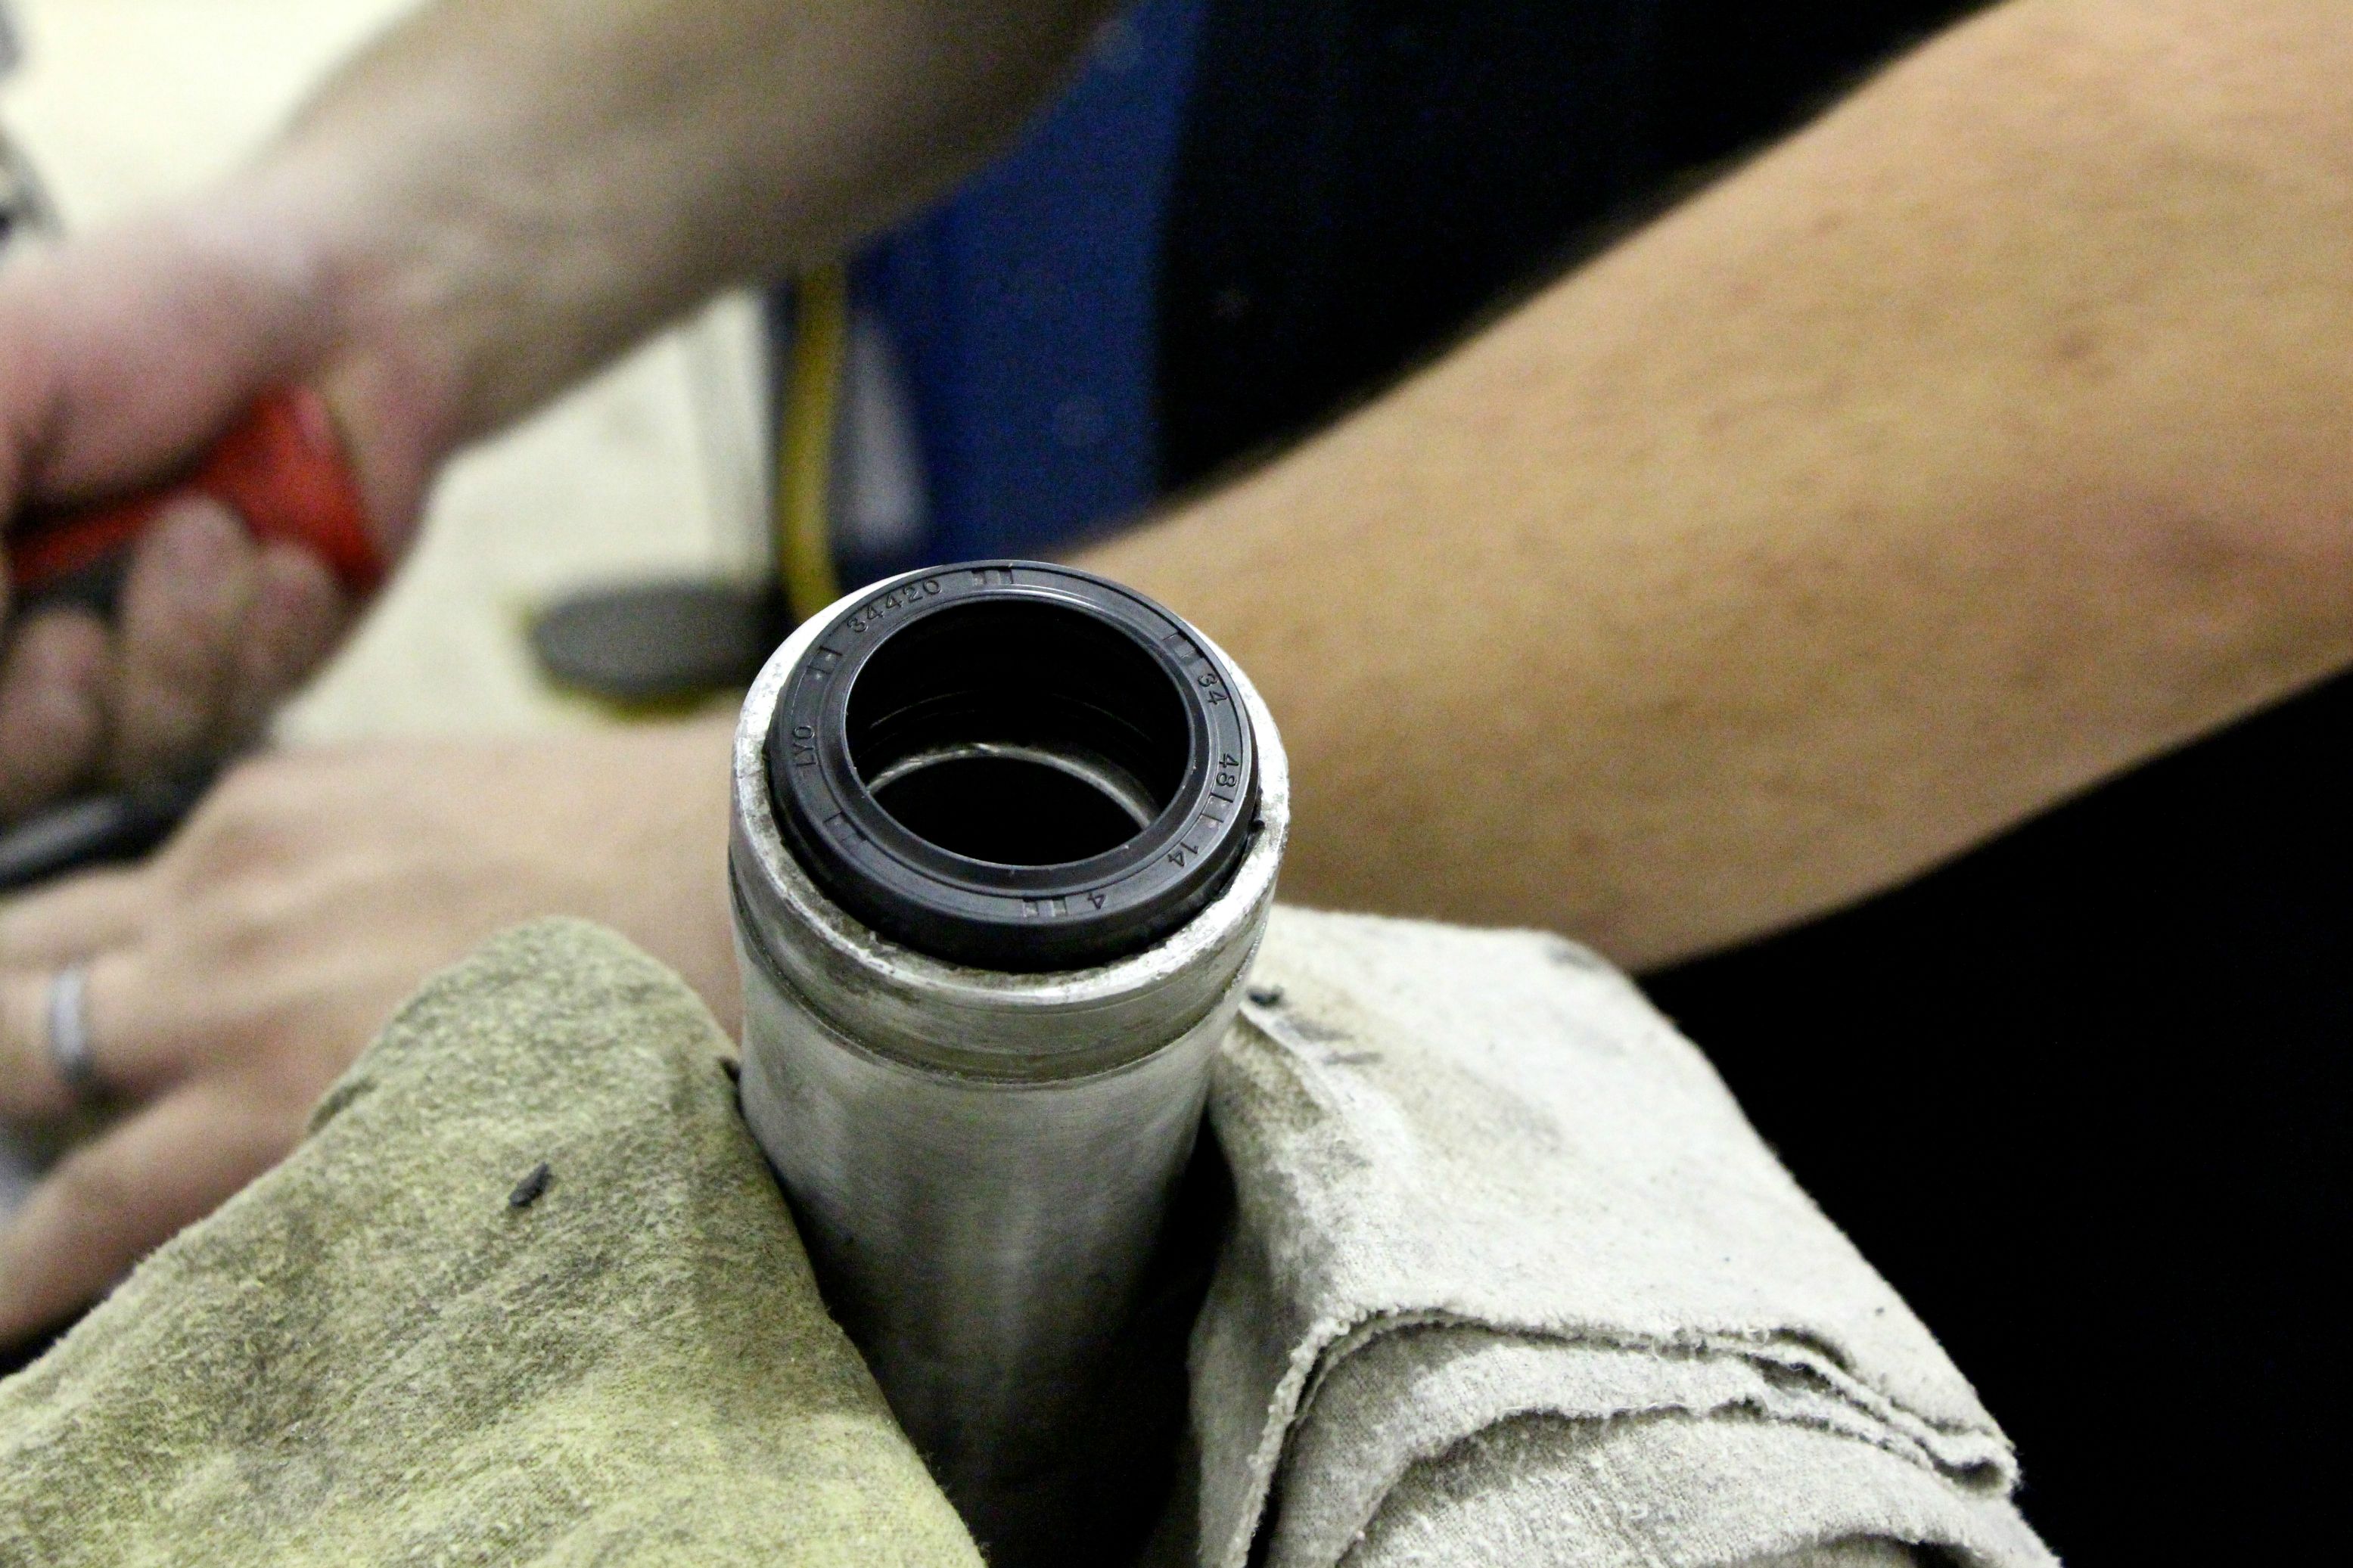
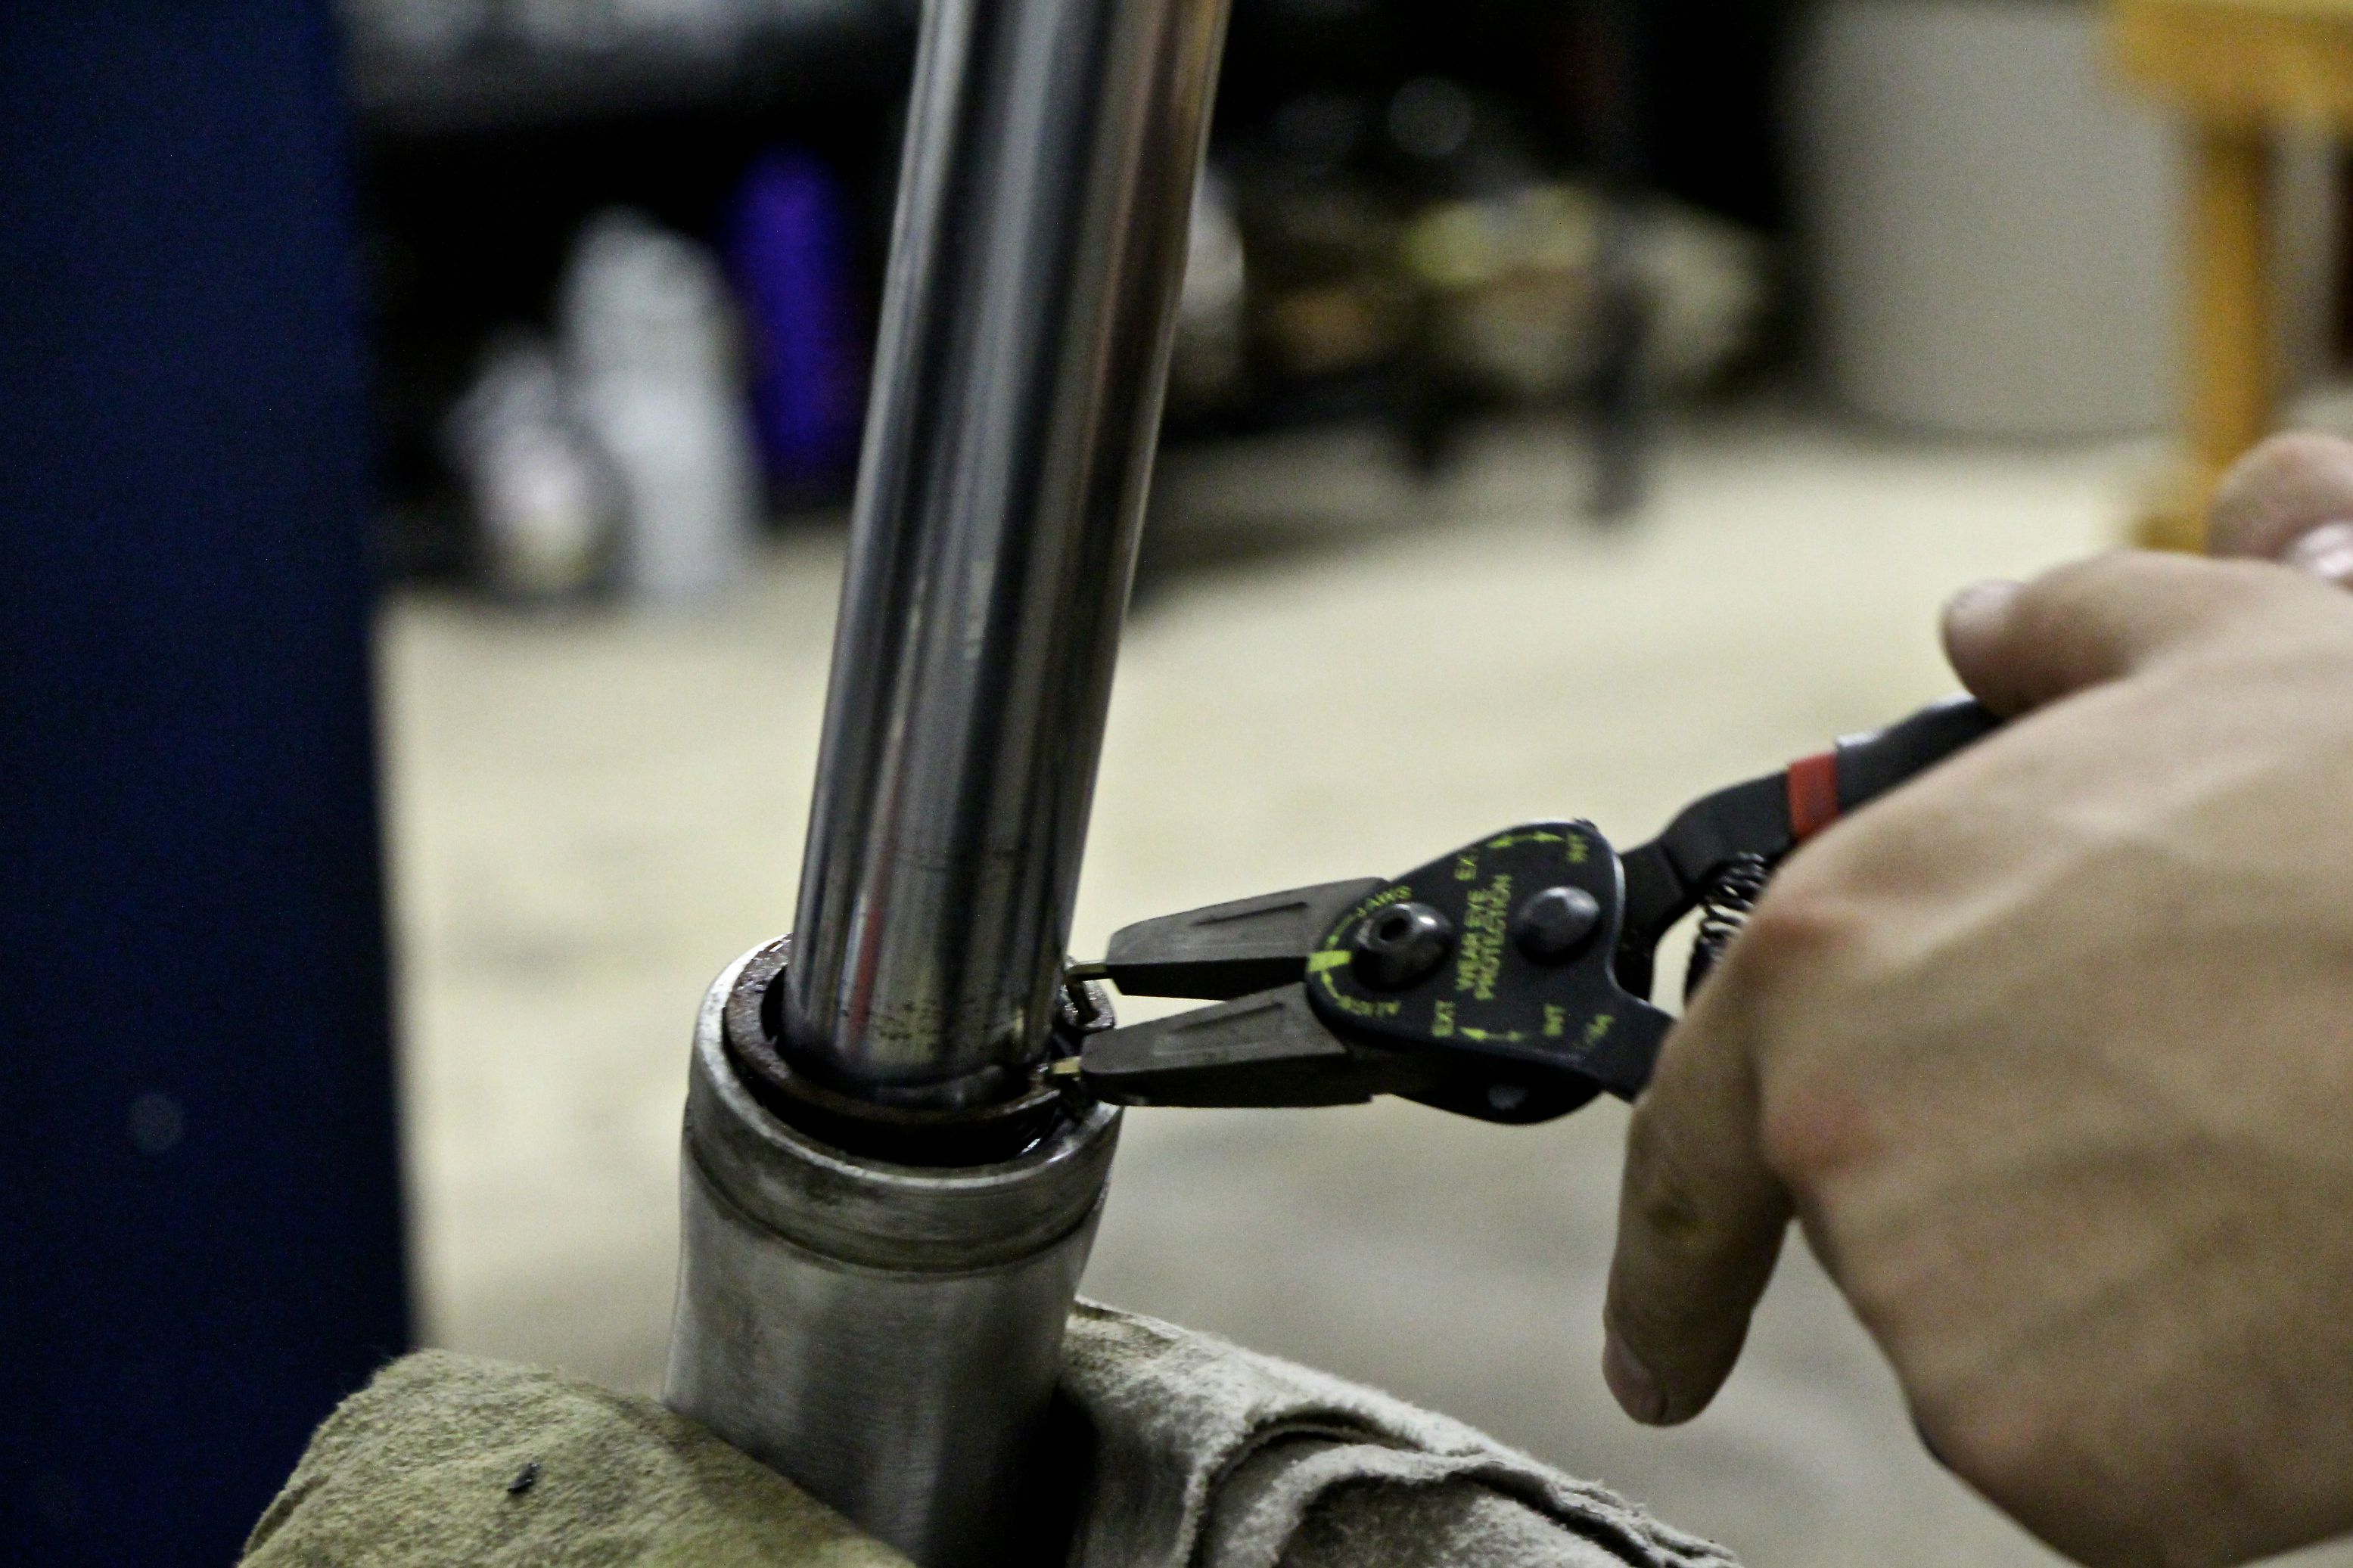
Remove the snap-ring that backs up to the seal.
At this point, you can remove your upper fork tube and damper. On these 35 mm fork legs, they pull right out. If you happen to be working on most other conventional front ends, though, that's not true. You'll have to forcefully slam the upper and lower apart. (There's a bushing on the upper that will actually knock out the seal in the lower; you're using the two like a slide hammer. Be careful!)
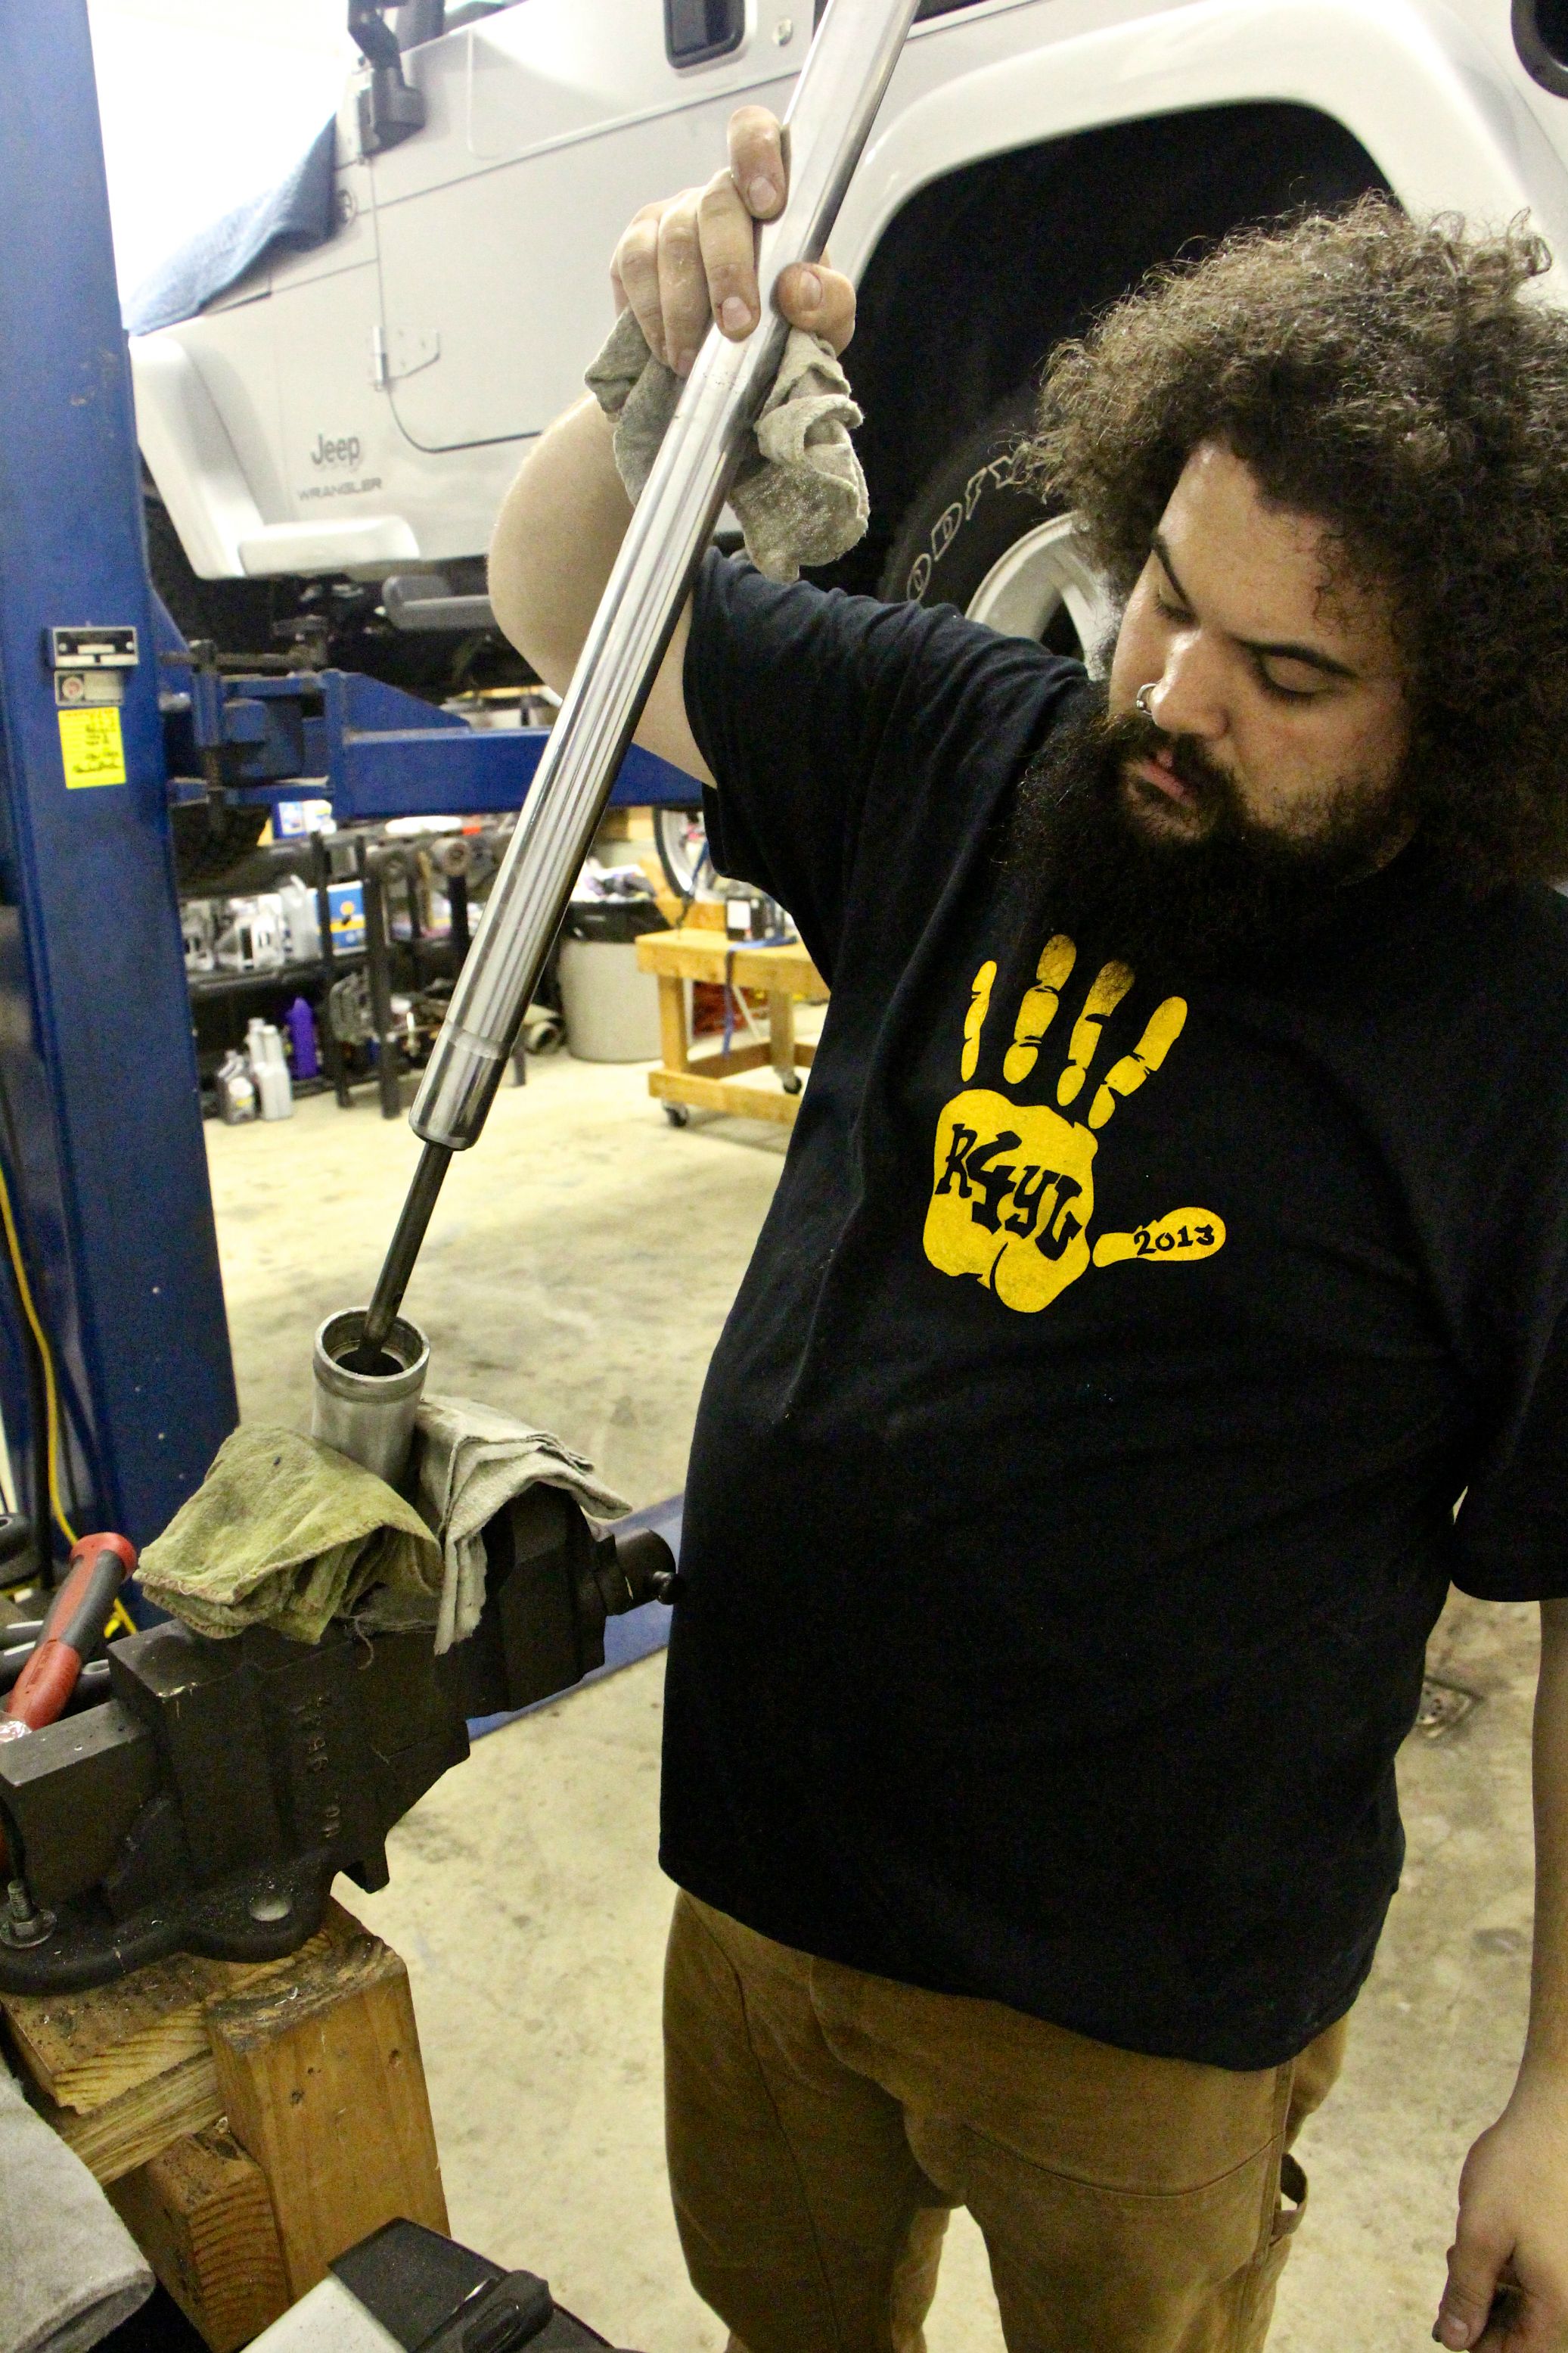
Turn the upper upside-down over the pan and hit the bottom, and the damper tube should slide out.
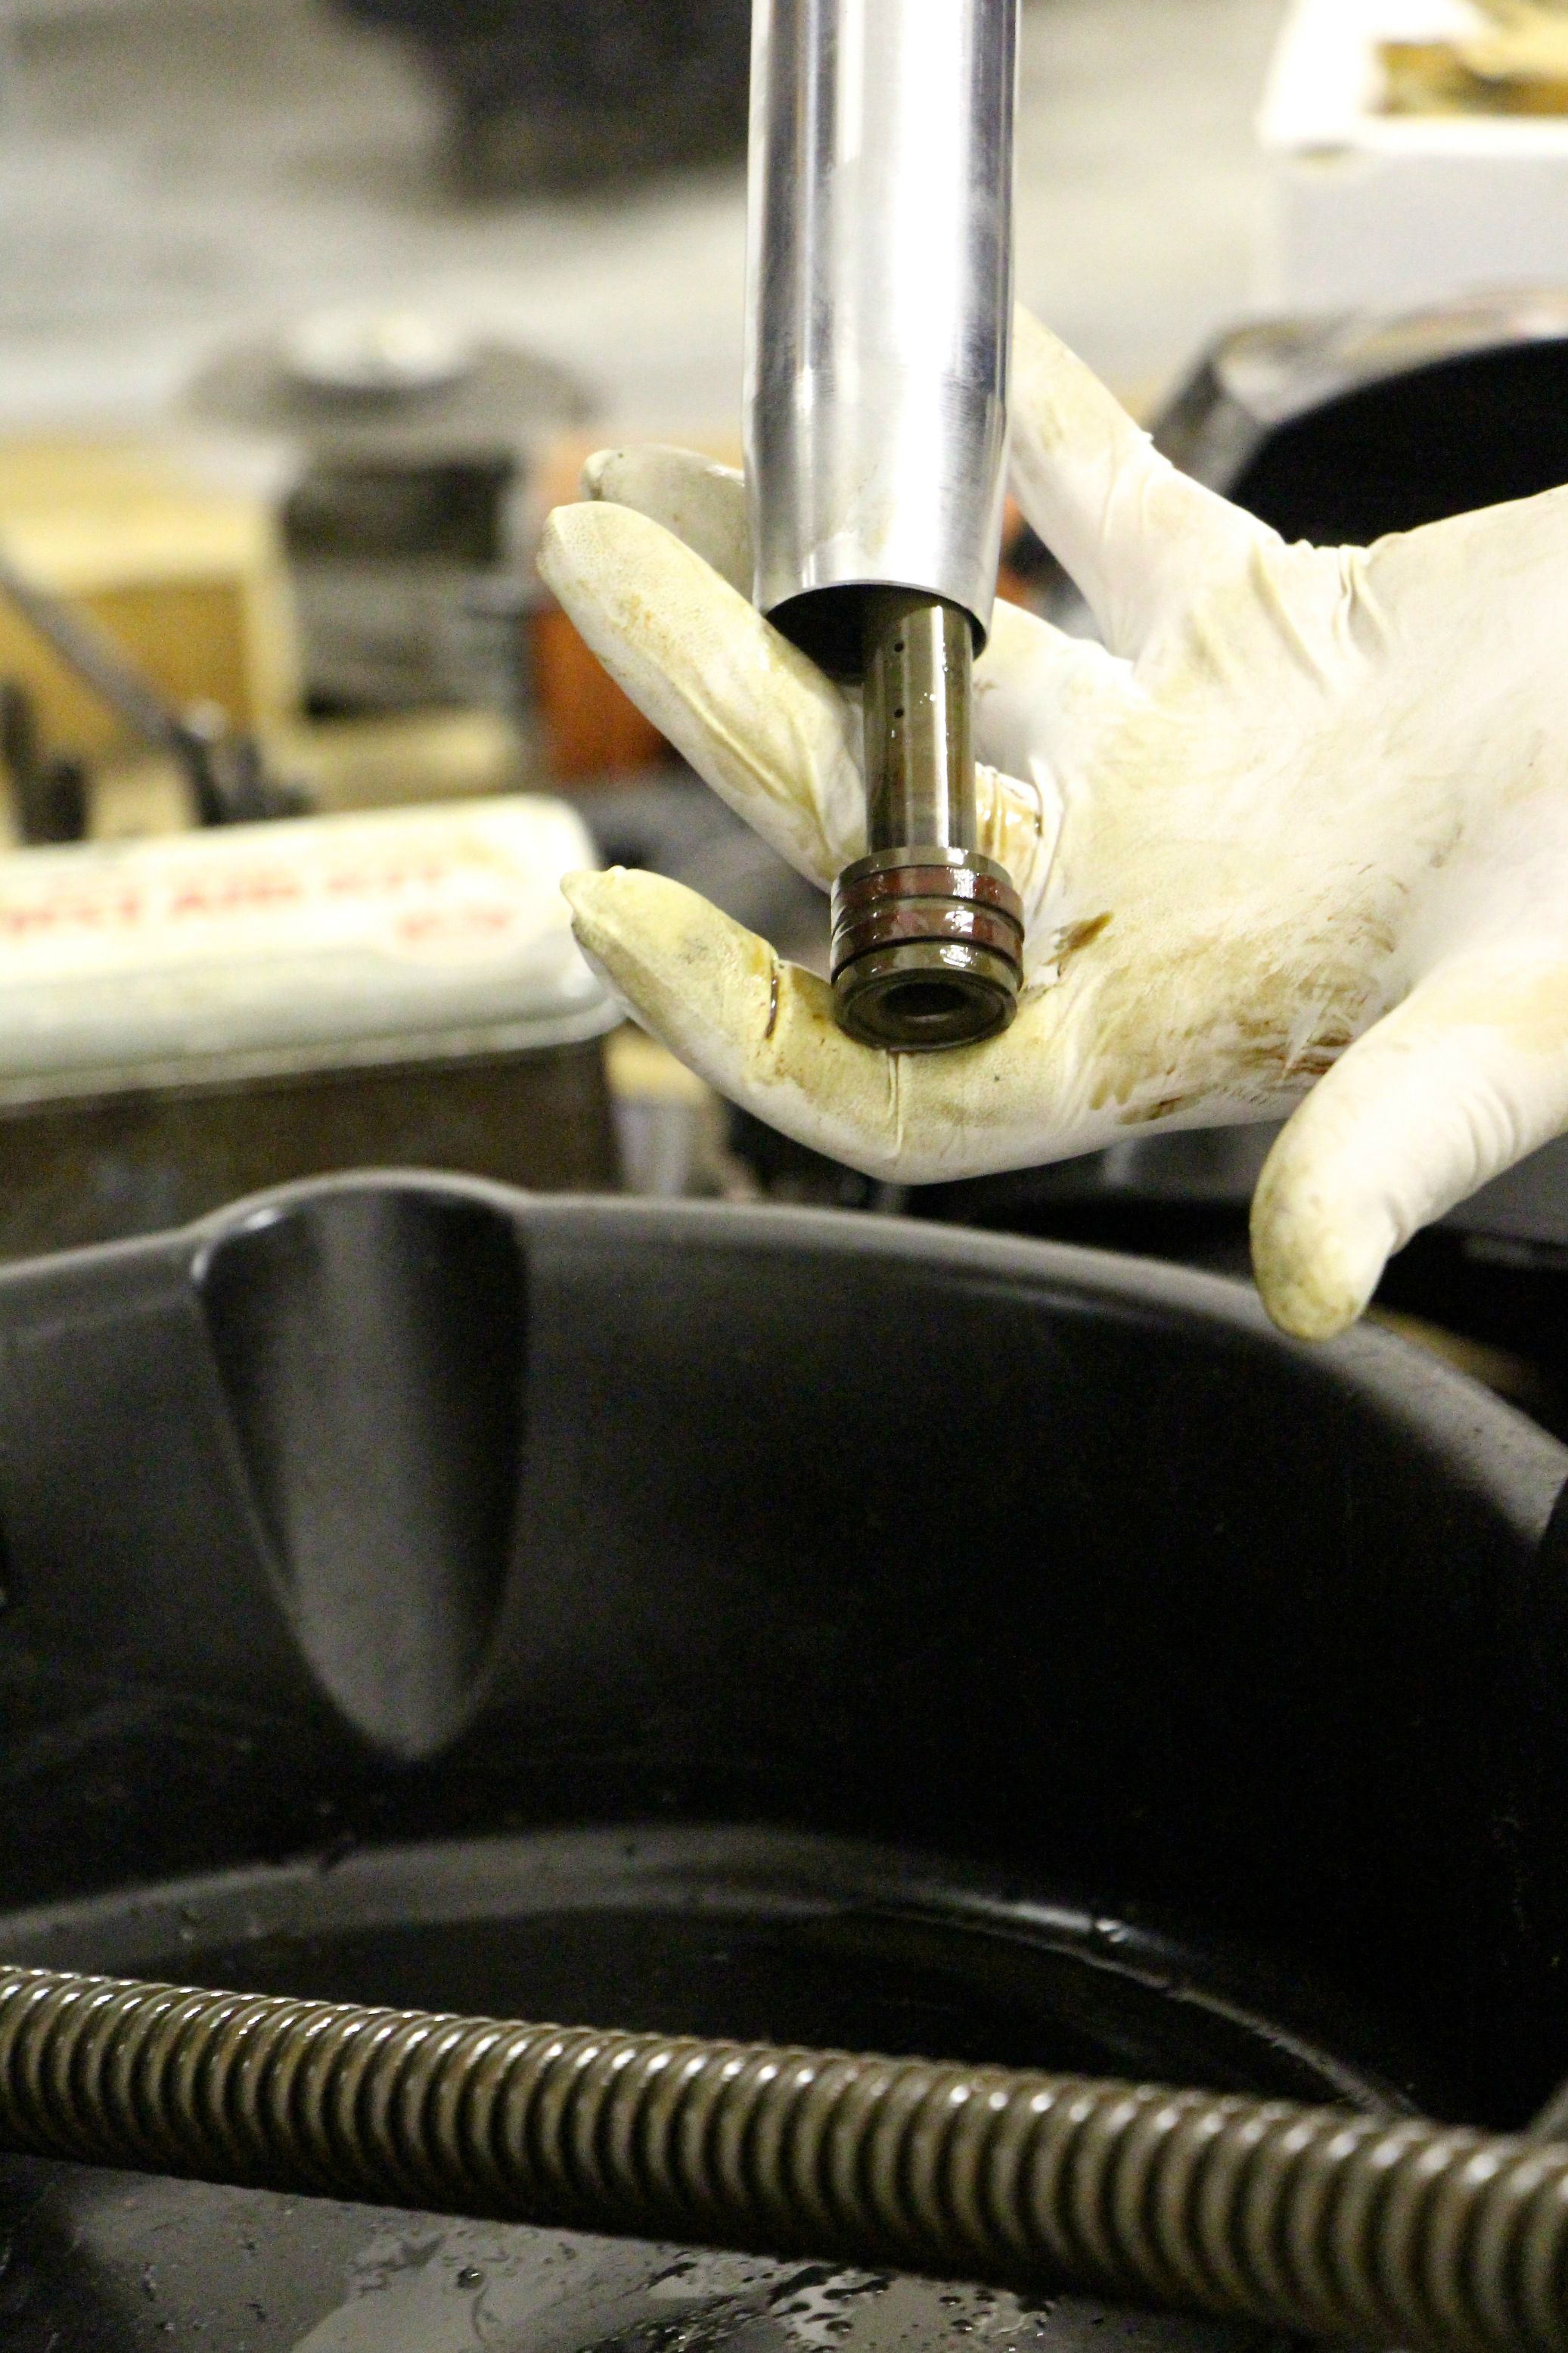
Clean the damper tubes. I use kerosene. Guitar strings are wonderful for cleaning out the orifices. Be sure to get all the sludge out. These forks work pretty dang well when they are clean and sealed correctly. If you like awful front-end action, just leave everything dirty. Put fresh O-rings on the damper tube. Again, this is not part of resealing the fork to hold fluid, but heck, we're already in here, right? In this application, I prefer OEM damper O-rings to aftermarket offerings, so I often put good ones back into play. Sometimes, inspection trumps replacement.

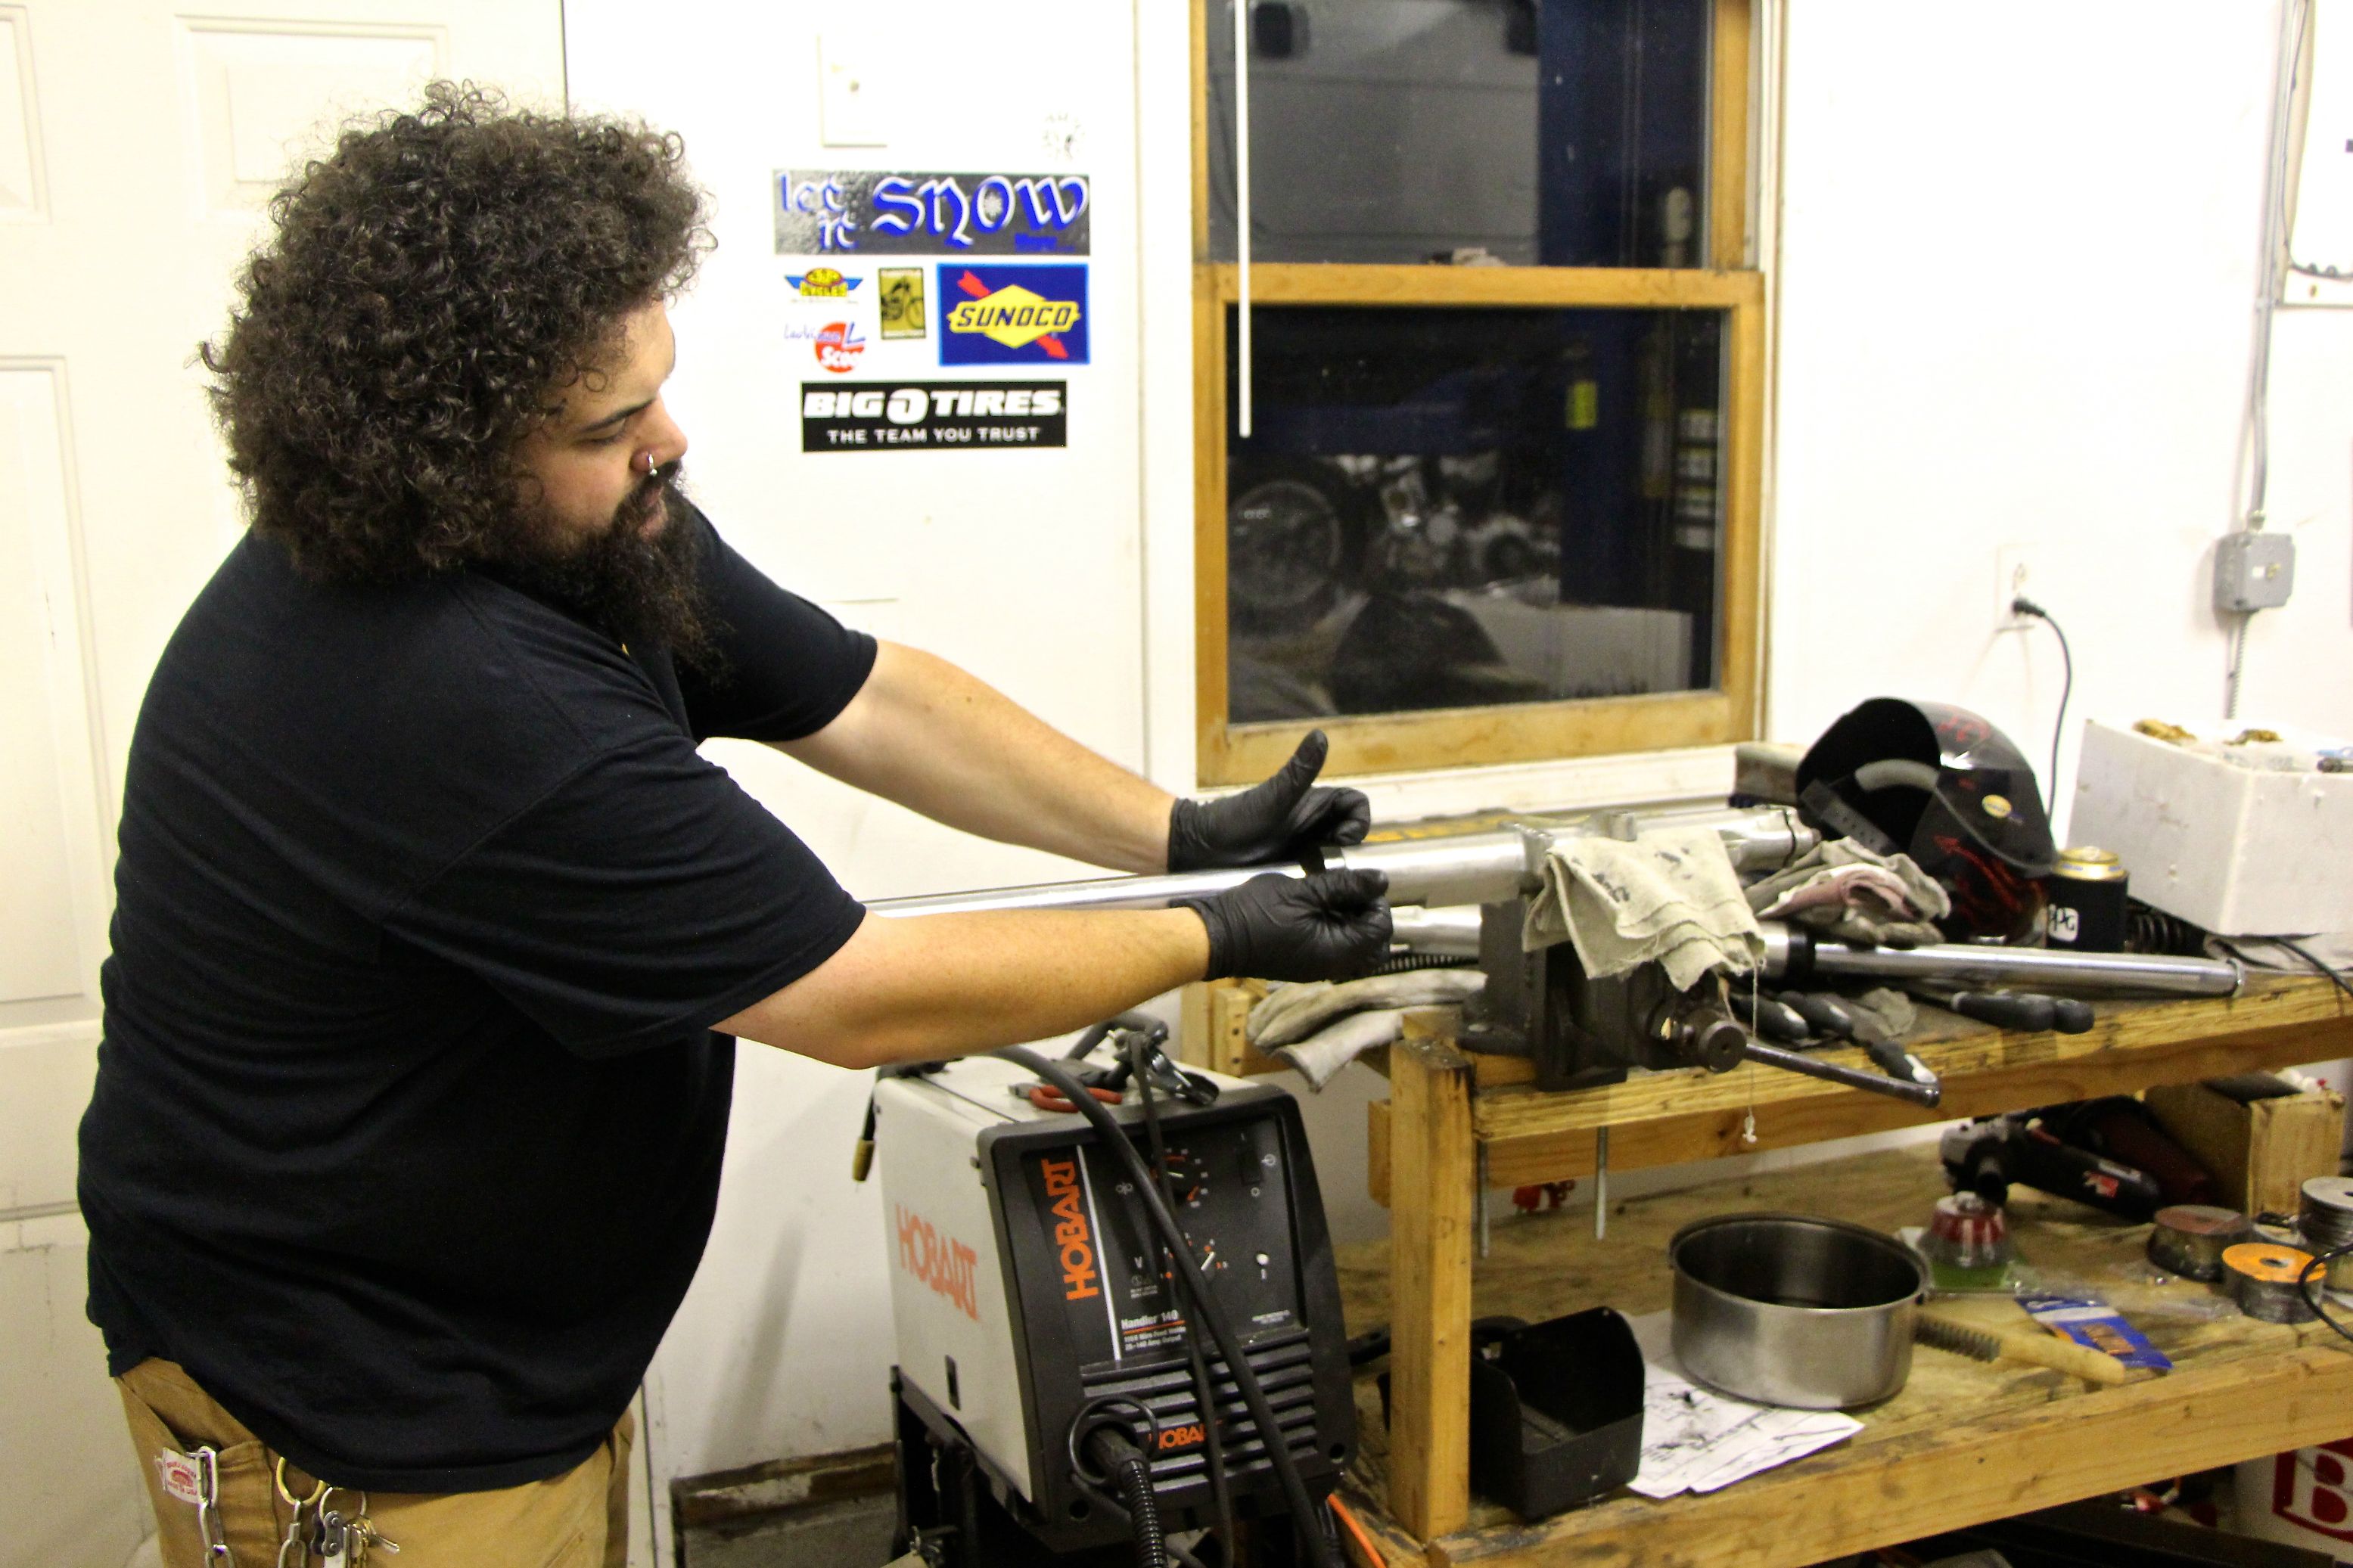
Clean out your uppers. Use kerosene. I recently discovered that a shotgun cleaning rod with a mess of rags or patches works pretty well for cleaning duties. Inspect the uppers for nicks, burrs, dings, and pitting in the chrome. If you've got any noticeable surface imperfections anywhere the lower's seal might travel, you will have leaks of varying severity. Careful resurfacing or replacement are your only options.
Now clean the lowers. Kerosene, rags, and your shotgun cleaning rod, coat-hanger, thin dowel... whatever. Remove and replace the copper sealing washer in the bottom of the leg where the damper bolt goes. There’s no need to tighten the snot out of this, or you will be cursing yourself the next time you need to remove the damper bolt.
Remove and replace the drain screw. Again, go easy on this guy, he's just a little fastener.
Remove the old seal. I don't love seal pullers for this. The "claws" have really chewed on some of these that I have done in the past. I use a small flathead screwdriver and crush the sides in. It leaves only tiny nicking inside the tube, which I clean up with some crocus cloth. You'd have to really go crazy to get a nick so big you'd leak there. Don't pry like a gorilla! The lower is made of cast aluminum. You can probably break it if you are being a moron. This is not the most correct way to do this, but when the “by-the-book” way leaves something to be desired, I re-engineer it.

Clean the seal area out with your rag, coat the outside new seal with some clean lubricant (I just use some wheel bearing grease), and reinstall it. I just tap it in with an appropriately sized socket. Again, probably not the "by-the-book" method, but I have now been doing it this way for a few years.
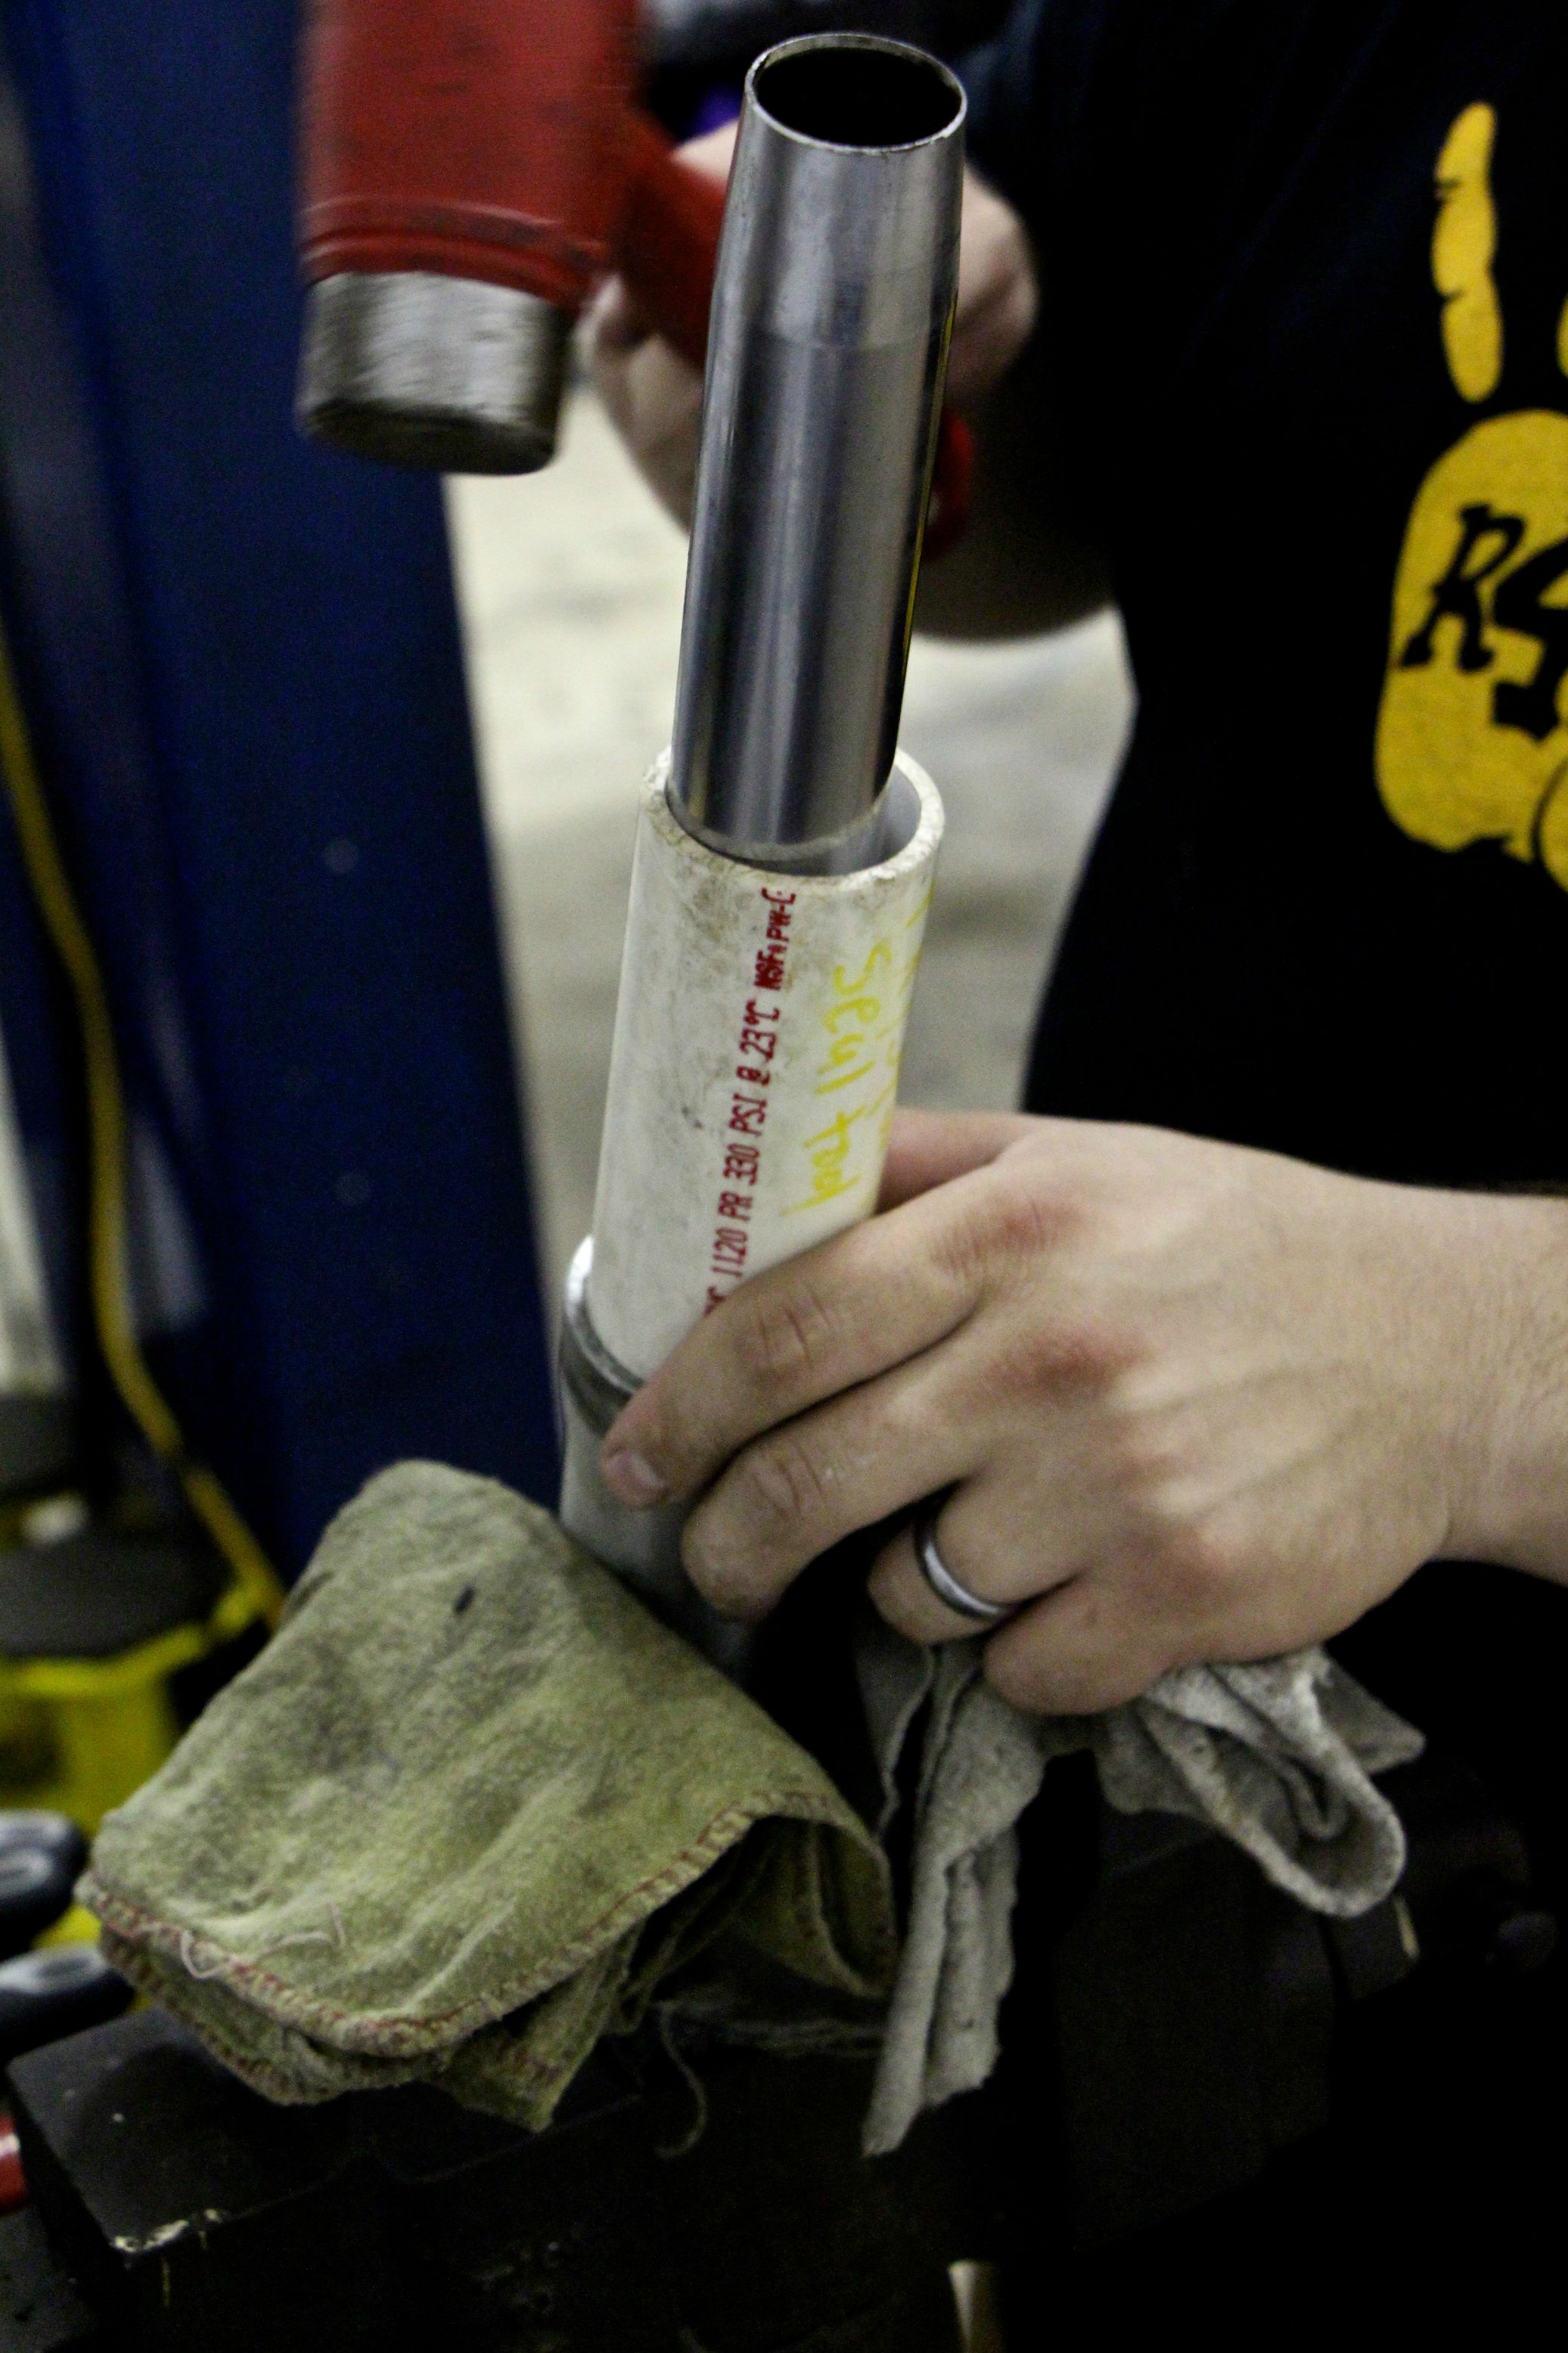
If you are working on most typical forks, you must have the upper installed in the lower before you can put the seal in. Don't forget this, or you're hosed. (These 35s are one of the rare birds that do not require such assembly.) Drop the upper into the lower, lube the seal and slide the seal down the upper, and use a seal-driving tool. Or, you can use appropriately sized PVC pipe, like I use here. I cut this one short and tap on opposite sides, but if you want to just cut your PVC pipe longer than the upper, you can just wail on it from above. (But really, don't wail on it.) Again, they make a fancy tool for this if you want to pop for it. Because we don't need to do it on these forks, the following picture is really just illustrative.
Put the upper into the lower, then reinstall the snap ring.
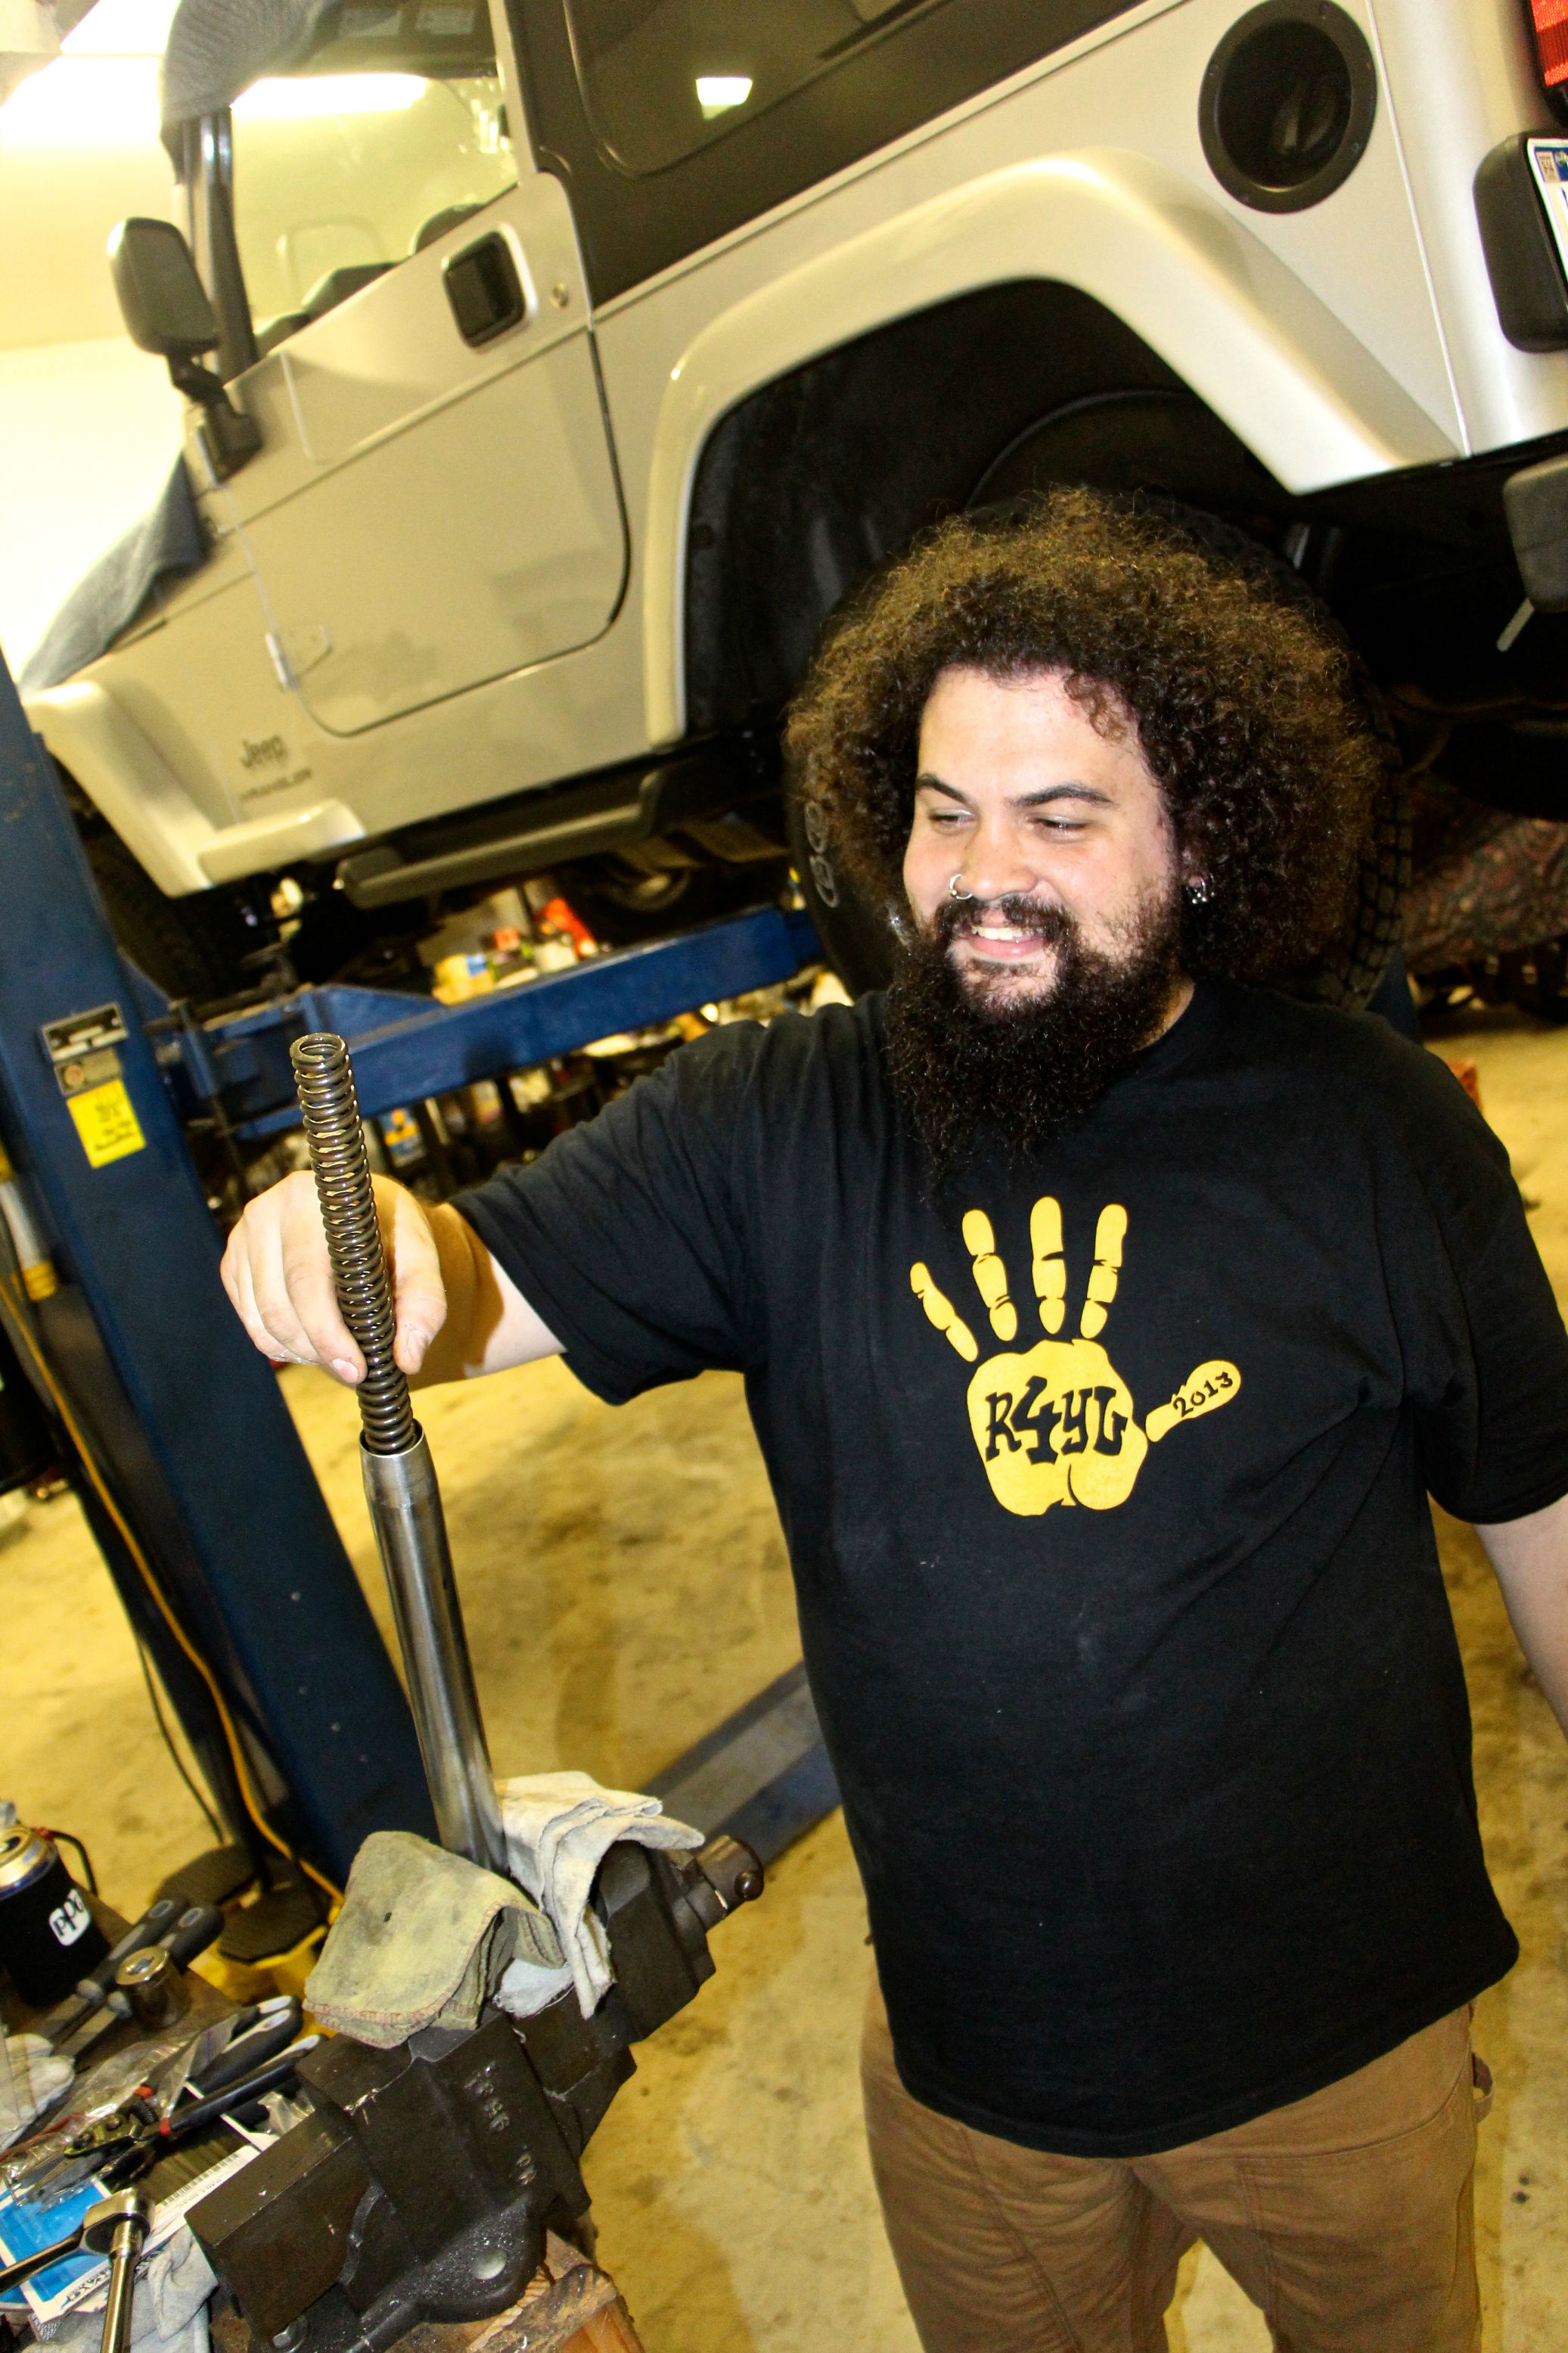
Reinstall your dust boot and your springs.
Clamp the lowers back into the triples with the caps off. These differ a bit from more standard hydraulic forks because of that tapered top — you can’t put the cap on until the leg is in the tree. Most hydro forks have no taper, so they can be slid in any old time.
Look up the specs for your fork and add fluid. "Wet" specs are typically for a drain and fill. Ignore those. You want the "Dry" spec, which gives the amount to add after an overhaul. Don't fudge this! I use a measuring cup. You want to be dead on, not "close enough." A little bit of fluid can make a huge difference between "just right" and "rock-hard."
Fork oil is like engine oil. Everyone has an opinion, and the zealots will kill you if yours is the wrong one. That said, I use plain old Type F transmission fluid in nearly everything.
Cap those forks and snug the caps down with a wrench.
And you're all done. Easy-peasy, right?


