If you’re thinking about modifying your Harley, dollar for dollar, a saddle may offer the biggest bang for your buck.
When you amortize the cost of a really top-shelf seat over the amount of time you own your bike, the increase in style and function really is easy to justify. Items that are made to interface with the human body — like clothes, or furniture, or even motorcycles themselves — typically need to be tailored to an individual. Items that are made to fit many people tend to make compromises. Your OEM saddle was contrived to fit a wide swath of people with different shapes and needs, and most importantly, it was made to meet a budget, which impacts its quality. By selecting an aftermarket seat that is going to fit you and work for your riding style, you are taking a big step toward making your bike more rideable.
If you’re new to seats completely, be sure to check out our Harley Seats 101 crash course, and also our Harley Seat Install Video below. We’re focusing primarily on late-model stuff in this article, but whether you've got a shiny new '15 or you’ve got an old dinosaur and need some help, get in touch with us. It’s not unusual to see a Pan or a coupla Shovels parked next to a Twin Cam or an Evo Sporty in our employee lot.
General install information
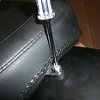
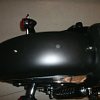
Gone are the days of sprung seats and pogo sticks. Modern Harley-Davidsons, being suspended at both ends of the bike, typically use frame-mounted seats. On most typical air-cooled Harleys, the front of the seat has a locating tab that slides into a corresponding slot on the frame. The rear of the seat bolts down using a quarter-inch-20 fastener. Some bikes, typically older ones, have a quarter-inch-20 nut welded into the fender. Newer bikes have a simple hole with a locating notch. This article will focus mainly on the later-style bikes.
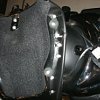
Seats come in a few styles: solo, two-up, and what I’ll call a “long solo,” which is sort of an intermediate-length seat. Because of this, you may find different attachment points drilled into your fender. A corresponding threaded fastener is held in the hole(s) with a retaining clip. That threaded hardware often needs to be moved. Because of the close fender-to-tire clearances that are now in vogue, it may appear that you need to drop the wheel in order to move the hardware. You can do it the easy way by simply pulling the hardware up into the fender with some string. If you have trouble visualizing it, check out our video, where we walk through this process.
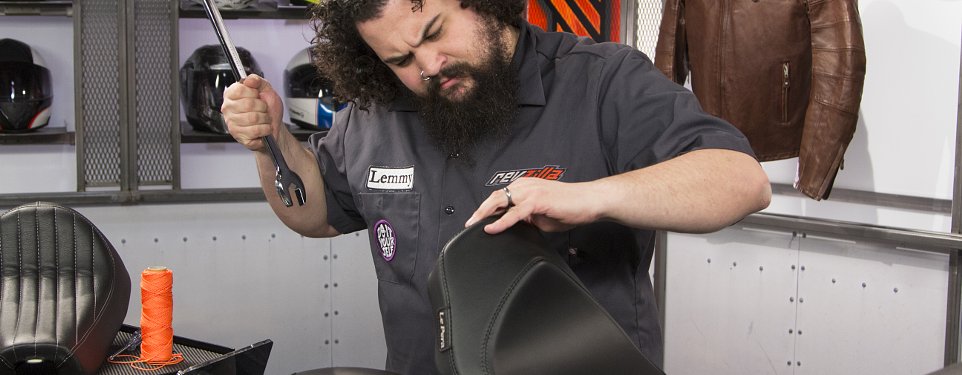
Seat install tips and tricks
Here are a few tips and tricks we've picked up over the years.
- Some bikes and seats may not appear to be immediately compatible. One of the recurring fitment issues our Geeks have run into occurs on Sportsters and Dynas. These bikes have a seat locating pin that jives with the factory saddle, but often needs to be removed to use an aftermarket saddle. Removing the pin is very simple, but it can be confusing trying to find out why your seat doesn't seem to fit your bike. In that same vein, if you are having trouble removing your factory saddle, it’s often that locating pin that’s to blame. To free your seat, you have to push the seat forward, and lift the rear straight up while you sort of “bend” the seat. Fiddle with it for a little bit and it will usually pop off.
- Another Sporty-specific fitment issue we run into is on 2007-2009 XL models, because those bikes have a very limited selection of seats meant to fit them. During these years, the Motor Company located the ECU on top of the frame, and the OEM saddles had a recess in the seat pan for them. That’s the only difference. The frames and fenders stayed the same. If you’re willing to relocate your ECU, which is quite simple, your selection of seats gets a lot bigger.
- I’ve used a cushy seat more than once in a tent as a pillow. I’m not saying I buy my seats based on how they feel on my head, but let’s just say that the thought crosses my mind.
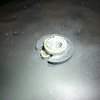
- If you swap seats often and you have the clearance, putting a seat nut in all the holes you use can be a time-saving move. Switching a single factory nut can get tedious if you bounce between a solo and two-up saddle a lot. You can get them from your dealer, or, if you would like to contribute to my kid’s college fund, you can pick them up from my favorite parts retailer. Even if you don’t install the extra hardware immediately, there will be a day when you use it. The seat nuts fall out when the little plastic clips that hold them break — and they do break. Put an extra one in a safe place. You will thank me later.
- Many seats are “adjustable” fore and aft to some degree. The tail bracket is slotted to help you achieve the best fit. I usually assemble the brackets finger-tight, and then position the seat while I slide the tail bracket to a spot I like. Once it’s there, I flip the seat over, bolt it down solidly, and go on my merry way.
- My final seat thought is for those who switch often between solo and two-up seats: protect your paint. Carpeted seat pans definitely slow down the wear process, but even the softest material rubbing your paint will eventually do bad things. Clear protective tape over those areas will still let your paint shine while protecting it from the seat.
If you have a new seat going onto your H-D, I am envious. The seat is foundational, from both an aesthetic and ergonomic point of view. Seat replacement is simply a way to make your bike work better for you, be it from a styling perspective or a functional one.
As a parting thought, if you are in trouble with an install, have a general seat question, or some awesome tip to add that I missed, let me know in the comments section. I monitor this stuff closely for a few days after we publish it, and if you need help, I am here to give it. A happy ass is… well, a happy ass!
Image Gallery