When I last wrote about my project to rebuild a 1933 Harley-Davidson VL and ride it across the country, I had yet to complete the first major hurdle in any motorcycle build: assembling the rolling chassis.
For something that is basically just bolting wheels and a front end to a frame, it quickly turned into months of work with my limited free time. Still, once it was done and I could roll my “motorcycle” around the shop, it really felt like I was finally making progress.

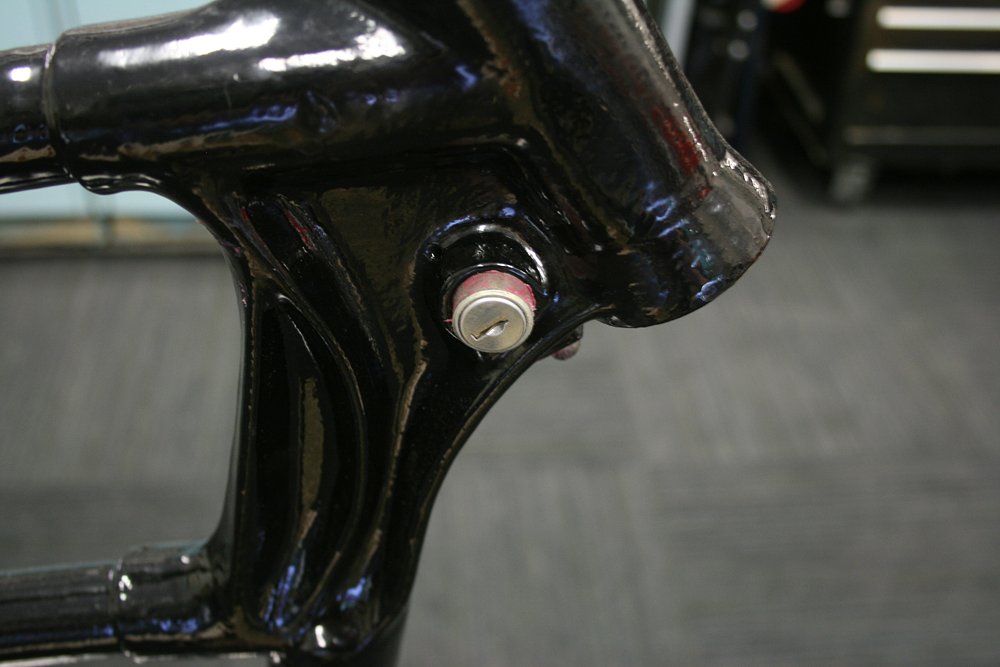
Thinking ahead, I had purchased a frame that had already been checked for straightness and overall integrity by a reputable frame shop. If you are building an old bike, I highly recommend having a professional check your frame before you get started. There is nothing worse than completing a build only to find that your frame is tweaked and that the bike doesn’t track correctly, especially because the remedy always involves disassembling the entire bike! Starting with a straight frame meant all I had to do was drop it off to be sand-blasted and powder-coated, making it the easiest part of the build so far. I also powder-coated my handlebars and some front end parts so that everything had a nice gloss coating to match the frame.
In the meantime, I went back to my shop to tackle the brakes. Unlike modern brakes, which usually just bolt onto the wheel hub, VL brakes use splines to mate them to wheels. This design was soon dropped by Harley because worn splines can cause a host of problems and are expensive to replace. Unfortunately, no one has stepped up to manufacture replacement hubs or brakes, so I had to hunt down a good used set for both the front and rear wheels.
The other unusual thing about VL brakes is they house the other half of the wheel bearings. Just like the hubs, they contain bearing cages with individual roller bearings along with spacers, retaining rings and felt seals (rubber seals weren’t used in the 1930s – instead, grease-impregnated felt was used to keep moisture out). This adds up to a bunch of extra parts, 42 per hub to be exact (yeah, I counted), and that doesn’t include any of the actual brake components.

I went ahead and installed new bearings in both the front and rear brakes using the standard procedure of reassembling with stock bearings, checking runout, disassembling, reassembling with .0001-inch larger bearings, checking runout, etc., etc., until the desired “feel” was achieved. Once I had identified the correct bearings, I got to take everything apart again and do a final assembly with grease. The plus side of this labor-intensive process is you get pretty good at taking apart brake hubs.


With the front end complete, the last piece of the rolling chassis was ready and it was simply a matter of bolting everything together. The front end is held on by one large nut, so after replacing and greasing the neck bearings, it only took a couple more minutes to have the front end completely installed. Then the axles were installed and a rolling chassis was born!

Before I called it a day, I couldn’t resist placing the engine and transmission inside the frame, just to see how it would look. Finally, I’m starting to feel like I have another motorcycle in the garage and not just piles of parts.


