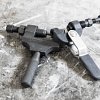
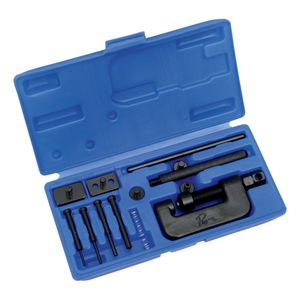
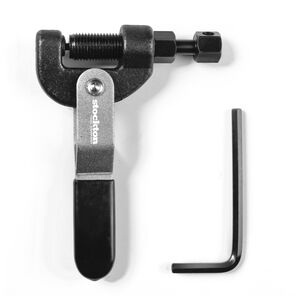
A chain breaker is a fabulous tool that makes life pretty painless. It's a one-trick pony of a tool, but chain breakers are inexpensive and they do their one trick so very well nearly every moto toolbox should contain at least one.
There are two times to use a chain breaker. If you don't have a chain with a clip-type master link, then you can use the chain breaker to remove the old chain currently on your motorcycle, assuming you plan on replacing it. You would also use a chain breaker to shorten a new chain if necessary.
I use my chain breaker most often for the latter, to size chains. Often, chains aren’t offered in the every single link count so you may not be able to buy one that's exactly the length you need. Sometimes, I'm working on bike and may not know what chain length I need, so I buy a longer chain and knock out a few links to make it fit. Having a chain breaker handy also makes it easy to do the same thing with large spools of bulk chain.

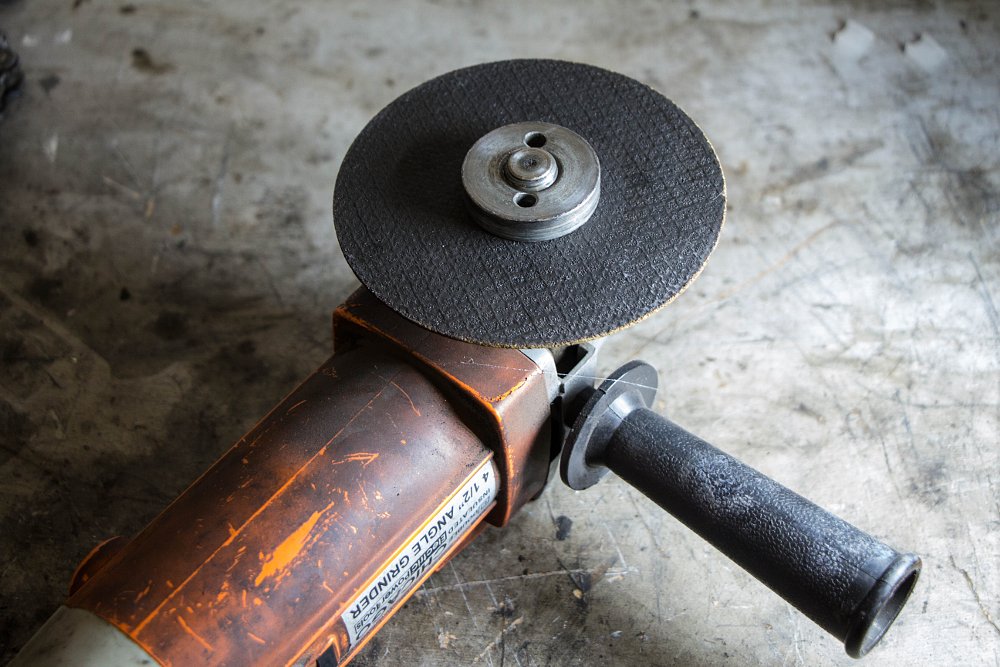
Before you buy a chain breaker, of course, you’ll want to see if you even need to use one. If you are removing a chain with a clip-style master link, you can just pop the clip off and separate the chain with no special tools. Alternatively, you can simply cut your chain off if you're just going to remove it and throw it away. You’d want to use a cutoff wheel and be careful of damaging anything but the chain. This method is a good bit more dangerous, and it’s also not easily done roadside. If you want a tool that’s far less destructive and dangerous, more compact, and useful in more environments, you want a chain breaker.
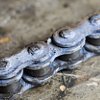
I’ll assume if you’re reading this, you’ve either picked up a breaker or are thinking about it. Before you break a chain, you need to understand that chains are made up of two types of links. There are inside links and outside links. You need a chain that terminates in inside links on both ends, because master links (or rivet links), the items that will join the chain, are outside links. To get started, either match up the length of chain with the one you’re removing, or slide the bike’s axle as far forward as possible. Then, run a length of chain as tight as possible (but still loose enough to allow room for the master or rivet link.) Note you may not be able to get the wheel completely forward, and also note that you’ll need to account for swingarm movement both up and down. If in doubt, err on the long side. You can always remove another link… you cannot, however, always add one.
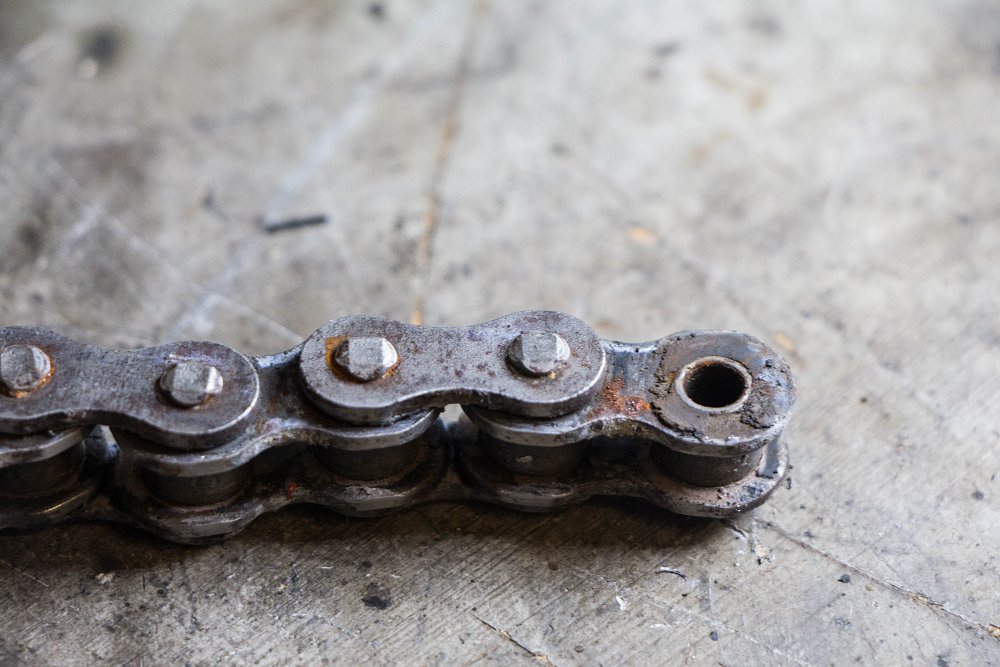
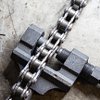
Mark the rivet to be removed with a paint pen so you don't remove the wrong link. Unless you want to run two masters (not recommended), be sure you're working on the correct link.
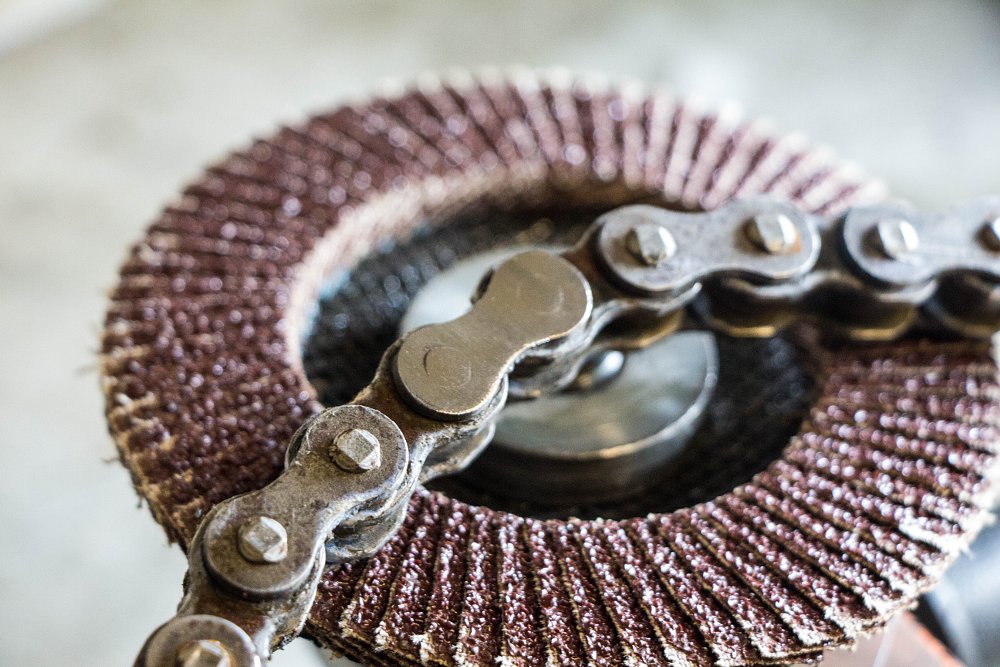
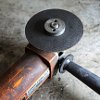
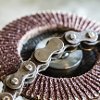
When possible, I take the aforementioned angle grinder and a flap disc and knock down the riveted head off the pin of the link to be broken. This step is optional, but it does reduce the amount of wear and tear on the chain breaker’s pushing pin.

I’m not gonna say I fire up my grinder every time I gotta break a link, but I am aware that I’m drastically increasing the odds of bustin’ a pusher pin. (The pins do snap from time to time, so if you are a “be prepared” type, ordering an extra pin and keeping it with your chain breaker may save you from getting stuck in the middle of the job.)
Personally, I grease all the parts of my chain breakers when I acquire them and periodically thereafter. It helps parts work easily, and reduces the chances of any of the metal galling. Reducing friction in a pressing operation helps keep the work easy and the tools in good shape.
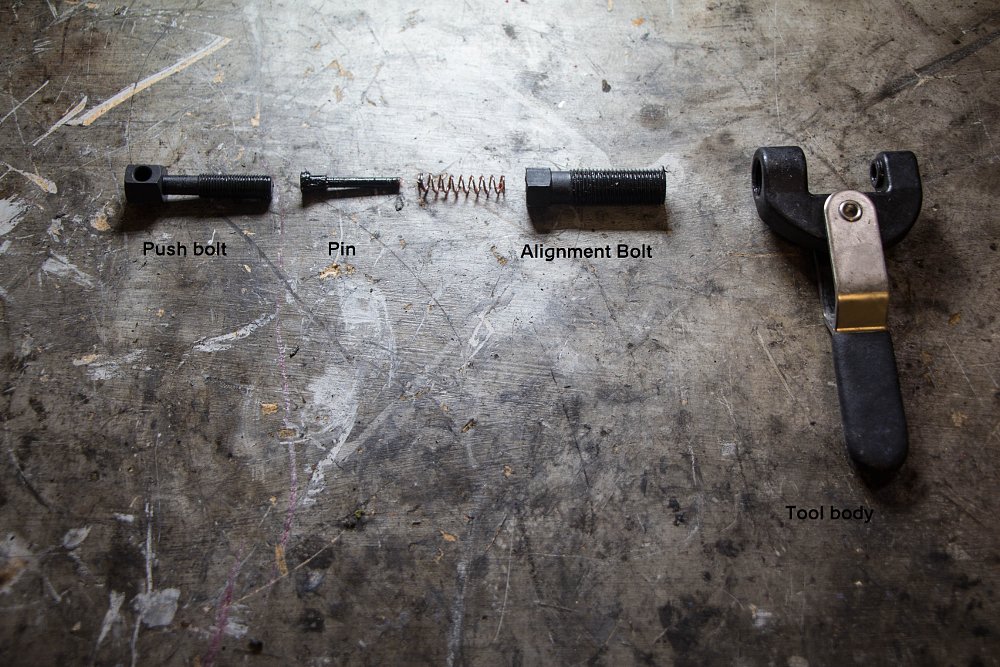
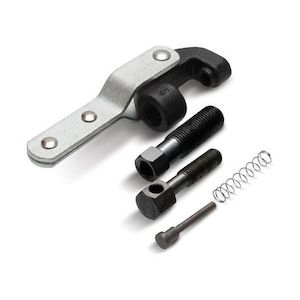
Select the correct diameter breaking pin, and retract the breaking pin almost completely into the alignment bolt by spinning the push bolt counterclockwise while holding the alignment bolt still. (The most common motorcycle chain sizes, 520 and 530, use the same diameter pin. It's so common many breakers just come with that one size.)
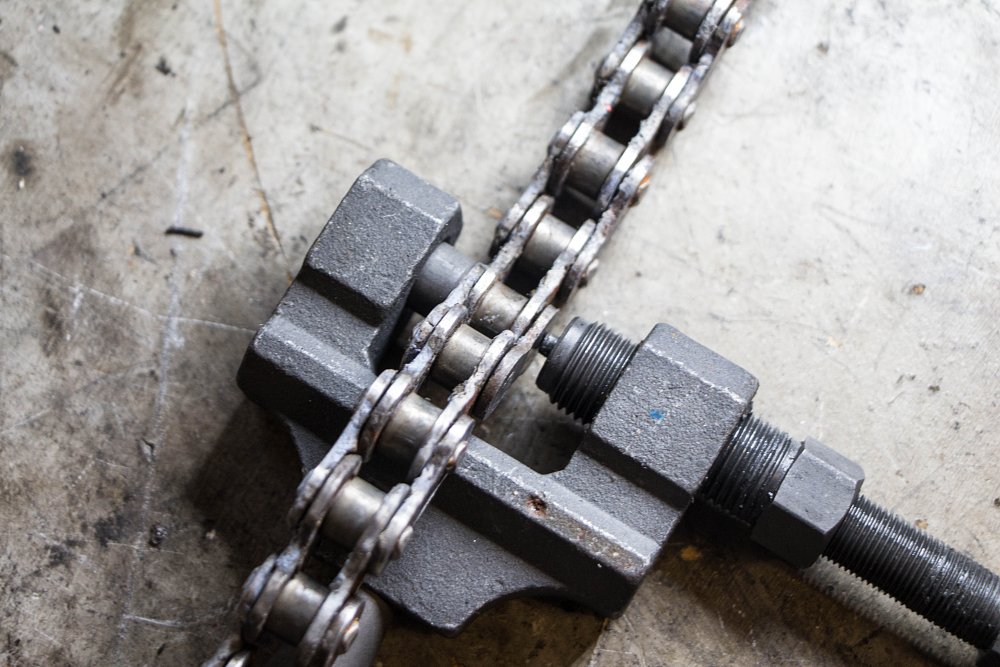
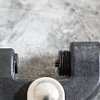
Then set the link to be broken into the body of the tool. Next, spin the alignment bolt flush until you’ve taken up the slack, and put a wrench on it to snug it up.
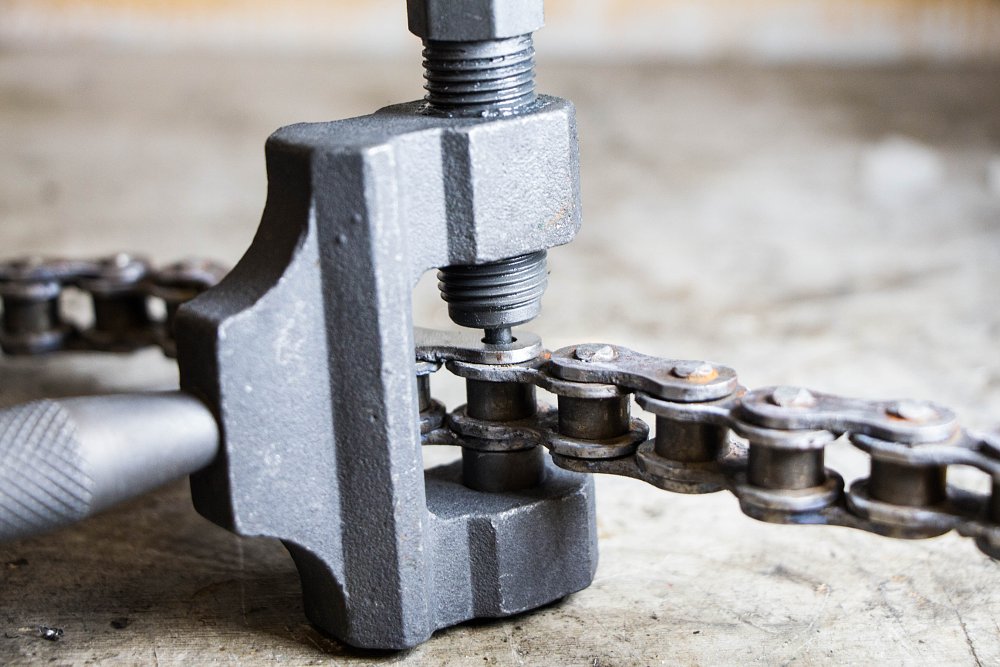
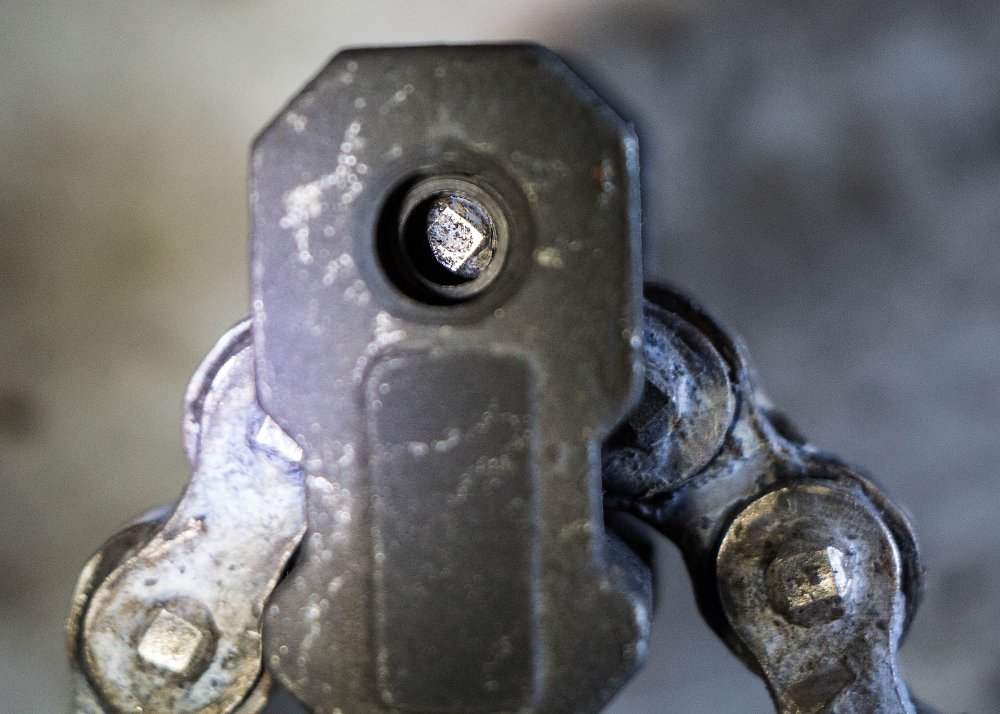
At this point, take a look and make sure a few things are aligned. The first item is that the pusher pin needs to be centered dead-on with the chain link pin so it doesn’t hang up on the outside link plate as you tighten the pusher bolt. If you don’t get get it lined up just right, your effort exerted on the wrench handle won't result in the pushing of the link pin but instead the demise (bending!) of the pusher pin.
Incidentally, this is the reason for starting with the alignment bolt extended all the way and the push bolt retracted. The alignment bolt basically serves as an outboard support for the pin, so by getting it started with that support as close to the end of the pin as possible, we maximize the support and minimize the potential deflection the pin can suffer.
At this point, it’s time to now crank down on the pusher bolt. Most pushers will have either a hex head (so you can gain leverage with a wrench) or a cross-drilled hole (most people will jam a screwdriver in here.) Many have both. The first few turns will be tighttighttight, especially if you didn’t grind the head of the rivet off. Once you push the peened section of the pin into the body of the tool, the pushing gets lots easier. When the pin drops out, retract both bolts, and you’re done!
Rivet or clip the chain in place after installation, and you’re all set to go. Clean up your tools and put ‘em away for next time. And it should be noted that this job is a lot like carpentry: measure twice, cut once. You really shouldn’t join two sections of chain with two master links — the chance of failure goes up, and with that comes the odds of getting hurt or potentially harming your motor’s cases.
Easy, right?