Worn wheel bearings can ruin a motorcycle’s handling, and if left unchecked they’ll quickly deteriorate and collapse, at which point you’re really in trouble. The solution? Regular bearing inspections, with replacement as soon as function is suspect.
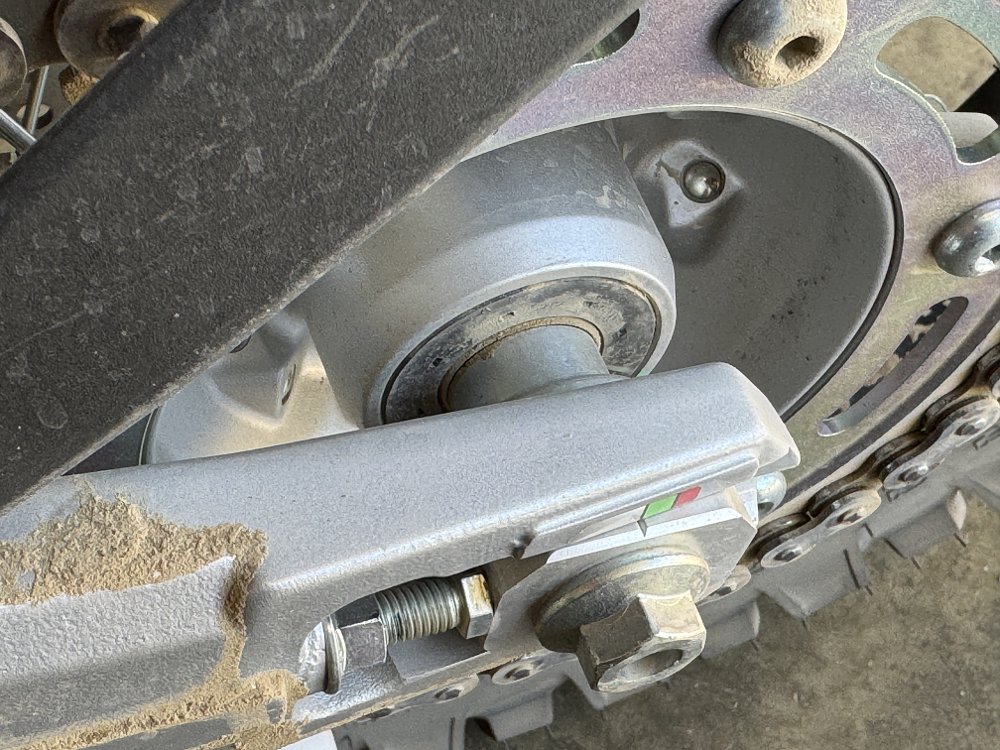
If you’ve never examined your wheel bearings, don’t worry, you can do a quick and rudimentary check in seconds, without any tools. Just grasp your motorcycle’s passenger grab handle or subframe in the back or a fork leg at the front with one hand and the top of the tire with the other and push and pull forcefully to check for play. If you feel any clicking or clunking, or see any movement of the hub relative to the axle, odds are one or more of the wheel bearings is shot.
This simple push-pull test is only going to tell you if there’s a major problem that requires immediate attention. For a more proactive inspection, your wheels need to come off the bike, so I typically do it when I’m changing tires, which tends to land around the same 7,500-mile mark as the manual’s recommendation for checking the bearings.
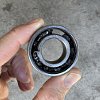
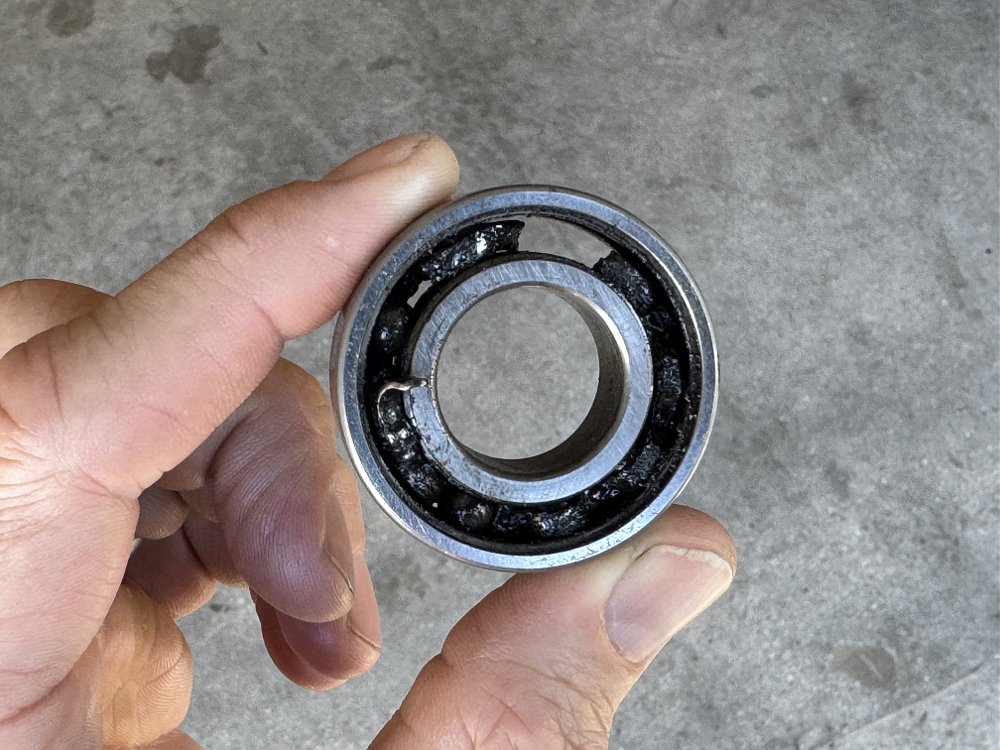
With the wheels off, stick your finger in each bearing and rotate it. There may be a little drag from the seals and grease, but the bearing should spin smoothly. Any play or roughness whatsoever warrants replacement. There’s no gray zone here. That bearing rotates nearly 1,000 times per mile, so any issue is going to spiral out of control quickly.
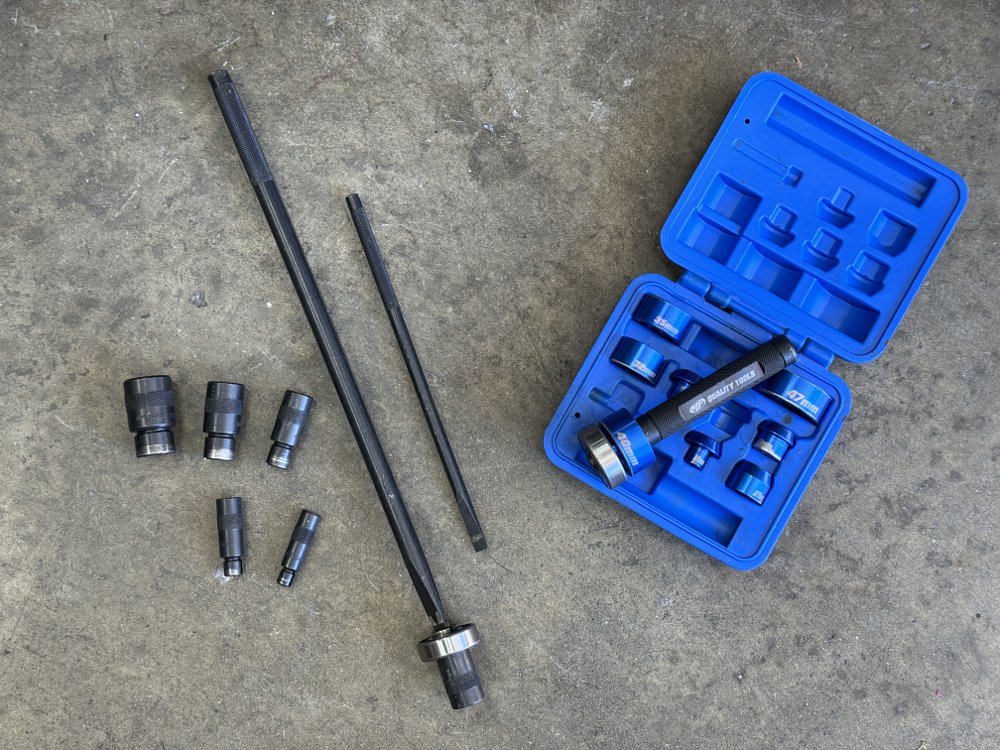
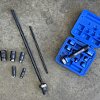
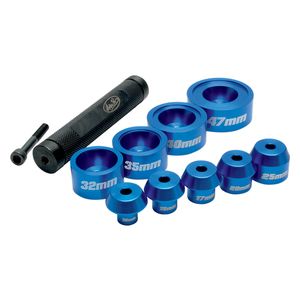
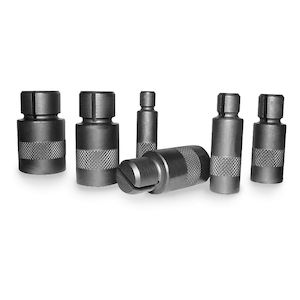
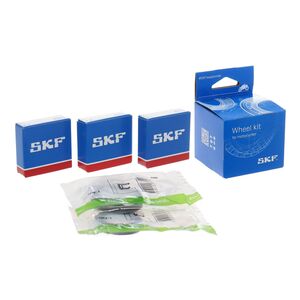
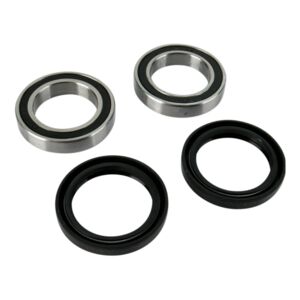
To replace your motorcycle’s wheel bearings, you’ll need a few tools and supplies, including a heavy hammer, a long drift or steel rod, a bearing driver kit or a socket of the appropriate size, a freezer and/or a propane torch or heat gun, a flat-blade screwdriver, snap-ring pliers, some blocks of wood, grease, new wheel bearings and seals for your bike, and some safety glasses for you.
First up, support the wheel on the wooden blocks to protect the rim and rotor. Then use your flat-blade screwdriver to pry out the old seals. Clean behind the seals and check for snap rings. Some bikes use them to retain one of the bearings, and it’ll need to come out before the bearing can.
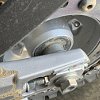
There’s a spacer in the hub between the inner bearing races, and you need to move that aside to expose a section of race to hit with your drift. Sometimes you can shimmy the spacer aside with your finger, but more often than not you have to lever it over with your drift.
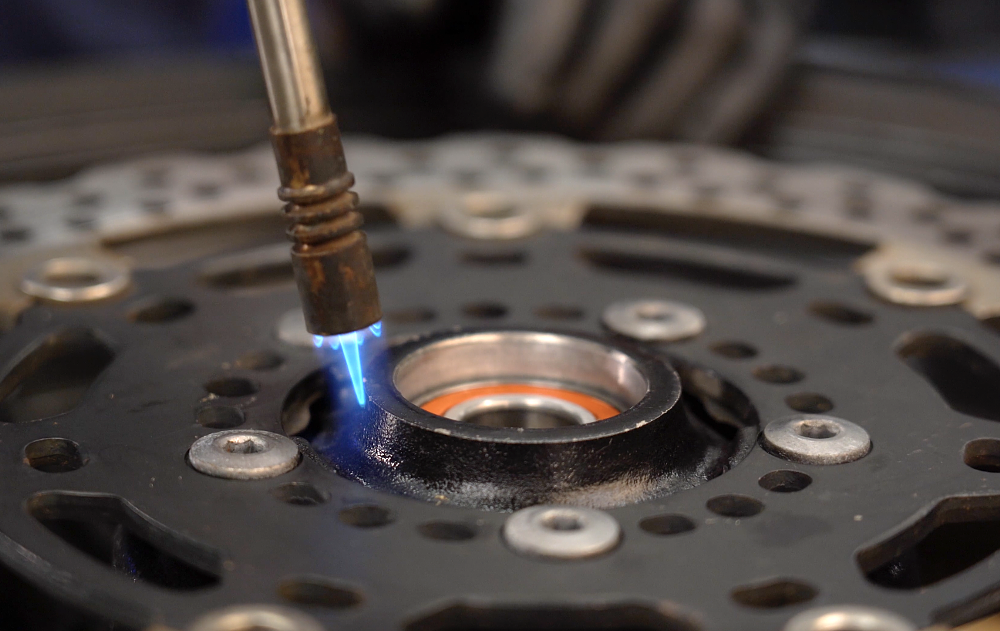
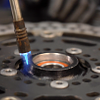
Heating the hub to about 175 degrees by feathering it with a propane torch for 45 to 60 seconds or blasting it with a heat gun for several minutes causes the bearing bores to grow by a few ten-thousandths of an inch and will make bearing removal and installation much easier. This step isn’t mandatory, but it is highly recommended.
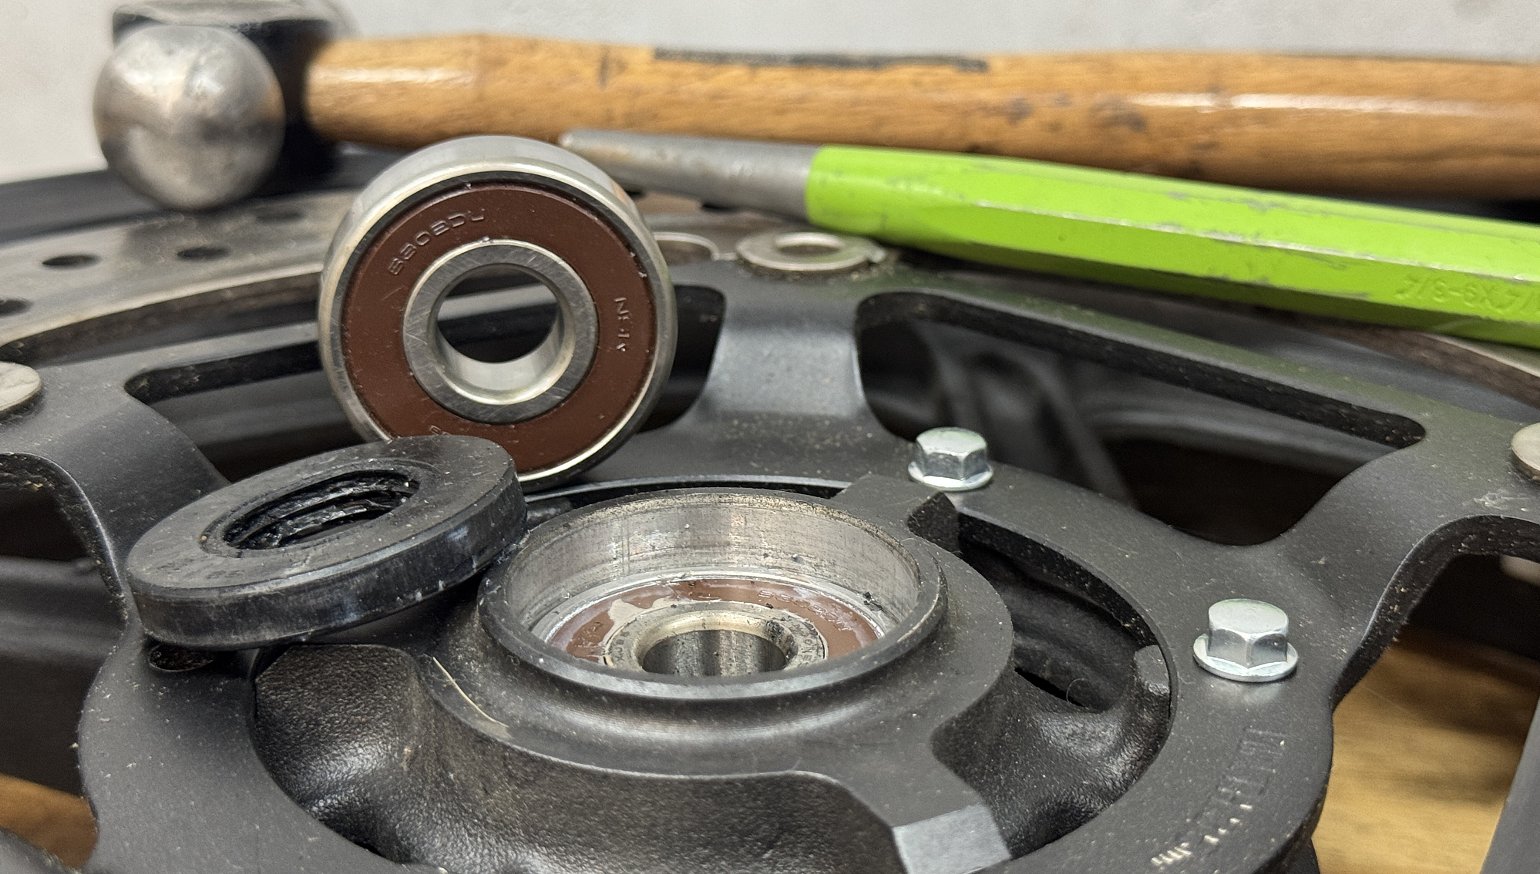
Now take your drift, place it on the inner race, and start tapping. You want to walk the bearing out evenly, so hit it on opposite sides, a little bit at a time, until it and the inner spacer fall out. Then flip the wheel over and knock out the second bearing.
Take your new bearings, and… put them in the freezer for several hours. Cooling the bearings will cause them to contract slightly, which will make installing them a lot easier. You can heat your hub again as well, but I usually pre-cool the bearings and then install them right after removing the old ones while the hub is still hot.
If your hub uses a circlip, install that and the corresponding bearing first. Set the chilled bearing squarely on the bore, and start it in by tapping around the perimeter with your hammer.
Driving the bearing home can be done with a hammer and a bearing driver, a hammer and a socket that sits squarely on the outer race, or you can make a press using a threaded rod with the appropriate size socket or washers. Whatever method you use, it’s critical that you drive the bearing in evenly and only apply force to the outer race to avoid damaging the bearing.
If the bearing gets cocked and jams up, use your drift to carefully tap the high side down until it sits square again, and then continue. You’ll know when the bearing is seated because the tone will change once it hits the bottom of the bore.
Now flip the wheel over and install the spacer in the hub. I’ve forgotten this before, and didn’t realize it until the wheel was back on the bike and I tightened the axle and the wheel wouldn’t turn. The spacer supports the inner races when the axle gets torqued so that there’s a solid load path between the axle ends, wheel spacers, and bearings. It needs to sit squarely against the races, so center it and check its position regularly as you’re driving the second bearing home.
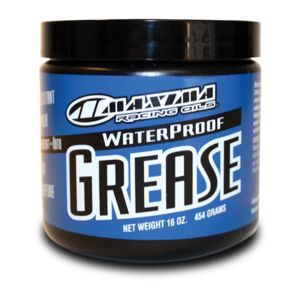
Once the bearings are in, check to ensure they rotate smoothly, and then install the wheel seals. You can usually press these in by hand, but you may need to tap on them with a hammer. If the seal lips aren’t already packed with grease, smear some on now.
And with that, you’re done with one wheel, which means one to go since it’s a good idea to replace all your wheel bearings at once. The front and rear wheel follow the same process, and frankly it’s going to be the same procedure whether you have spoke or cast wheels, and whether it’s a scooter, sport bike, dirt bike, or ADV.
Image Gallery