Maybe you're like me. Maybe you'd like to have navigation on your motorcycle but you don't want to risk your expensive smartphone to vibration and weather, you don't want to pay hundreds of dollars for a GPS unit and you don't want to pay another monthly fee.
After getting sticker shock from some of the $300 to $700 products out there, I came up with a way to create an all-weather navigation device for less than half the price, and no SIM connection is required. The setup is a bit MacGyver-ish, but anyone should be able to replicate my frugal, all-weather motorcycle navigator.
Step 1: Find an older iPhone in good condition
The GPS feature on an iPhone can be used without a Wi-Fi or mobile connection. This is the foundation to creating the thrifty motorcycle navigation device. Looking online, refurbished iPhone5 models go for $40 to $50 (with free shipping) at sites such as BackMarket. I had an old iPhone5 lying around in my electronics bin.

Step 2: Setup Google Maps for offline use
For the GPS feature to work on an iPhone with no internet or SIM connection, you have to use Google Maps and download maps for the areas in which you want to ride. It’s pretty easy to do by connecting the iPhone temporarily to your home Wi-Fi. I have nearly the entire U.S. East Coast downloaded on my device. Here are more detailed instructions for creating your Google map files.
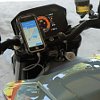
Step 3: Purchase a waterproof case
To protect your GPS from the weather, purchase a waterproof case. This one for $17.99 survived through a New York fall and winter.
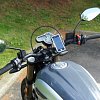
Step 4: Find a good handlebar mount
Next you need a way to mount the iPhone navigation device on your bike. There are a few options here for around $60.
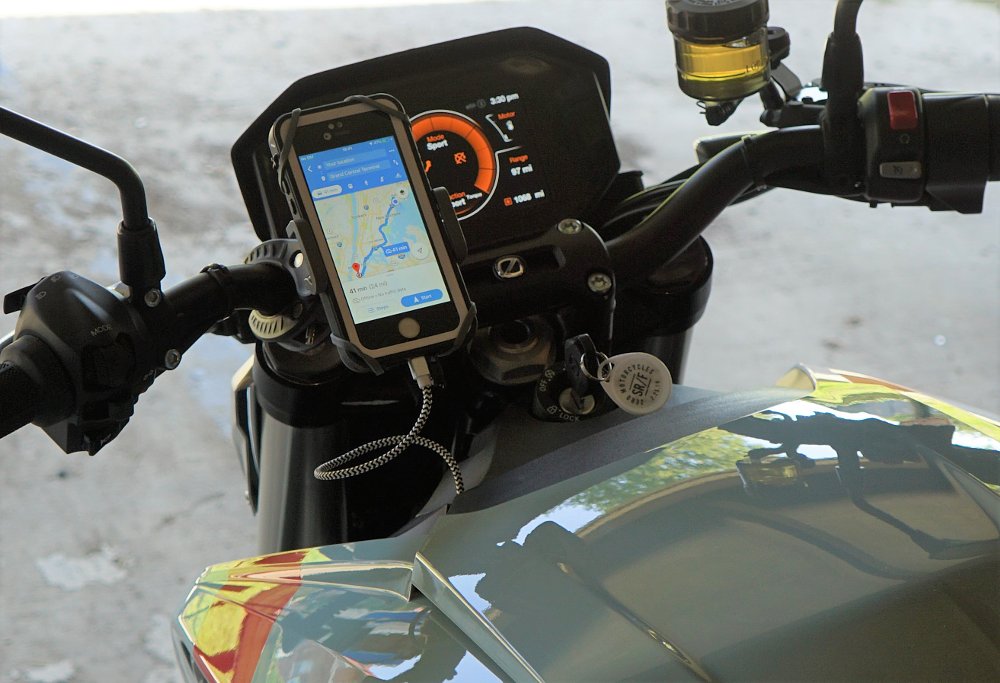
Step 5: Make a few adjustments and ride
When you get the iPhone set up with Google maps, housed in the weatherproof case, and set up with a solid handlebar clamp, you’re almost ready to go.
To make it all work, you need to go to settings, Privacy and make sure you turn on Locations Services. With this you can open the Google Maps. The iPhone’s internal GPS should show your location. You can then type in your destination and a combination of the internal GPS and the downloaded maps will give you directions and track your progress on the route.
Some more tips for making it all work:
- Be sure to connect the iPhone to WiFi every month so Google Maps can automatically update the offline maps. I have found that if the maps are out of the date, the navigation does not function.
- Adjust brightness on the iPhone to a higher level for better visibility.
- Disable password or auto-lock functions so the screen always displays your map.
- Save battery by turning off Wi-Fi, Bluetooth, and Personal Hotspot. You don’t need ‘em.
- Some older iPhones don’t have the greatest battery life, so you connect it to a USB port (if the bike has it). On bikes sans-USB, I’ve hooked the device to a mini battery pack in a tank bag or my jacket.
So there you have it. The total cost for this motorcycle navigation setup is not much more than $100 (a little more if you need the external battery). I’ve used it on five different bikes across three states with no issues — and kept hundreds of dollars in my bank account by skipping the expensive retail options out there.
Image Gallery