“Dave and I were looking at it and it seems like the frame is straight,” my paddock neighbor at the track day said, trying to lift my spirits.
Dave, the other rider, nodded his agreement. I had just returned to my pit area from the medical building. An attempt to save a lowside slide in turn three at Blackhawk Farms Raceway outside Rockford, Illinois had kept me from going down on the track. But once I hit the grass, the front tucked, I was thrown and the bike had come down hard enough on my foot that everyone felt it was a good idea for me to get it checked out.
My foot was deemed just fine. The only things damaged were my pride and my Kawasaki Ninja 300.
I loaded the bike on the trailer, packed up and headed home. I called my mom on the way out of the paddock to assure her that I was OK and not to freak out when she saw the pictures that would be posted to Facebook later.
The ride home was filled with the things you might think it would be. Going over what had happened. (I slid, saved it, tried to get back on my line, slid again, panicked and bailed on the whole “turning” thing in favor of just trying to slow down.) Wondering if I had a hidden injury to my foot like Lemmy. And, most of all, what the hell to do with my thoroughly smashed bike. My next scheduled track day was two months away. Slowly, a plan formed.
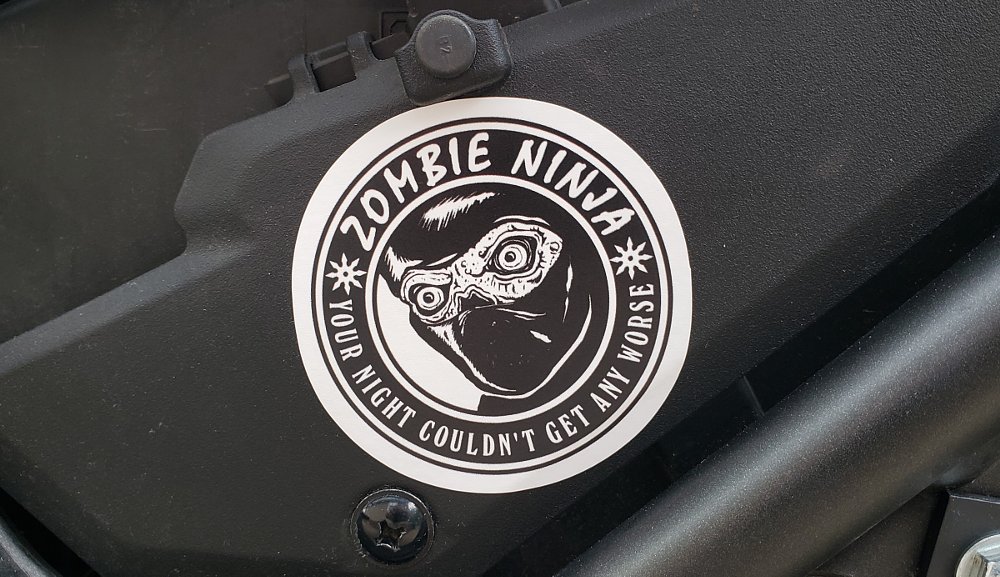
Resurrecting the Zombie Ninja
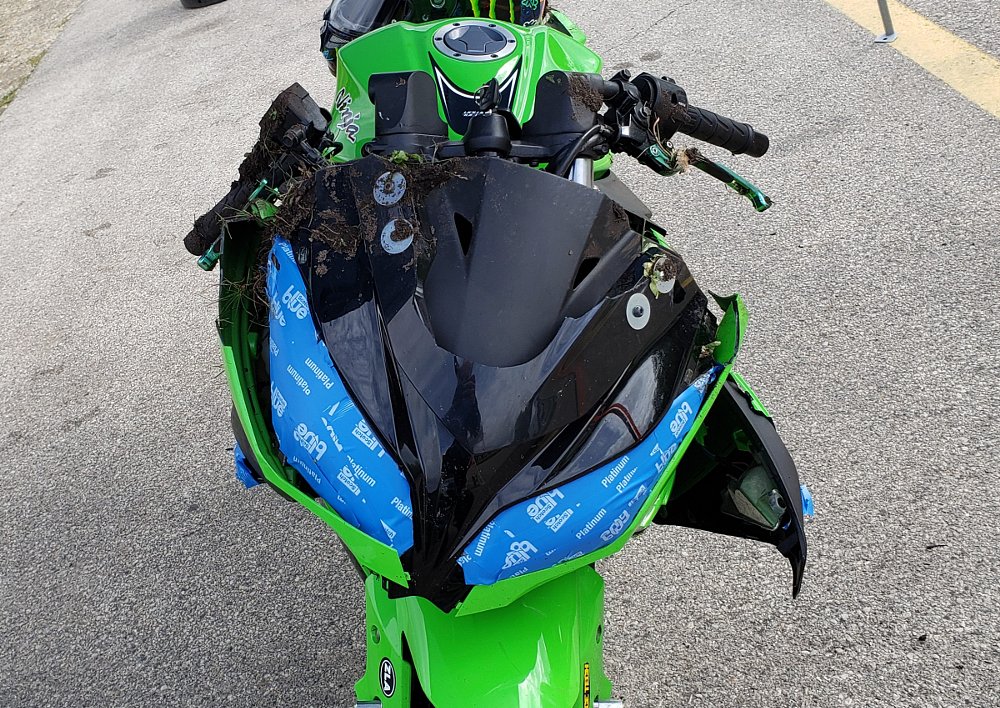
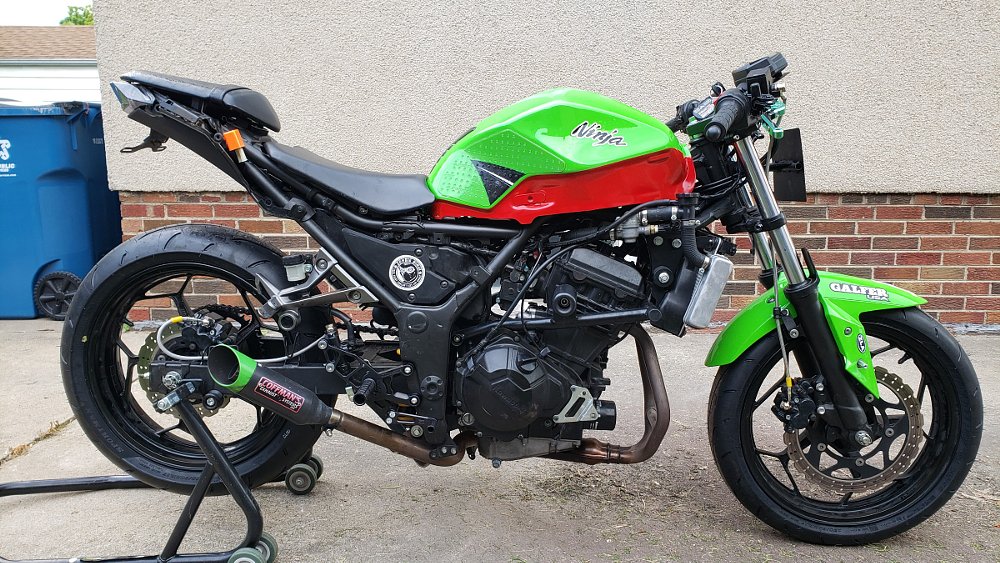
Over the next few days I stripped all the shattered plastics off the bike to reveal that the bracket at the front of the bike that supported the fairing and held a number of important components was thoroughly mangled and the rear tail section was slightly tweaked. The bike’s barrel roll, which I saw out of the corner of my eye while sliding across the grass, must have turned into an end-over-end at some point.
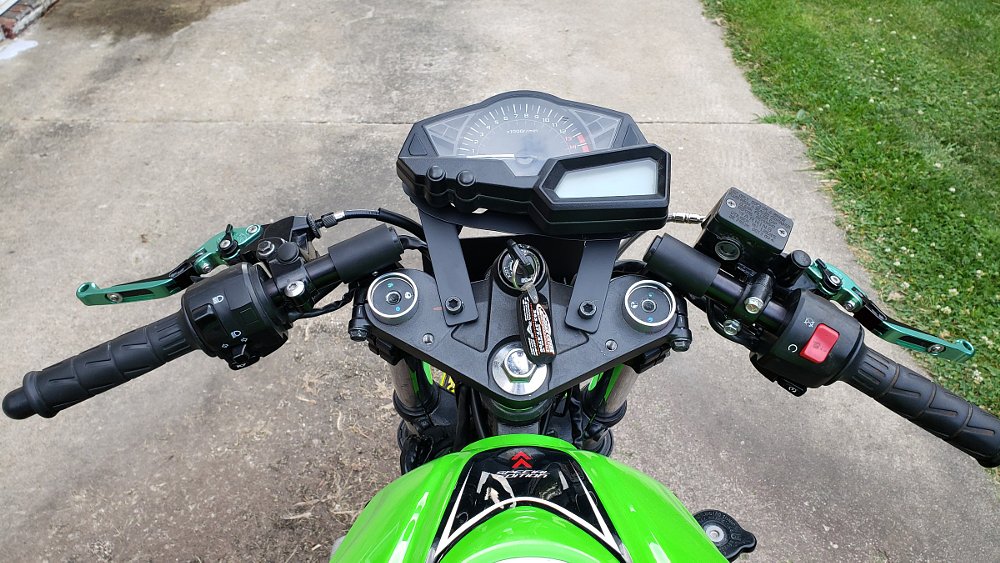
I took rough measurements between the steering stem and a few chosen reference points on the frame. I also spent a long time studying the fork and the swingarm. Things did in fact appear straight. Now a choice had to be made. The crash had ripped the right side handlebar and foot peg clean off the bike. Should I hop on eBay and buy used, OEM replacements for cheap? Or should I use this opportunity to upgrade to the rearsets and clip-ons I’d been eyeing? “Well,” I thought as I placed an order for the Woodcraft sets, “In for a penny, in for a pound.”
When the new controls arrived, along with a set of new throttle and clutch cables, I installed them, slapped the beaten-back-into-shape tank on the bike and replaced the destroyed stock exhaust with the Coffman tip that had come with the bike when I bought it. Time for the moment of truth. A quick ride around the block revealed that everything seemed fine. The bike tracked straight, ran well and didn’t seem to wobble, skid or pitch about in unexpected ways. Full speed ahead!
The first thing I noticed during my test ride, other than being reminded that the exhaust was obnoxiously loud, was that the brackets on the fuel tank that had originally supported the now discarded plastics were uncomfortably close to my wrists. They had to go.
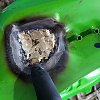
On the advice of a co-worker with experience in bodywork, I ground through the welds holding the front two brackets on either side of the tank until I could peel them off with a chisel. Unfortunately, I did not take his advice of “be patient” entirely to heart at the beginning of the process. In my eagerness to get the first bracket off, I tore a pea-sized hole in the tank.
Let’s just get this out of the way: I am not a fabricator or welder. I work on cars professionally at a dealership. This involves a lot of diagnosing and bolting parts to other parts. Making things from scratch or repairing actual components comes into play for me rarely, if ever. The welders I have access to are set up and used to tack bolts to broken bolts for extraction or weld up exhaust pipe on occasion. Not to plug holes in paper-thin metal on a fuel tank. So the act of repairing the damaged tank was long and ugly.
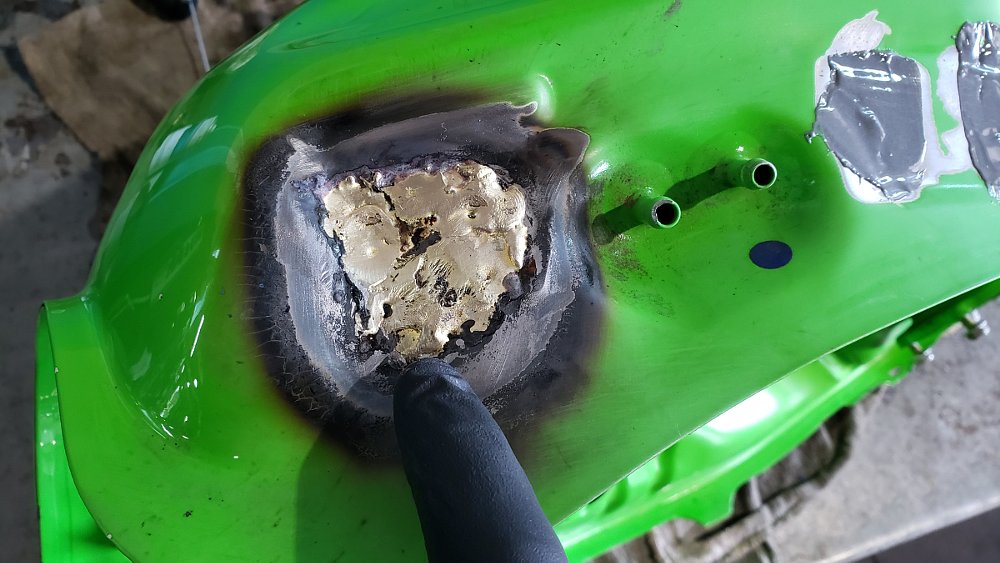
Multiple attempts at MIG welding the hole closed failed due to porosity as the repair area ballooned from pea-sized to half-dollar-sized. Finally, I decided I would braze over the top of the whole thing (again, not with the right size equipment). After a couple of attempts, the repair held water overnight. I deemed it good enough.
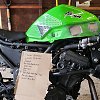
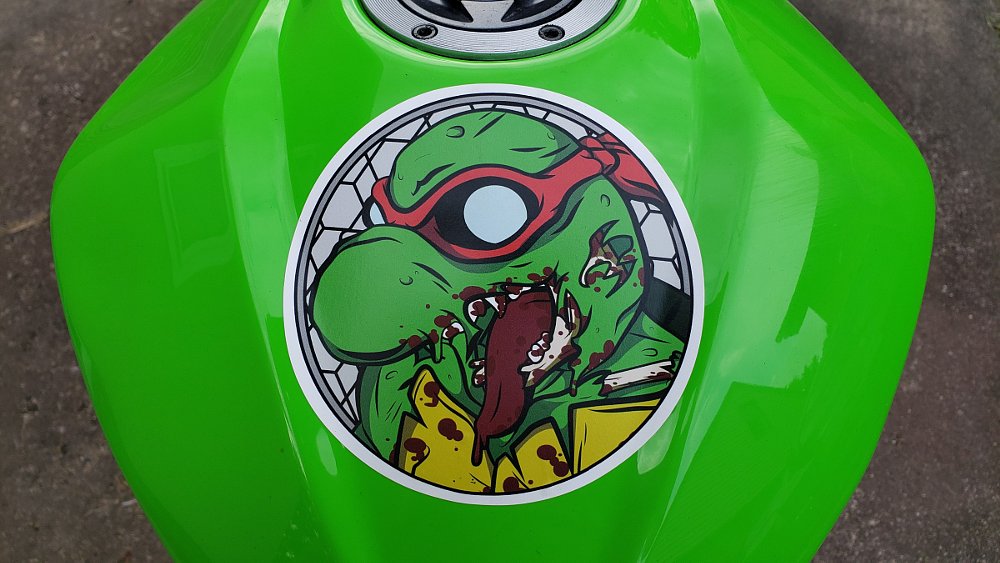
Metal epoxy was used on the thin spots where the welds had been ground off to add back some structural integrity and then sanded down. Body filler was laid over the top of that to bring the low spots up to flush. Paint now came into consideration. Flat black would have been the easy go-to. But in conversations with another co-worker, it was decided that having a wrecked bike meant good taste could go out the window. A rattle can of red spray paint was purchased and the tank dropped off at a local body shop to be taped and painted whenever the owner had time.
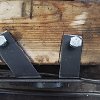
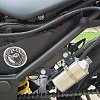
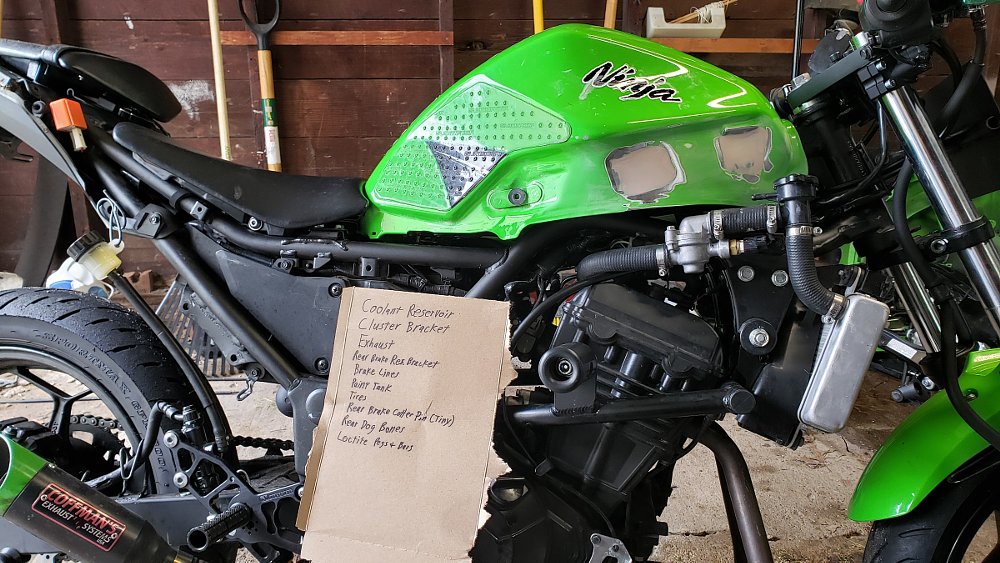
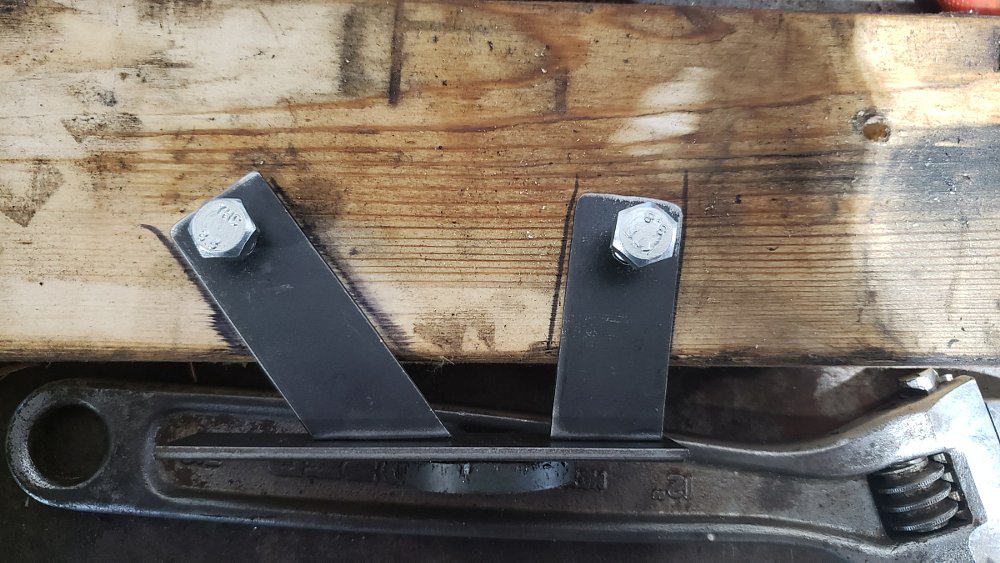
Meanwhile, I still had a small mountain of things to attend to. I traced the gauge cluster to make a backing plate for it and a bracket that used the original handlebar bolt holes as mounting spots. A fabricated regulator mount found a new home using a bolt hole for the now-discarded front bracket and the front engine mount. I cobbled together a front number plate and wiring/cable router from the original front bracket and a piece of sheet metal stock. Brake lines that had stretched an indeterminable amount during the crash were replaced with braided steel lines. Spare wiring from the no-longer-present front lighting was folded back and taped over.

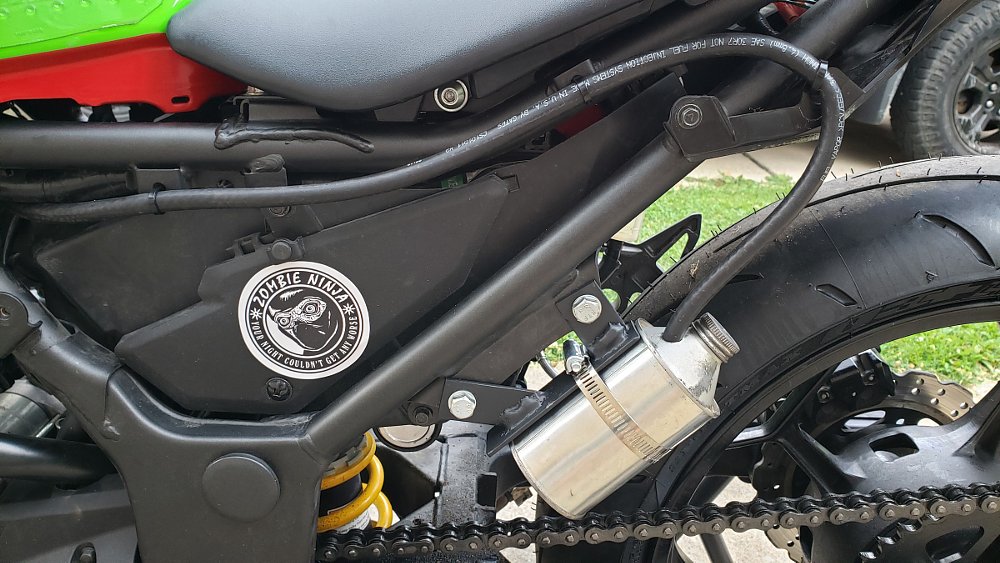
A new coolant reservoir was needed, as well. With no real room at the front of the bike to mount it, I decided that the left side pillion peg area would be the home of a new catch can. A bracket was roughly jigged and welded. An old PAG oil can with the label torn off was found to be the perfect size. A length of hose, some zip-ties, a worm gear clamp and two appropriately sized drill holes later and my bike would no longer puke coolant straight onto the ground.
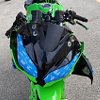
I mounted a new set of wider and more track-focused Dunlop Q3+ tires. With the fuel tank retrieved from the body shop and some thematically appropriate stickers sourced online, it was time to put this rolling experiment in cheapness and tackiness together.
As I stepped back to admire my work, I realized with some surprise that I kind of loved this thing. More than I ever did when it was just a ratty, squidded out, regular Ninja 300.
Did I overdo it with the stickers? Probably. Is the bodywork perfect? Ha! Are the welds professional grade? Pfftt.
But it was mine. An expression of the quirky, corny tendencies that only the people who know me well ever get to see. Best of all, it was ready in time for my next track day.
Putting the Zombie Ninja to the test
Back at the track, I started the Ninja to let it warm up for the first morning session. That's when I noticed the water pump seal at the transmission case was leaking oil profusely. I rushed into the nearby town to buy oil, anaerobic sealant and a drain pan to make a hasty track-side repair.
That meant I missed the first two sessions of the day, but once it was on the track, the bike performed as well as I could have hoped.
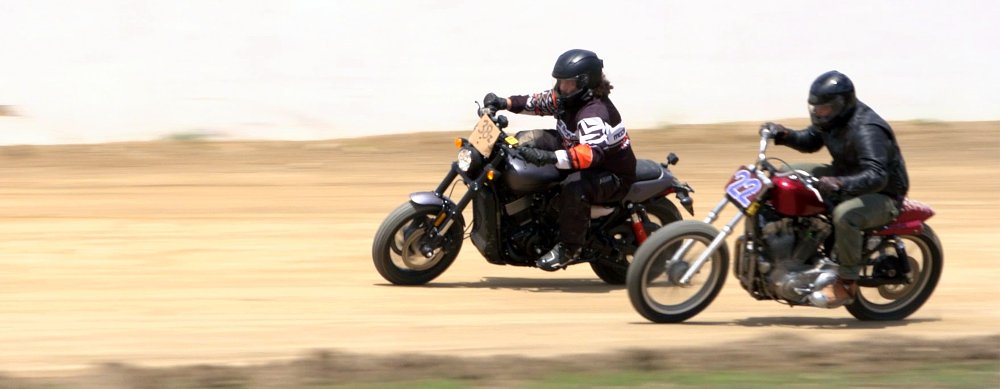
The new tires and controls improved the riding experience immensely. My hesitation in the early sessions, brought on by memories of the previous crash and doubts about the overall integrity of the bike, gave way to deeper braking zones, faster corners and more aggressive throttle as the day progressed.
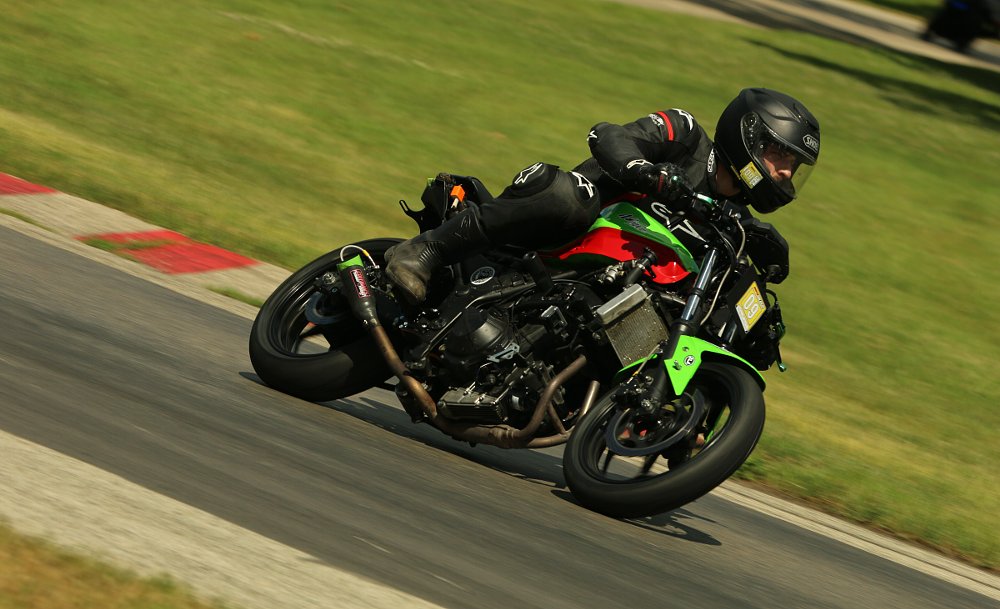
After the crash, I had been a little disappointed that the costs of repairing the Ninja 300 would mean I wouldn’t be able to upgrade to a bigger bike as soon as I would have liked. But after five sessions on the track, my attitude changed.
I’m perfectly happy to keep being the guy on the Zombie Ninja.